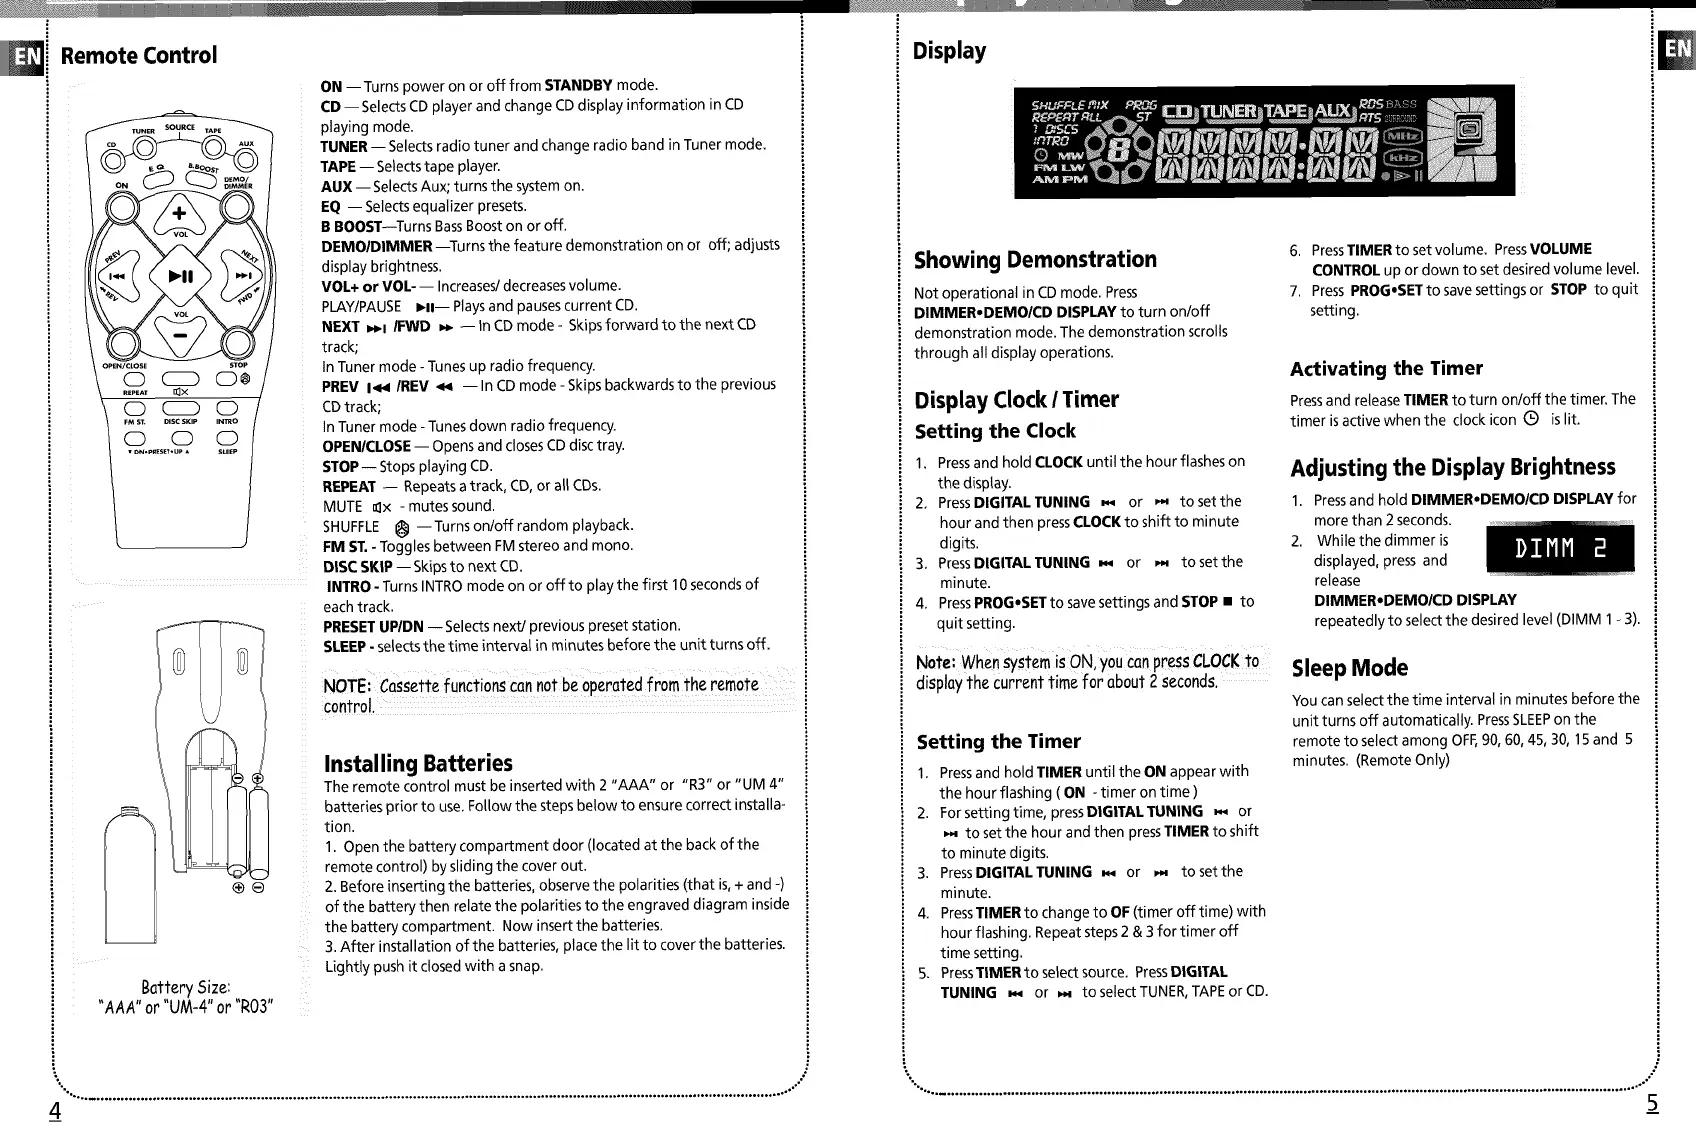
Remote Control
co AUX
O_MO/
OPEN/CLOSE _OP
ON --Turns power on or off from STANDBY mode.
CD -- SelectsCD player and change CDdisplay information in CD
playing mode.
TUNER-- Selectsradio tuner and change radio band inTuner mode.
TAPE-- Selects tape player.
AUX -- Selects Aux; turns the system on.
EQ -- Selects equalizer presets.
B BOOST--Turns BassBoost on or off.
DEMOIDIMMER--Turns the feature demonstration on or off; adjusts
display brightness.
VOL+ or VOL- -- Increases/decreasesvolume.
PLAY/PAUSE ,11-- Playsand pauses current CD.
NEXT _l IFWD _ -- In CDmode - Skipsforward to the next CD
track;
InTuner mode -Tunes up radio frequency.
PREV I<,1 IREV _,i -- In CDmode - Skipsbackwards to the previous
CDtrack;
In Tuner mode - Tunesdown radio frequency.
OPENICLOSE-- Opens and closes CDdisc tray.
STOP-- Stopsplaying CD.
REPEAT -- Repeatsatrack, CD,or all CDs.
MUTE _x - mutes sound.
SHUFFLE _ --Turns on/off random playback.
FM ST.- Toggles between FM stereo and mono.
DISC SKIP -- Skipsto next CD.
INTRO - Turns INTRO mode on or off to play the first 10secondsof
each track.
PRESETUPIDN -- Selects next/previous preset station.
SLEEP- selectsthe time interval in minutes before the unit turns off.
NOTEi Cassette functions Can not be,operated from the remofe .... ";
control
Battery Size:
"AAA" or "UM-4" or "R03"
Installing Batteries
The remote control must be inserted with 2 "AAA" or "R3" or "UM 4"
batteries prior to use. Follow the steps below to ensure correct installa-
tion.
1. Open the battery compartment door (located at the back of the
remote control) by sliding the cover out.
2 Before inserting the batteries, observe the polarities (that is,+ and -)
of the battery then relate the polarities to the engraved diagram inside
the battery compartment Now insert the batteries
3 After installation of the batteries, place the lit to cover the batteries
Lightly push it closed with a snap
•,..• ........................................................................................................................................................ °...................... .°-'°
4
Display
Showing Demonstration
Not operational in CDmode. Press
DIMMER,DEMO/CD DISPLAY to turn on/off
demonstration mode The demonstration scrolls
through all display operations
Display Clock I Timer
Setting the Clock
1 Pressand hold CLOCKuntil the hour flashes on
the display
2 PressDIGITAL TUNING _ or p,4 to set the
hour and then pressCLOCK to shift to minute
digits
3. PressDIGITAL TUNING _ or _- to set the
minute.
4. PressPROG,SETto savesettings and STOP • to
quit setting.
° Note: when system is ON, you CanpressCLOCK to
display the current time for about 2seconds.
Setting the Timer
1 Pressand hold TIMER until the ON appearwith
the hour flashing ( ON - timer on time )
2 For setting time, pressDIGITAL TUNING _ or
to set the hour and then pressTIMER to shift
to minute digits
3 PressDIGITAL TUNING _,_ or . to set the
minute
4 PressTIMER to change to OF (timer off time) with
hour flashing Repeat steps 2 & 3 for timer off
time setting
5. PressTIMERtoselectsource. PressDIGITAL
TUNING _ or _ toselect TUNER,TAPEor CD.
6. PressTIMER to set volume. PressVOLUME
CONTROL up or down to set desired volume level.
7. PressPROG,SET to save settings or STOP to quit
setting.
Activating the Timer
Pressand releaseTIMER to turn on/off the timer. The
timer isactive when the clock icon Q is lit.
Adjusting the Display Brightness
1. Pressand hold DIMMER,DEMO/CD DISPLAY for
more than 2 seconds.
2. While the dimmer is
displayed, press and
release
DIMMER,DEMOICD DISPLAY
repeatedly to select the desired level (DIMM 1 - 3).
Sleep Mode
You can select the time interval in minutes before the
unit turns off automatically PressSLEEPon the
remote to select among OFF,90, 60, 45, 30, 15and 5
minutes (Remote Only)
"°. ........................................................ °....................................................................................................................... ,o"
5
 Loading...