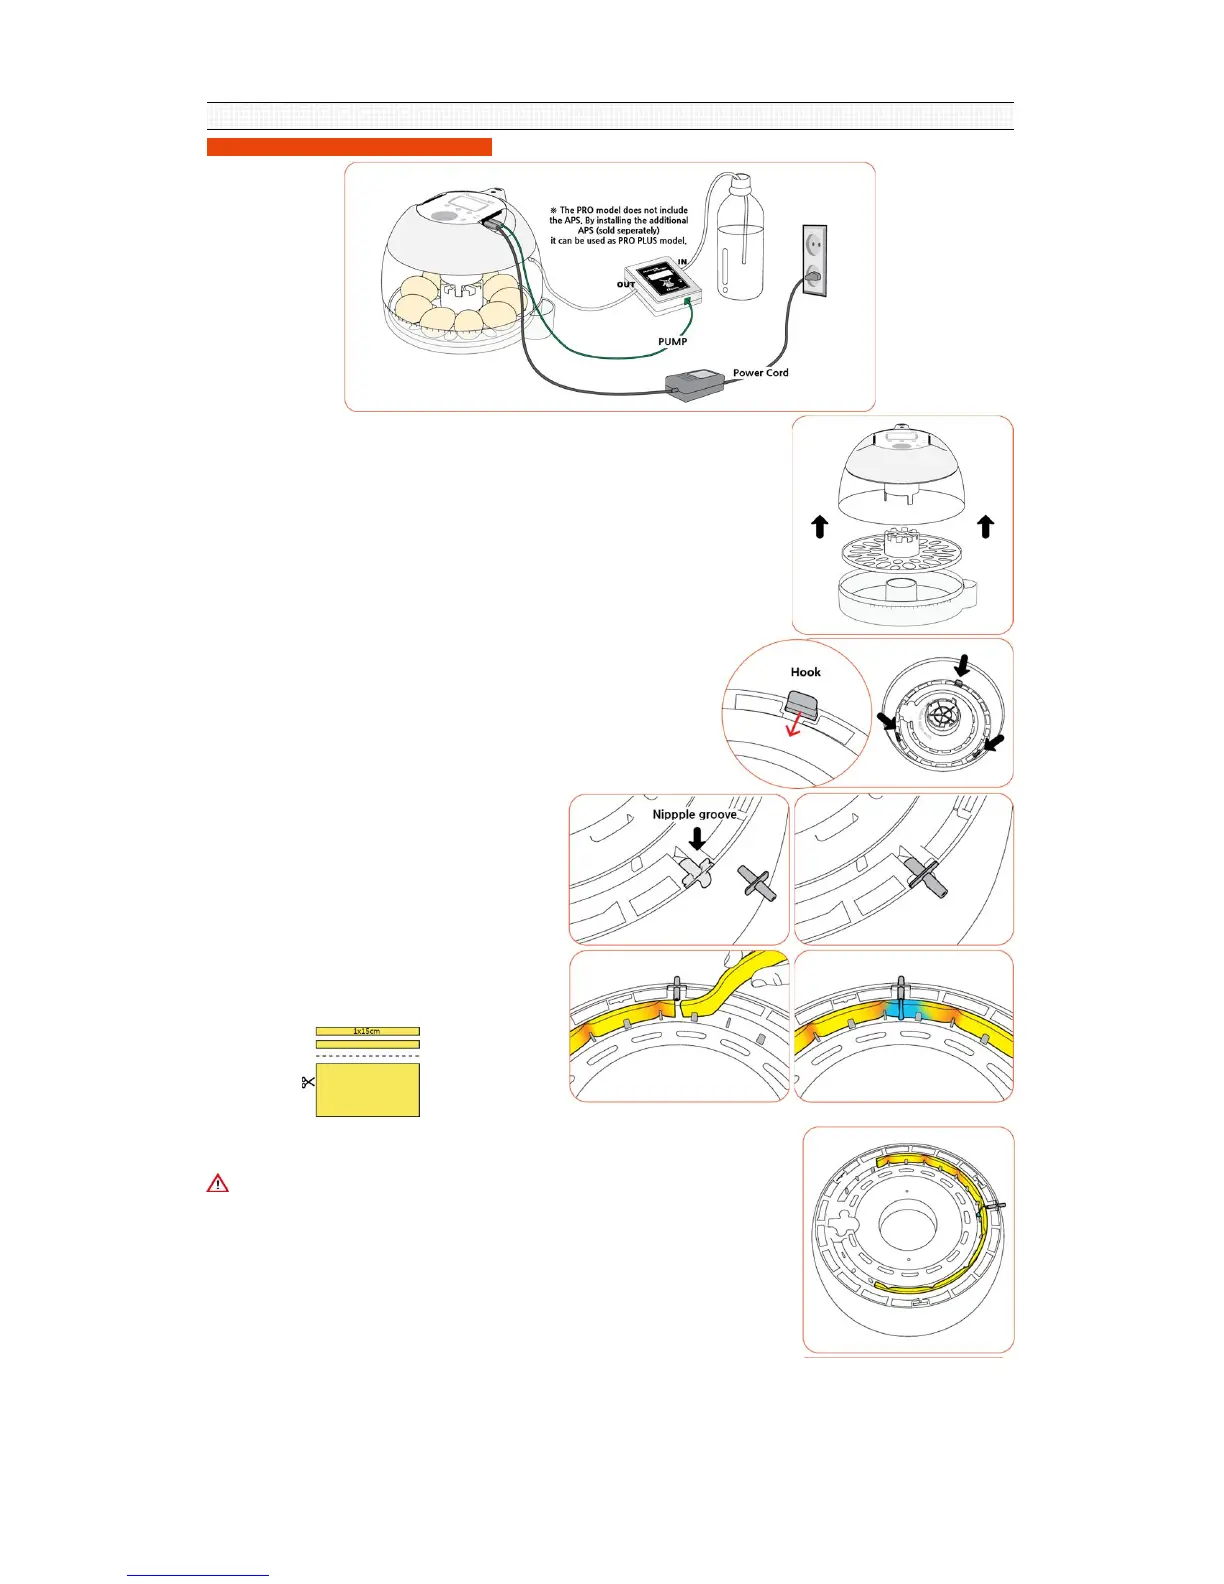
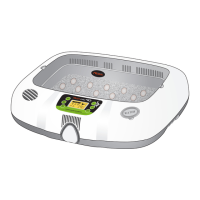
▶ Please insert the nipple into the nipple groove as shown in
the image.
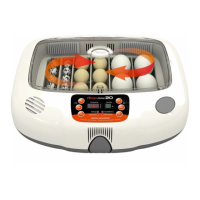
▶ Cut the humidity pad in 2 pieces of 10 x 150mm size and fix
them to the outer groove of each side of the view-window.
Fix them in each side with the nipple as the center.
This allows the water to easily infiltrate the pad.
The maximum/minimum humidification capacity varies according to the size of the
humidification pad.
※ The life of humidification pad is 4~6 months under normal usage conditions but if the
water
quality is improper the life might be reduced. (Please use distilled or purified water for
moisturizing.)
※ The humidification pad can be purchased separately.
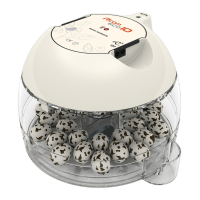
Preparation / Start of Incubation
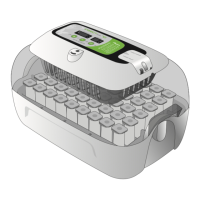
▶ Separate each part for assembly and verify if there is any missing or damaged
parts.(Please do not discard the product box, use it to store the product safely.)
▶ There are 3 hooks connected to the main controller in the inner side of the view-window.
Squeeze the 3 hooks in and separate the main controller and the view-window.
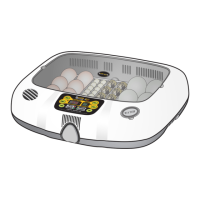
2. BEFORE USE
(2) Preparation of incubation / Start incubation