EasyManua.ls Logo

red lion RL-SPRK Series User Manual

red lion RL-SPRK Series
32 pages
To Next Page IconTo Next Page
Page #1 background imageLoading...
Page #1 background image
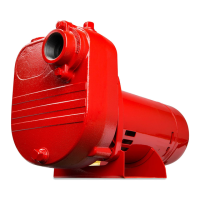
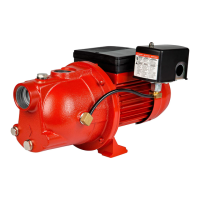
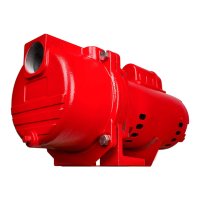
RL-SPRK Series Sprinkler Pumps
English
EN
OWNER'S MANUAL
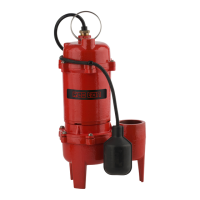
The RL-SPRK pump serves both residential and commer-
cial lawn and turf sprinkling systems. Built with cast iron
casing and base, this durable pump also offers brass
impeller models and conversion kits for especially
demanding applications, such as weir feeders. Plus, the
RL-SPRK offers easy prime up to 25 feet and requires no
additional priming after initial fill.
This product is covered by a Limited Warranty for a
period of 2 years from the date of original purchase by
the consumer. For complete warranty information, refer to www.redlionproducts.com
.
Specifications
Model HP Volts Amps
Gallons (Liters) per Minute at 5 ft
Lift & Discharge Pressure
Max PSI
10 PSI 20 PSI 30 PSI 40 PSI
RL-SPRK100 1
115 14
63 54 38 11 45
230 7
RL-SPRK150 1.5
115 18.6
71 60 44 15 44
230 9.3
RL-SPRK200 2 230 10.9 76 75 65 47 49
RL-SPRK150-BR 1.5
115 18.6
71 60 44 15 41
230 9.3
RL-SPRK200-BR 2 230 10.9 77 75 64 48 47
Questions and Answers:

red lion RL-SPRK Series Specifications

General IconGeneral
CategoryWater Pump
Power SupplyElectric
Housing MaterialCast Iron
SeriesRL-SPRK
Voltage115/230 V
Outlet Size1 inch
Operating Temperature Range32°F to 140°F

Summary

Specifications

Safety Instructions

Installation

Pump Location

Instructions for selecting and preparing a suitable installation site for the pump.

Piping Instructions

Guidelines for connecting suction and discharge piping to the pump.

Electrical Connections

Suction and Discharge Lines

Guidance on installing suction and discharge piping for optimal pump performance.

Changing the Voltage

Procedure for adjusting the pump motor voltage for 115V or 230V operation.

Wiring the Pump

Instructions for connecting the pump motor to the electrical supply, including safety.

Operation

Priming the Pump

Step-by-step guide to fill the pump and suction line with water before operation.

Starting the Pump

Procedure for starting the pump and opening the discharge valve after priming.

Maintenance

Draining the Pump

Instructions for removing water from the pump to prevent freezing damage.

Disassembly

Procedure for taking apart the pump for inspection or repair.

Reassembly

Steps for putting the pump back together after maintenance or part replacement.

Troubleshooting

Replacement Parts

Related product manuals