7
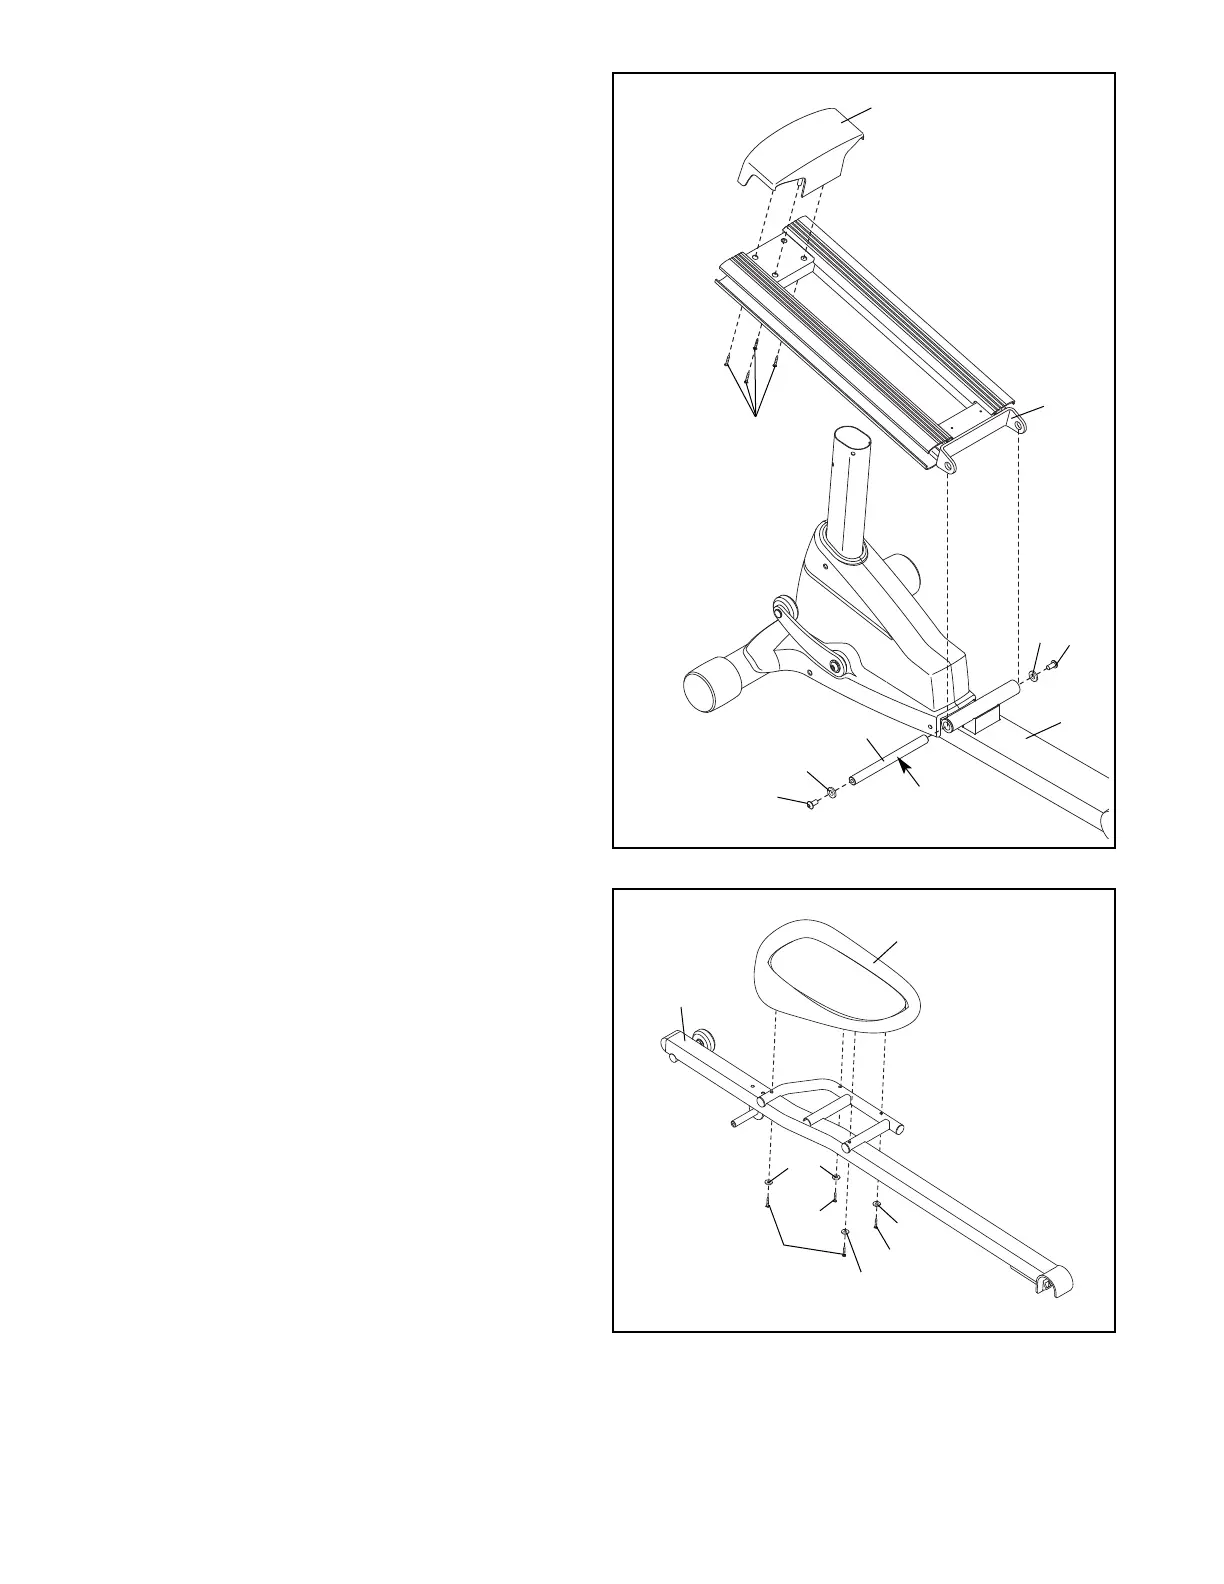
3. Attach the Front Ramp Cover (6) to the
R
amp (5) with four M4 x 16mm Screws (116).
Slide an M10 x 25mm Washer (87) onto an M10
x 20mm Patch Screw (111). Tighten the Patch
Screw into one end of the Ramp Axle (72).
Apply a small amount of the included grease to
t
he Ramp Axle.
Orient the Ramp (5) as shown. Align the lower
end of the Ramp with the welded tube on the
Frame (1). Insert the Ramp Axle (72) into the
Ramp and the welded tube.
Slide an M10 x 25mm Washer (87) onto an M10
x 20mm Patch Screw (111). Tighten the Patch
Screw into the open end of the Ramp Axle (72).
3
5
1
72
Grease
111
116
111
87
87
6
4. Identify the Left Pedal (34) and the Left Pedal
Arm (32), which are marked with “Left” stickers.
Attach the Left Pedal (34) to the Left Pedal
Arm (32) with two M6 x 62mm Patch Screws
(108), two M6 x 35mm Patch Screws (109), and
four M6 Split Washers (102).
Attach the Right Pedal (not shown) to the
Right Pedal Arm (not shown) in the same
way.
34
108
102
102
109
109
32
4
102