English 5
PLEASE CHECK TO MAKE SURE YOU HAVE THE FOLLOWING PARTS:
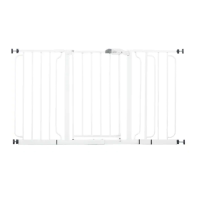
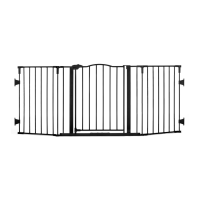
Main Gate Panel (2)
Wall Mount Hinge, Snap, Male (1)
Wall Mount Hinge, Snap, Female (1)
Upper Assembly, Mount Wall, Latch (A) (1)
Lower, Mount, Wall, Hinge (1)
Lower, Mount, Wall Latch (A) (1)
Hinge Adjuster Knob (2)
Receiver Adjustment Knob (2)
2" Wood Screw (8)
Coupler, Male (2)
Coupler, Female (2)
Handle Mounting Paper (1)
Hinge Mounting Paper (1)
Upper Assembly, Mount Wall,
Latch (B) (1)
Hinge Placement
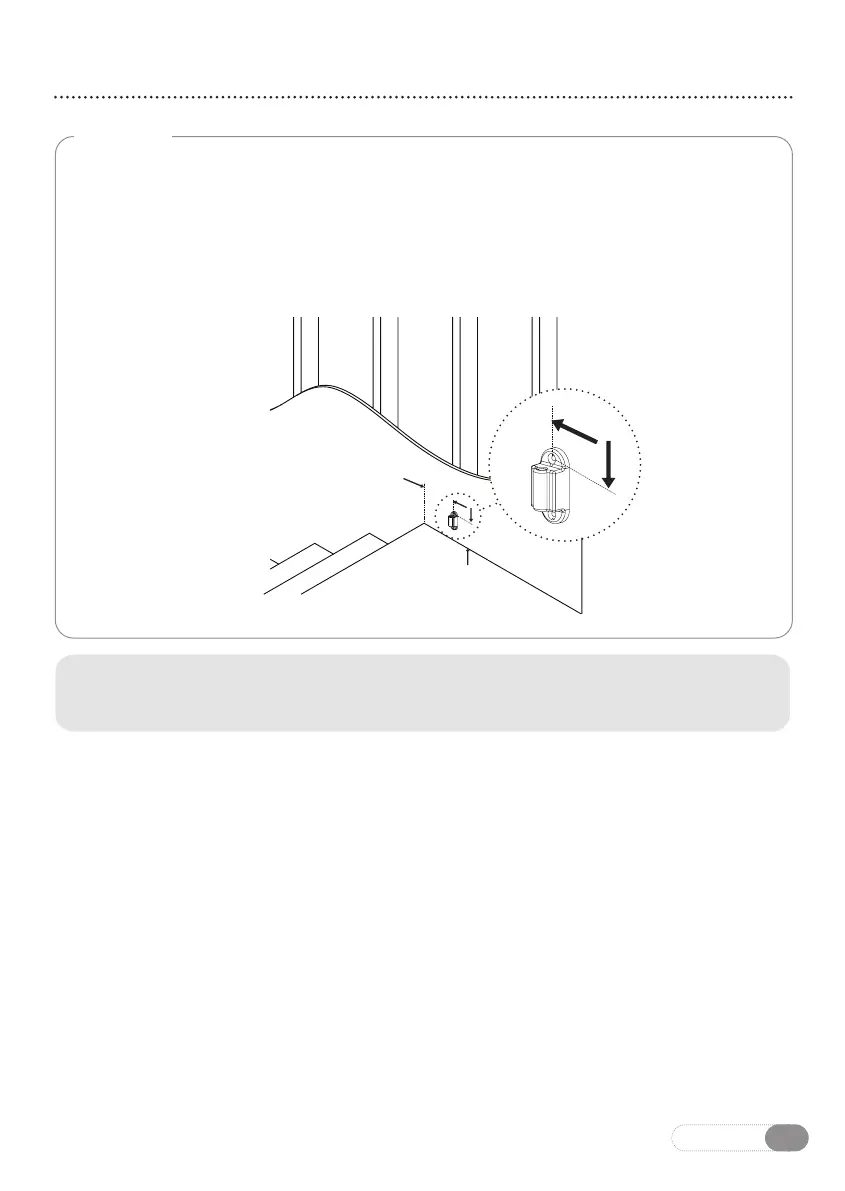
STEP 1
The hinges get installed on the right side of the stairs (when looking down the
stairs). Using a stud finder locate a stud in the wall that is at a minimum 6"
from the edge of the top stair. Once the stud is located, place the lower mount
wall hinge against the wall. Position it so the upper hole of the lower mount wall
hinge is at a maximum of 2 1/2" above your floor.
STUD
DRYWALL
STAIRS/FLOOR
6" MIN.
2 1/2" MAX.
NOTE: Use (D,F) or (N,O) to stop gate from swinging over stairwell. Parts
are marked with “A” and “B” on backside.
 Loading...