English 11
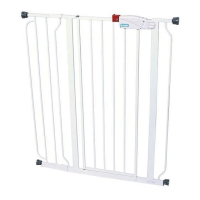
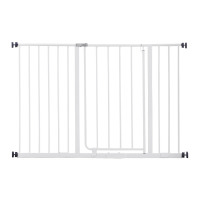
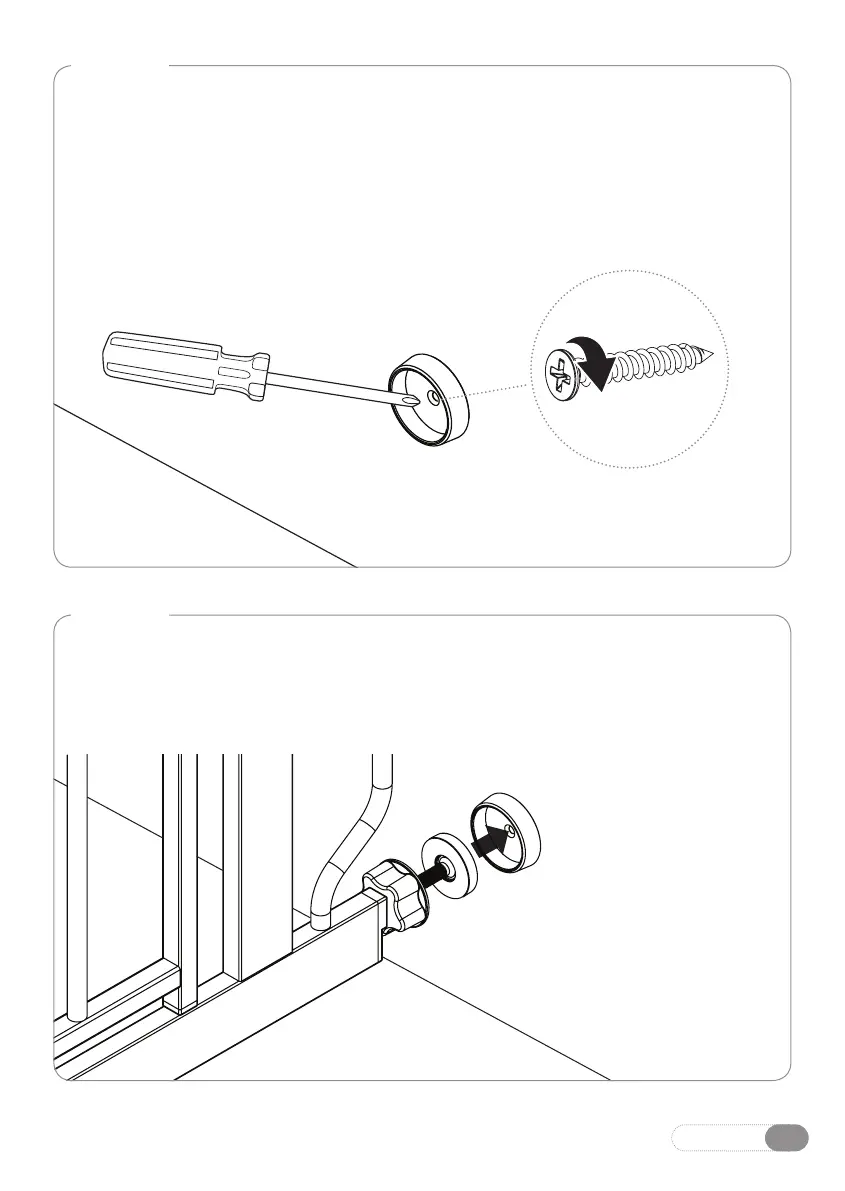
STEP 3
With the gate fully removed, you can now use the circles you marked during
STEP 1 as guides for screwing in your (4) wall cups.
Center each of the wall cups within the guide circles and use the provided
self-tapping screws to fasten them in place via the hole through the center of
each wall cup.
STEP 4
Reinstall your gate in the doorway or opening according to the instructions,
using the newly installed wall cups as anchoring points for the (4) threaded
spindle rods.