22
Installer's Information
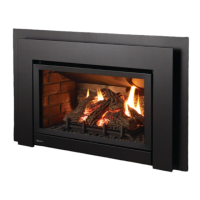
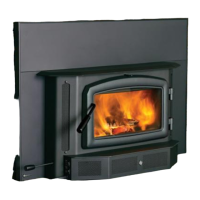
3-Sided Faceplate Installation
PART # Description
281-912 Faceplate 3-Sided Flush
281-937 Faceplate Custom 3-Sided
These instructions are for use with the following products:
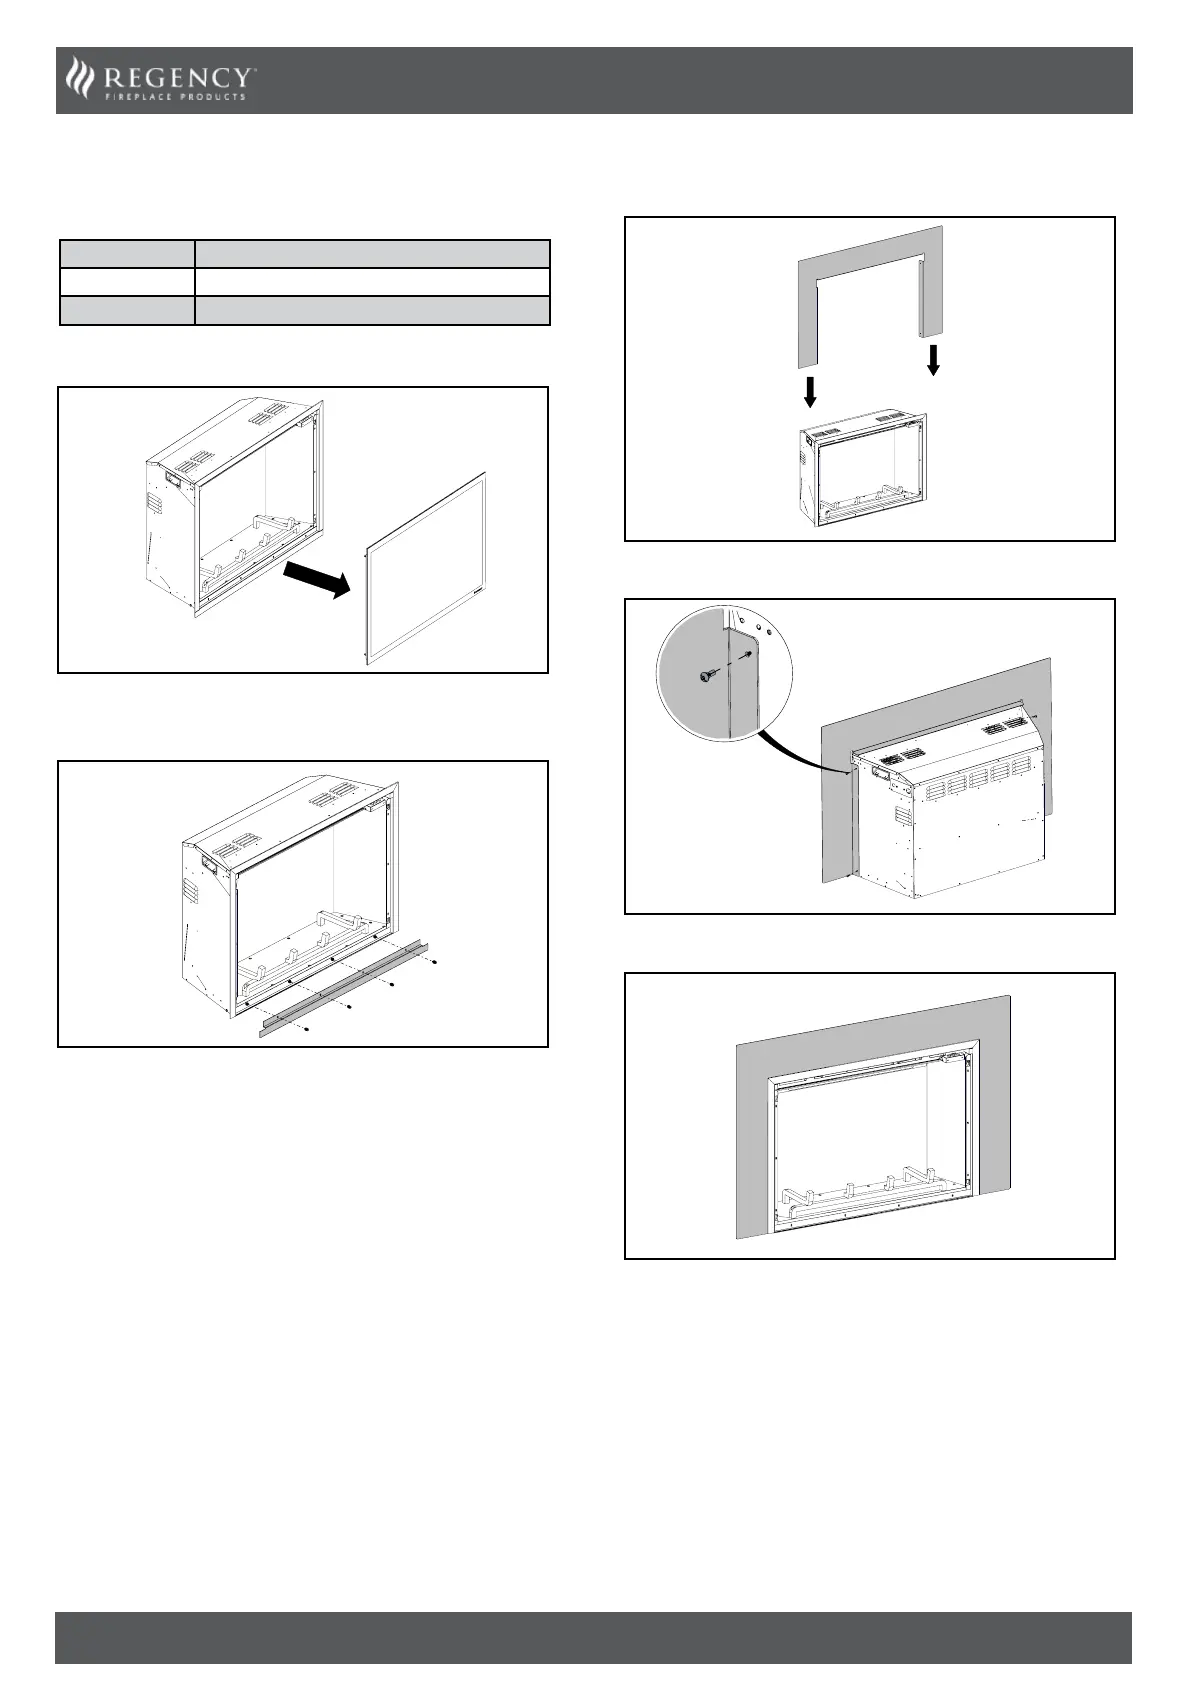
1. Remove the front glass with the suction cup provided.
2. Uninstall the bottom trim by removing these 4 screws. See below.
The bottom trim is not required and may be recycled along with the
4 screws.
3. Remove the four screws supplied with the 3-sided faceplate.
4. Install the faceplate from the top, then pull forward.
5. Fasten the four screws on both sides to attach the faceplate.
6. Faceplate installed.