Regency
®
P42-4 Zero Clearance Direct Vent Gas Fireplace 25
INSTALLATION
AERATION
ADJUSTMENT
The aeration adjustment gears are located on
the valve mounting plate and are accessed
from underneath through the bottom louver
opening.
To access the air shutter loosen the lock nut and
then use the allen key to turn the turning gear
which will adjust the air shutter. Open the air
shutter for a blue fl ame or close it for a yellower
fl ame. Tighten the lock nut when adjustment is
complete. The burner aeration is factory set but
may need adjusting due to either the local gas
supply or altitude.
CAUTION: Carbon will be produced if air
shutter is closed too much. (Should be
3/16"(4mm) open for natural gas and 1/2"
(13mm) for propane.)
Note: Aeration Adjustment should only be
performed by an authorized Regency
®
Installer at the time of installation or
service.
BRICK PANELS
1) Unhook the 2 spring loaded hooks from the
bottom of the fl ush door and lift the Flush
Front off the unit.
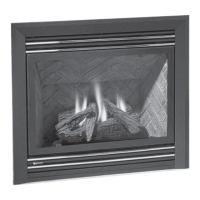
2) Unwrap the brick pattern panels from the
protective wrapping. Handle the panels with
care as they can break easily.
Note: The logs must not be in the unit.
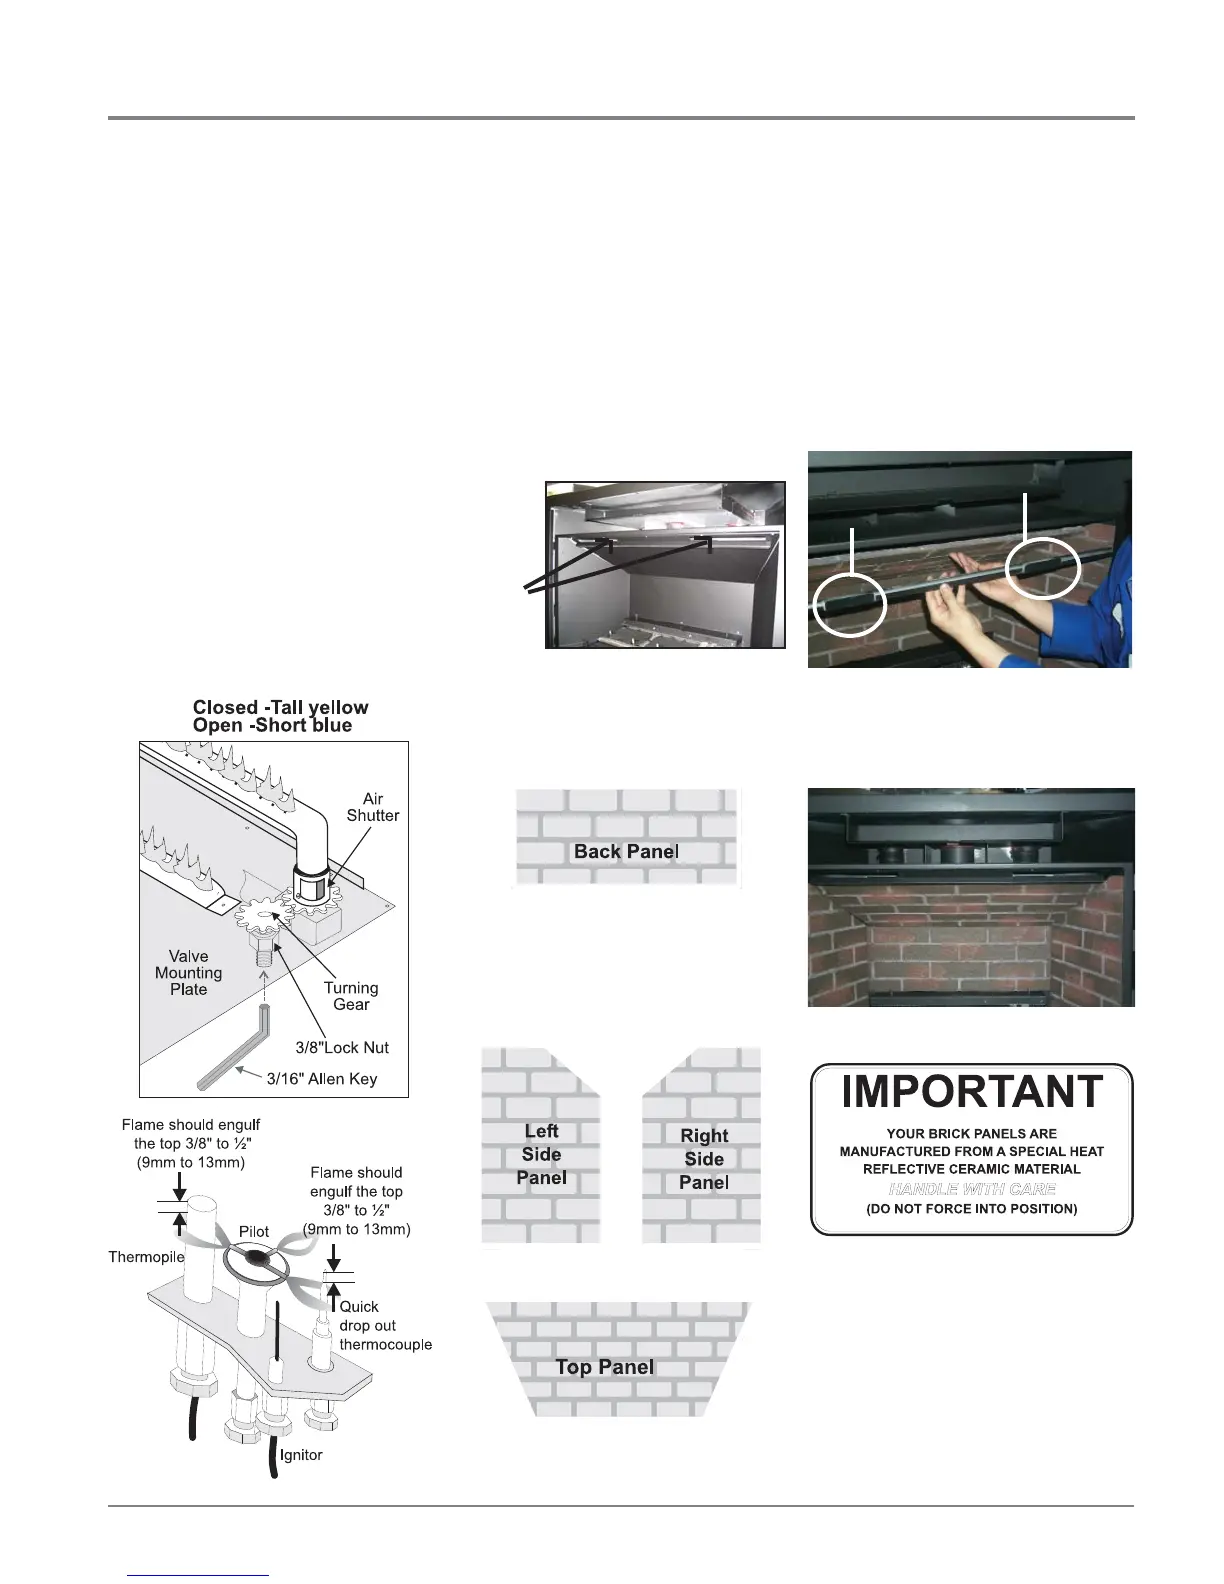
3) Remove the metal channel from the fi rebox
top, and use it later for installing the top
brick panel (refer to Diagram 1).
Diagram 1
Metal
Channel
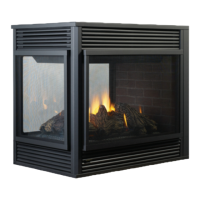
4) Insert the back brick panel fi rst by carefully
slipping it between the back wall of the
fi rebox and the rear log bracket.
(front)
(back)
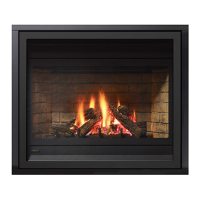
5) Insert the side panels. Tilt them in towards
the middle of the fi rebox and put the bottom
front corner in fi rst. Be very careful not to
scratch them on the fi rebox hardware. Place
them fl at up against the wall, they should fi t
snugly against the top of the fi rebox.
IMPORTANT: Dangerous operating
conditions may occur if the panels
are broken.
Diagram 2
Tab
Tab
Diagram 3
9) Ensure all panels are securely in place (refer
to Diagram 3).
6) Rest the narrow end of the top brick panel
on top of the back wall brick panel. Then,
with both hands, lift the top panel up.
7) Slot the top metal channel 1/2 way into place
onto the top of the panel.
8) Carefully position and push the top panel
into position. Make sure the tabs of the metal
channel fi t into the baffl e openings (refer to
Diagram 2). Push downwards to secure the
channel and top panel.