38 | Regency
®
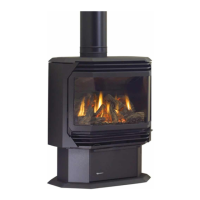
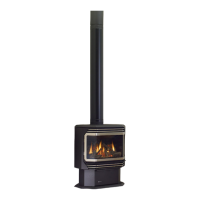
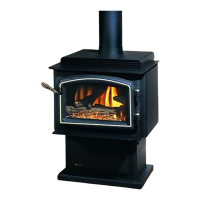
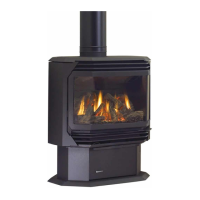
U39E-11 ULTIMATE™ Freestanding Gas Stove
installation
E
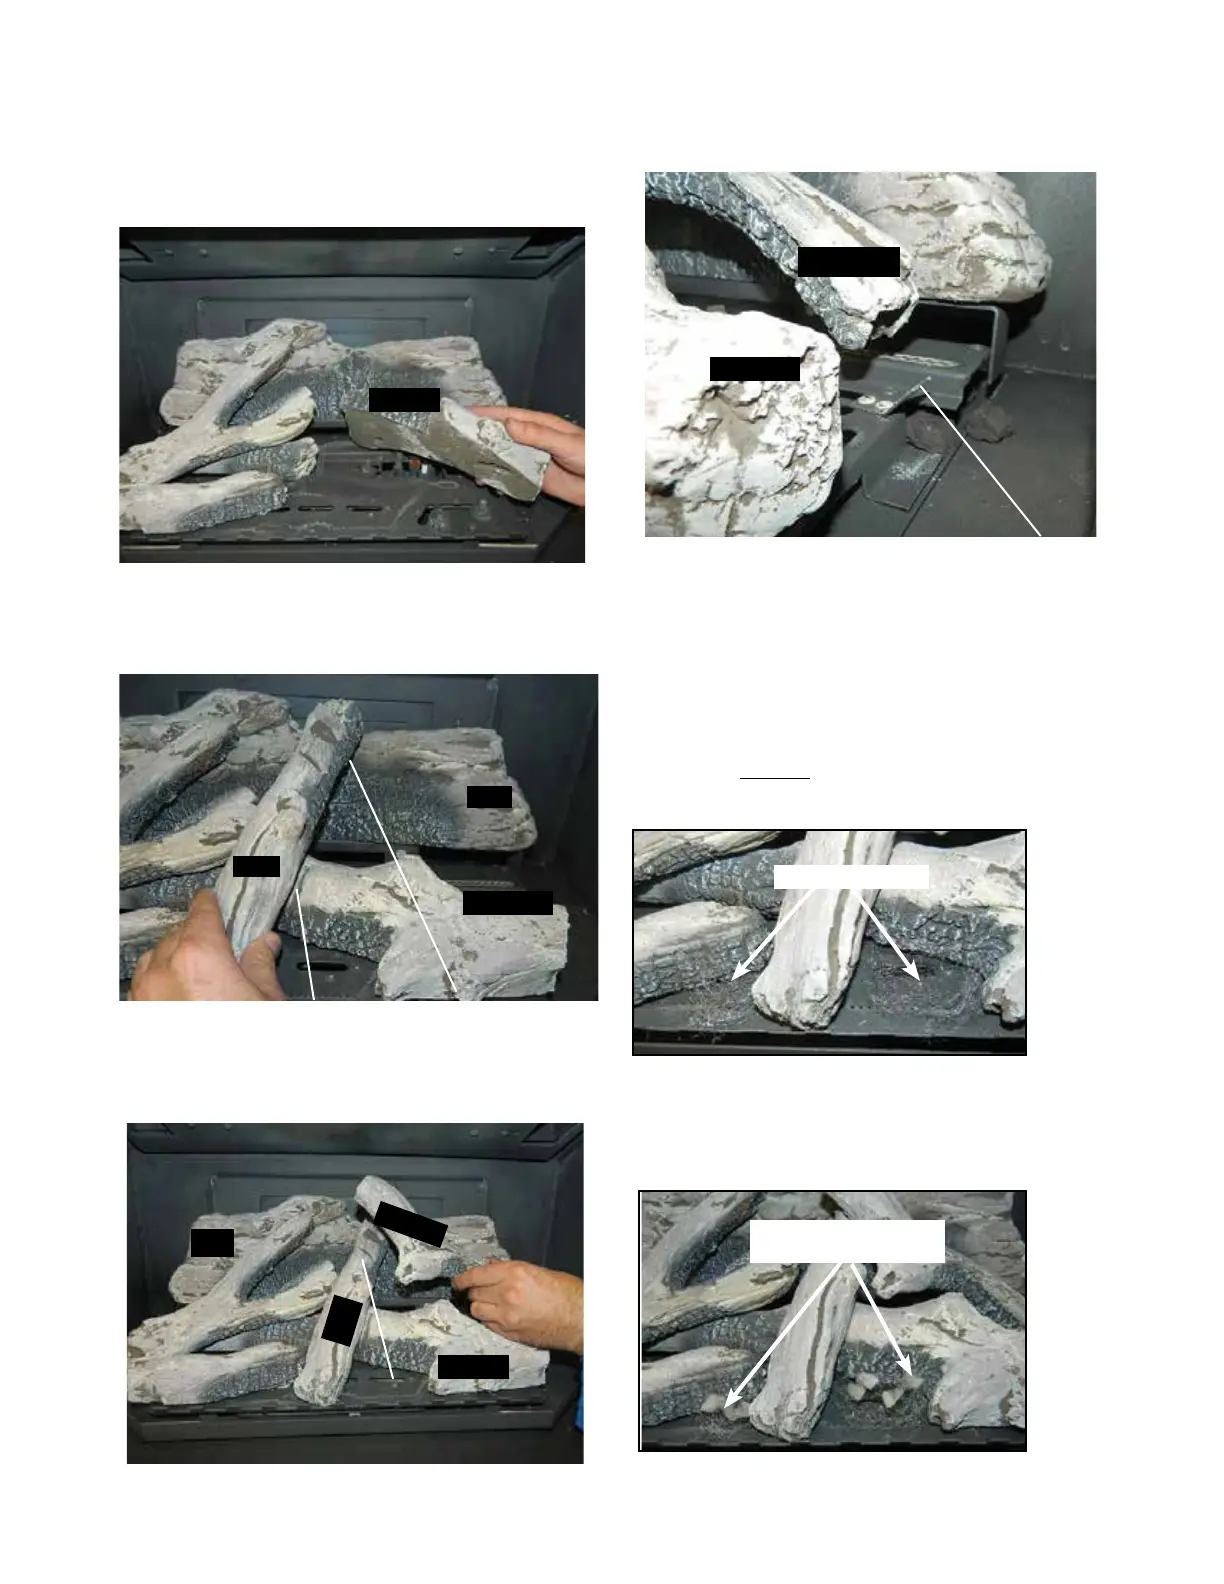
6 Place Front Right Log E on the two pins as shown.
Cutout
Notch
F
E
A
7. Place the notch in Center Log F over
Log E and across the cut-out on Log A.
Notch
A
G
E
F
8. Position notch in Front Right Log G on Log F and push the
bottom right edge against the bracket on the burner tray.
E
Bracket
The bottom right edge of Log G must sit
snugly against the bracket
Side
View
G
9. Take the Embaglow, (steel wool like material) lightly separate
it and set a small amount over the visible burner ports in
front and between the front left log and the log under the
“Y” log, indicated in the picture.
IMPORTANT: DO NOT compress this material down on the
burner ports.
Embaglow
10. Next, take the white Platinum Ember material (provided)
and gently separate the layers until you have a fi ne layer
to place onto the Embaglow (steel wool type media).
Platinum Embers