Getting Acquainted With i-Light
10
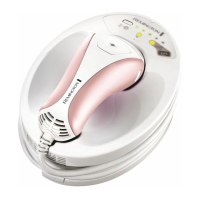
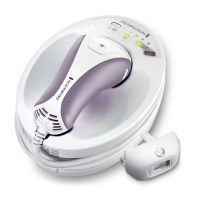
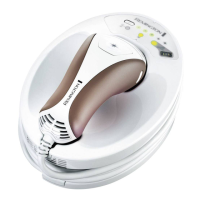
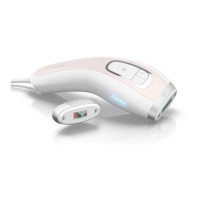
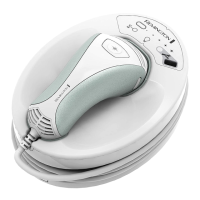
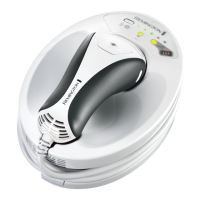
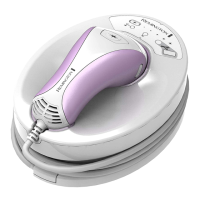
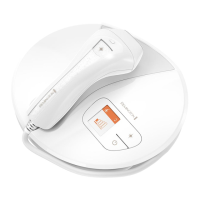
Flash Button (fig. 1-B)
The Flash Button is located on the hand piece. To activate the flash bulb, ensure the Skin
Contact Sensor is fully engaged and press the Flash Button.
Bulb Status Indicator Display
(fig. 1-P)
The device is ready to flash when the Bulb Status Indicator Display is illuminated green.
NOTE:
If the Flash Button is pressed AND the Skin Contact Sensor is not fully engaged
OR the Bulb Status Indicator Display is not illuminated, an audible “beep” will
sound.
When the Bulb Status Indicator Display
illuminates
yellow, there are 150 flashes remaining
in the flash bulb. When the Bulb Status Indicator Display
flashes
yellow, the bulb cartridge
has been used up and will no longer operate. You must replace the bulb cartridge to
continue using the device.
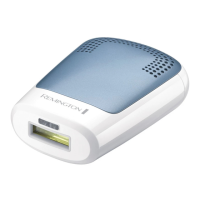
Nose Cone Release Buttons
(fig. 1-F)
Press both buttons and gently pull to remove the nose cone.
WARNING: ALWAYS ensure the unit is OFF and the power cord is disconnected
before removing the nose cone. If the nose cone is removed while the
unit is powered ON, all indicator lights on the base unit will flash and
audible “beeps” will sound.
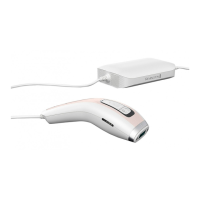
Preparing for Use
100827_REM_IFU_IPL5000_21L GB10100827_REM_IFU_IPL5000_21L GB10 25.11.10 15:1825.11.10 15:18

 Loading...