Renesas RA Family EK-RA6M3 – Quick Start Guide
R20QS0011EU0102 Rev.1.02 Page 9 of 23
Jun.12.20
4.2 Running the Quick Start Example Project
To run the Quick Start example project, use the following instructions:
1. On power up or RESET, the three user LEDs (blue LED1, green LED2, and red LED3) start blinking at
1 Hz frequency and at 90% intensity.
Note: The debug LED (LED5) will blink or light up orange; this can be ignored for now.
2. Press the first user button (S1) on the EK-RA6M3 board to change the blinking frequency of the user
LEDs. With every press of the first user button (S1), the frequency will switch from 1 Hz to 5 Hz to 10 Hz
and cycle back.
3. Press the second user button (S2) on the board to change the intensity of the user LEDs. With every
press of the user button (S2), the intensity will switch from 90% to 50% to 10% and cycle back.
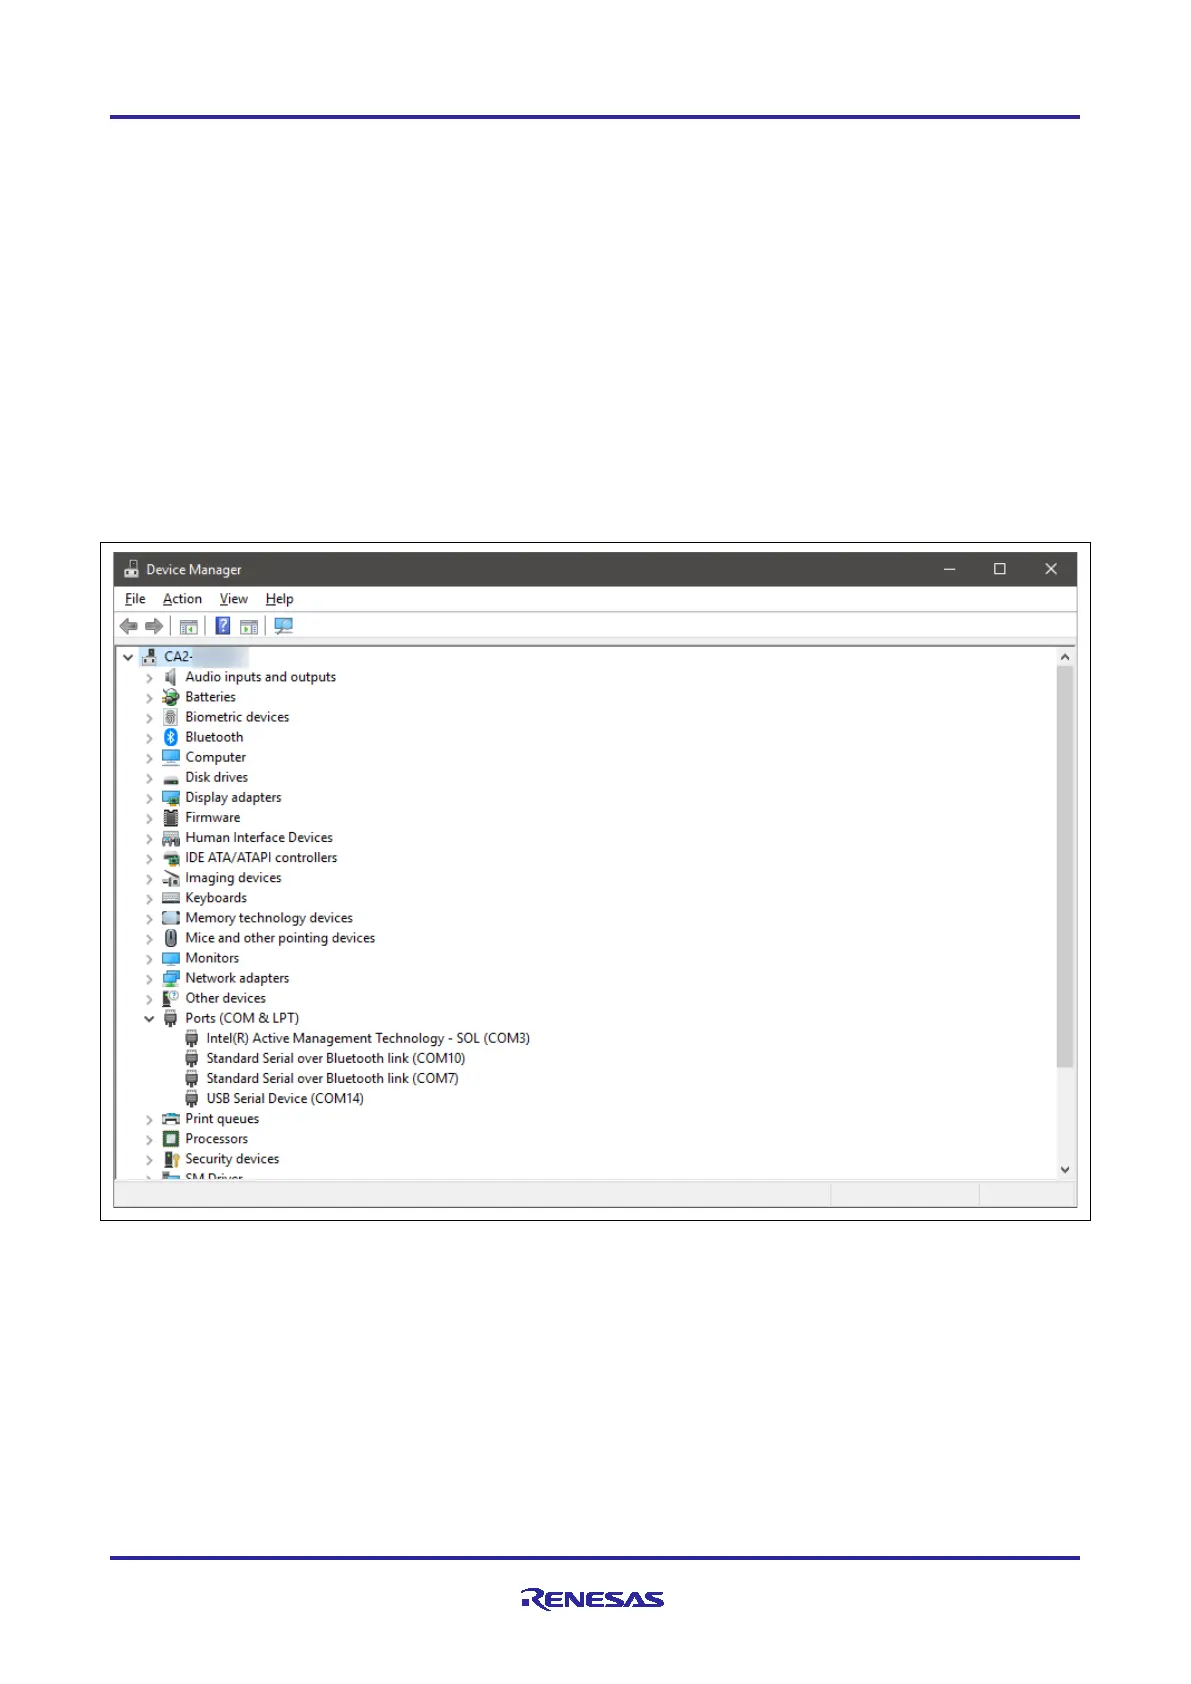
4. On the host PC, open Windows Device Manager. Expand Ports (COM & LPT), locate USB Serial
Device (COMxx) and note down the COM port number for reference in the next step.
Note: USB Serial Device drivers are required to communicate between the EK-RA6M3 board and the
terminal application on the host PC.
Figure 4. USB Serial Device in Windows Device Manager
 Loading...