of 24
Jan.31.2020
a. Download the Windows version of dfu-util from https://sourceforge.net/projects/dfu-util/files and
unpack the zip file. No installation is required, where this document tells you to run dfu-util, simply run
the dfu-util-static.exe Windows executable from a Windows command prompt. If you are running Linux
on your PC, install the “dfu-util” package: sudo apt-get install dfu-util.
b. Start the DFU target
Connect your RZ/N1 board to your Windows PC using the USB cable, and reset your board in “Boot
from USB” mode (i.e. using DFU)
c. Register the USB device
You must register the USB Download Gadget device with the libusbk driver, you only need to do this
once. On your Windows PC:
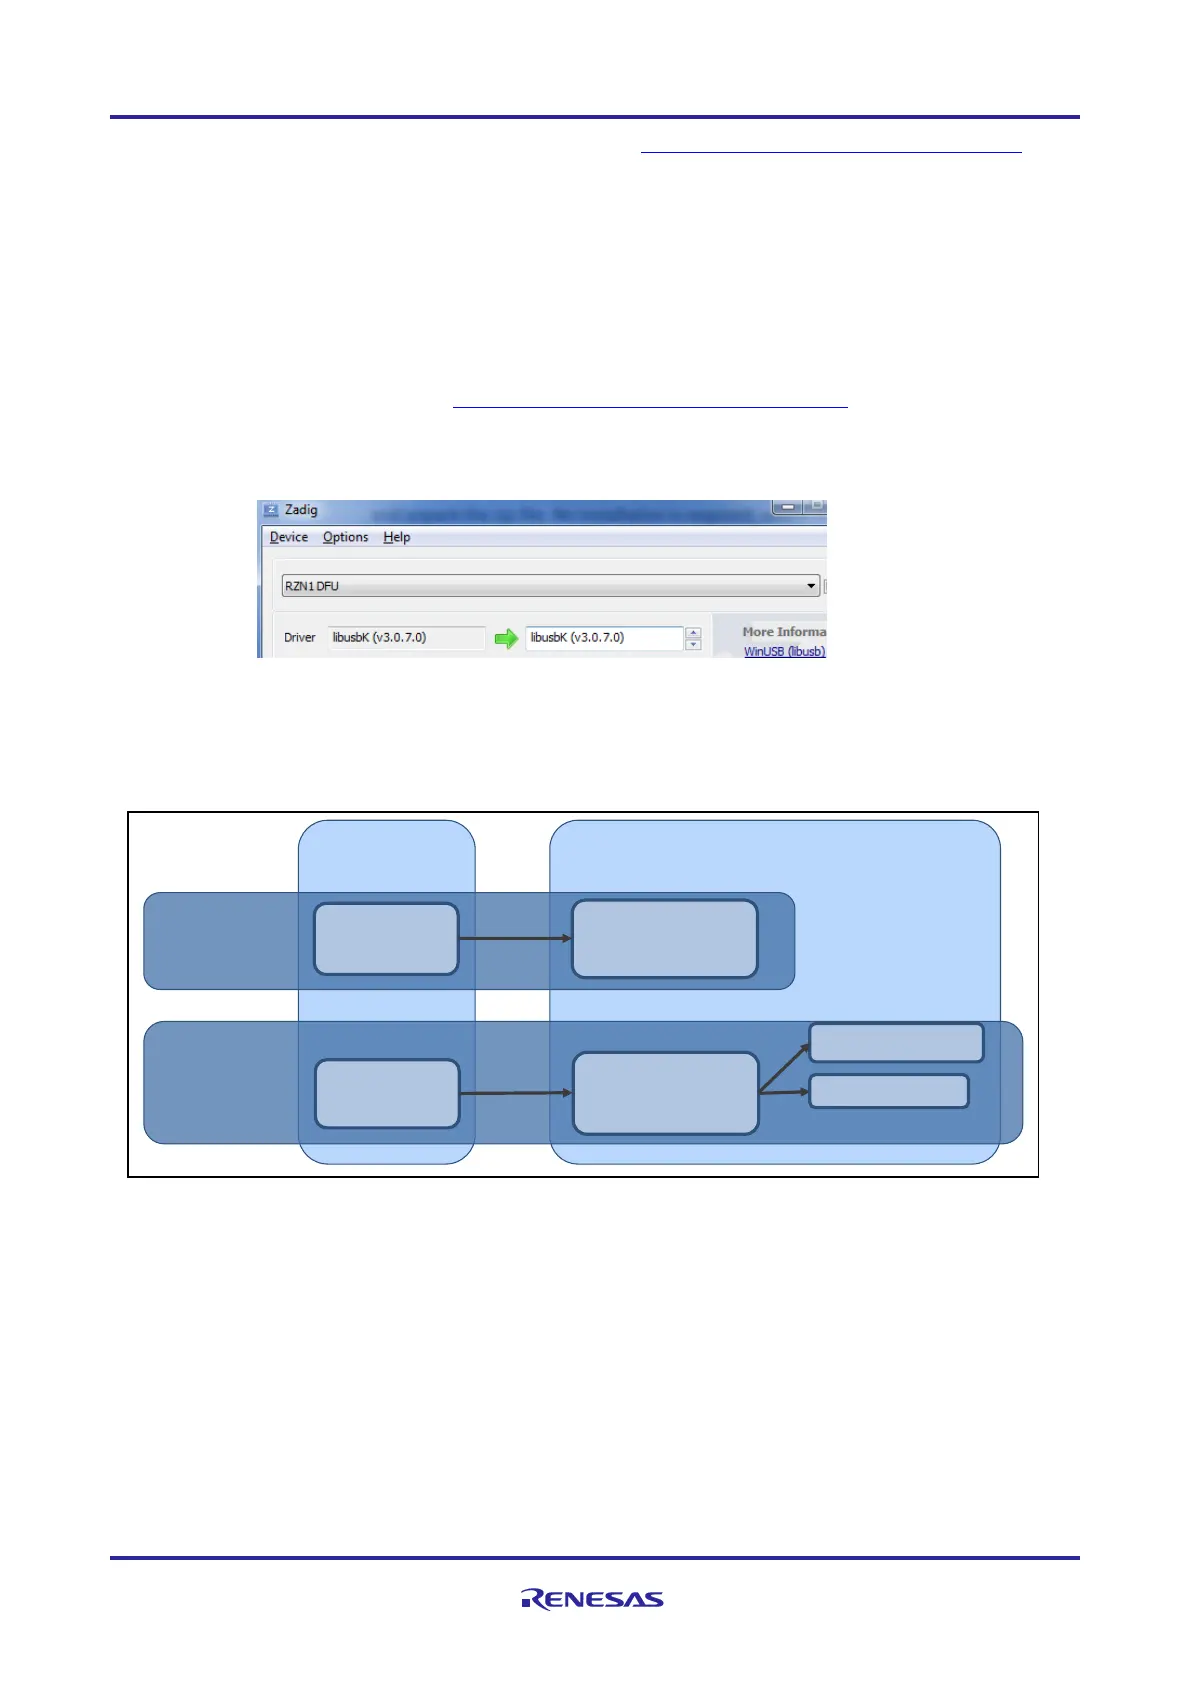
o Download Zadig from http://zadig.akeo.ie/downloads/zadig-2.3.exe
o Launch Zadig, select "List All Devices" from the Options menu.
o Select "RZN1 DFU" from the pull-down list. Please note that the device might appear as “USB
Download Gadget”
o Select "libusbK" from the Target Driver list (to the right of the green arrow).
o Click the "Install Driver" button, this will take some time.
o Quit Zadig
d. Locate the U-Boot binary for RZ/N1S - YCONNECT-IT-RZN_V1.X\Software\U-Boot-and-Linux\u-
boot\binaries\u-boot-rzn1s324-db.bin.spkg
e. Open a terminal emulator client like TeraTerm or putty, choose the corresponding serial port, where
you board is registered to and set the serial port settings as depicted below. On Linux PCs, if you
have no other serial-over-USB devices attached, board’s serial port is accessed via /dev/ttyUSB2.
 Loading...