— 9 —
4. Installation
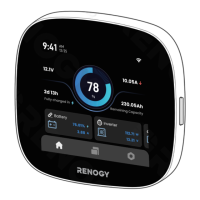
You can place Renogy ONE Core on a table or mount it on a wall.
4.1. Place Renogy ONE Core on a Table
The package box is environmentally friendly. You can use it as a bracket to hold the Core when installing
it on the wall is not required.
The RV leveling function is unavailable on Core when it is placed on a table.
31 2
Power Cable
(included)
5V, DC
Type-C Cable (optional)
4A 4B
When installing the power cable, always connect the negative first, and then the positive.
You can connect Renogy ONE Core to a power supply through the included power cable or a
Type-C cable (not included).
Devices (RS-485)
+
-
HUB
RJ45 Ethernet Cable
(Max length: 6 m)
5
For details, see “3.5. How to connect RS-485 Communication Devices (Optional)”.