English English11 12
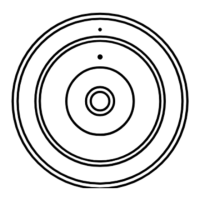
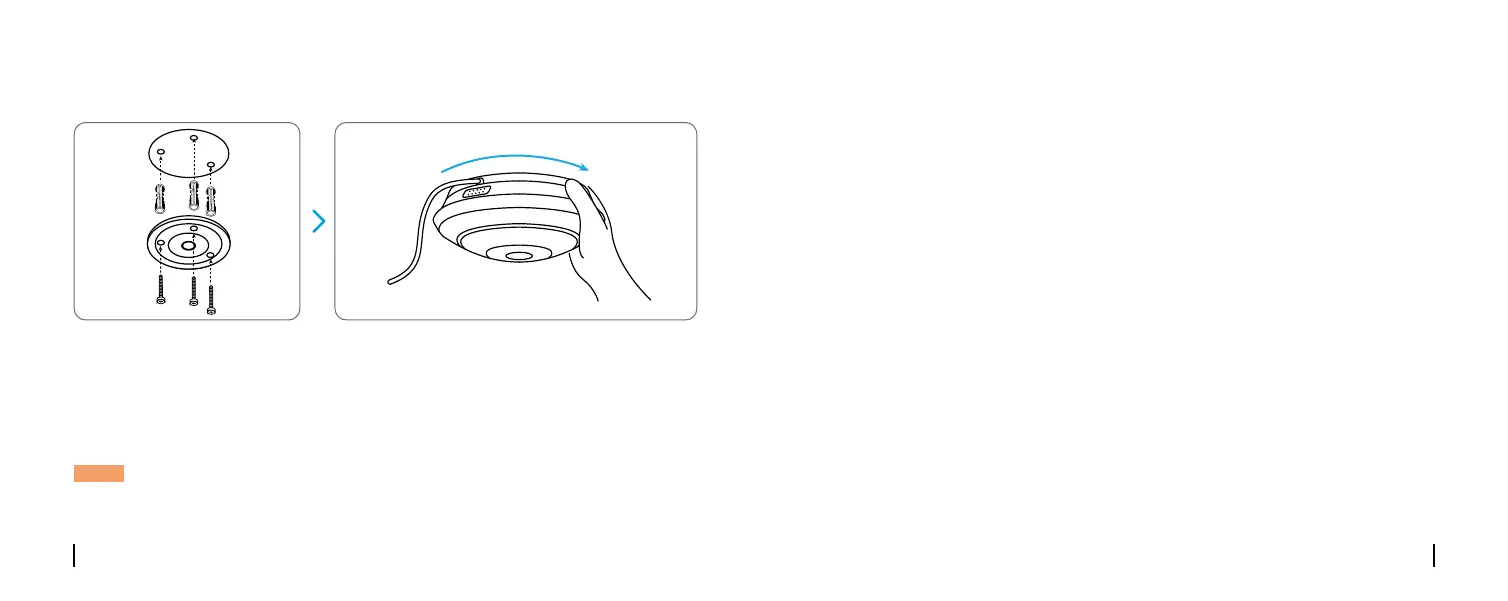
Mount the Camera to Ceiling
1. Drill holes in accordance with the mounting hole template. Use the drywall anchors
included in the package if needed.
2. Secure the mount base to the ceiling with screws.
3. Run the cable of the fisheye camera through the cable groove on the mount base,
and rotate the camera clockwise to lock it in position.
VGAHDMIUSB
AUDIO
OUT
DC 48V
ON
2 4 6 8
1 3 5 7
OFF
LAN
eSATA
You haven't added any device. Please click
the"+"button in the top right corner to add
VGAHDMIUSB
AUDIO
OUT
DC 48V
ON
2 4 6 8
1 3 5 7
OFF
LAN
eSATA
You haven't added any device. Please click
the"+"button in the top right corner to add
NOTE: Fit the three mounting holes of the camera into the mount base.
Troubleshooting
If the Infrared LEDs of your camera stop working, please try the
following solutions:
• Enable infrared lights on Device Settings page via Reolink App/Client.
• Check if the Day/Night mode is enabled and set up auto infrared lights at night on
Live View page via Reolink App/Client.
• Upgrade the firmware of your camera to the latest version.
• Restore the camera to factory settings and check out the infrared light settings
again.
If these won’t work, contact Reolink Support https://support.reolink.com/.
Infrared LEDs Stop Working
 Loading...