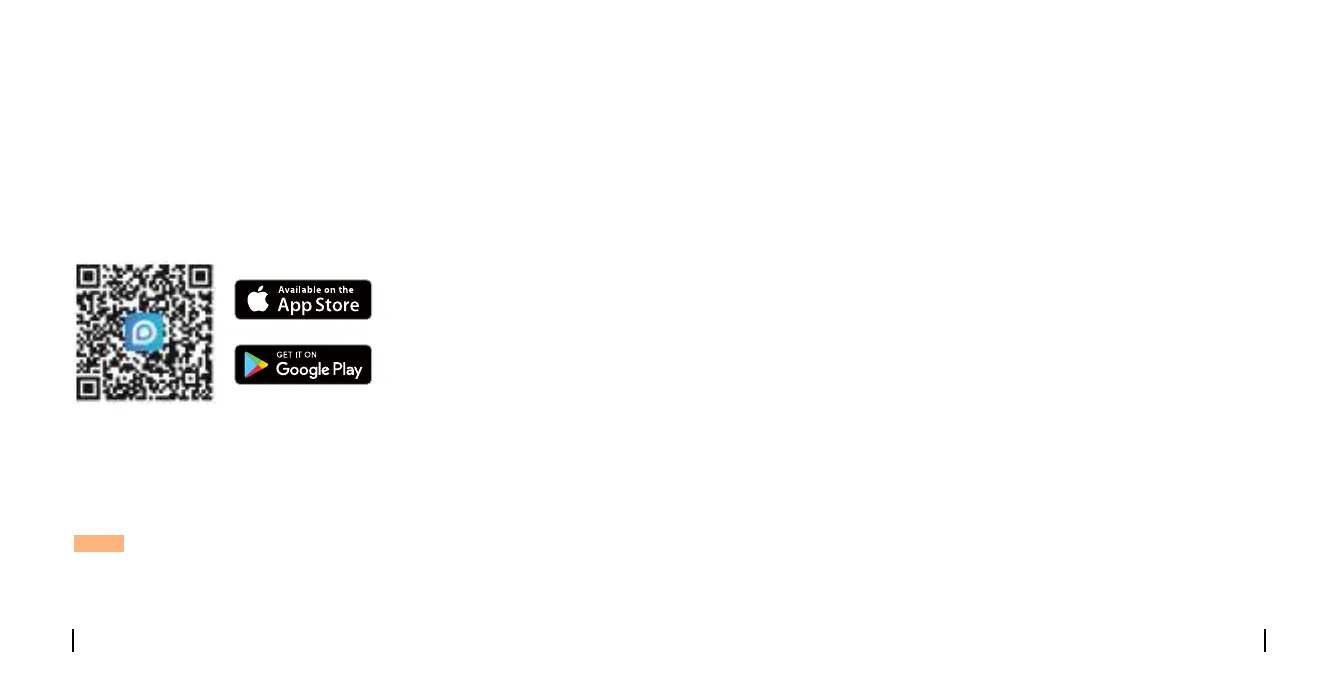
Download and launch the Reolink App or Client software, and follow the
onscreen instructions to finish initial setup.
Set up the Camera
Installation Tips
• Do not face the camera towards any light sources.
• Do not point the camera towards a glass window. Or, it may result in
poor image quality because of the window glare by infrared LEDs,
ambient lights or status lights.
• Do not place the camera in a shaded area and point it towards a well-lit
area. Or, it may result in poor image quality. To ensure best image
quality, the lighting condition for both the camera and the capture object
shall be the same.
• To ensure better image quality, it’s recommended to clean the lens with
a soft cloth from time to time.
• Make sure the power ports are not directly exposed to water or
moisture and not blocked by dirt or other elements.
• With IP waterproof ratings, the camera can work properly under
conditions like rain and snow. However, it doesn't mean the camera can
work underwater.
• Do not install the camera at places where rain and snow can hit the
lens directly.
• The camera may work in extreme cold conditions as low as -25°C.
Because when it is powered on, the camera will produce heat. You may
power on the camera indoors for a few minutes before installing it
outdoors.
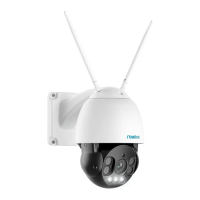
Mount the Camera
• On Smartphone
• On PC
Scan to download the Reolink App.
Download path of the Reolink Client: Go to https://reolink.com > Support
> App & Client.
NOTE: If you are connecting the camera to a Reolink PoE NVR, please
set up the camera via the NVR interface.
8English
7 English
 Loading...