Adjusts humidifier setting
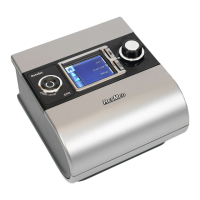
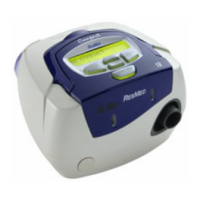
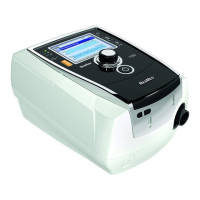
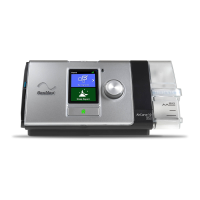
Setting up
your ResMed S9
™
system
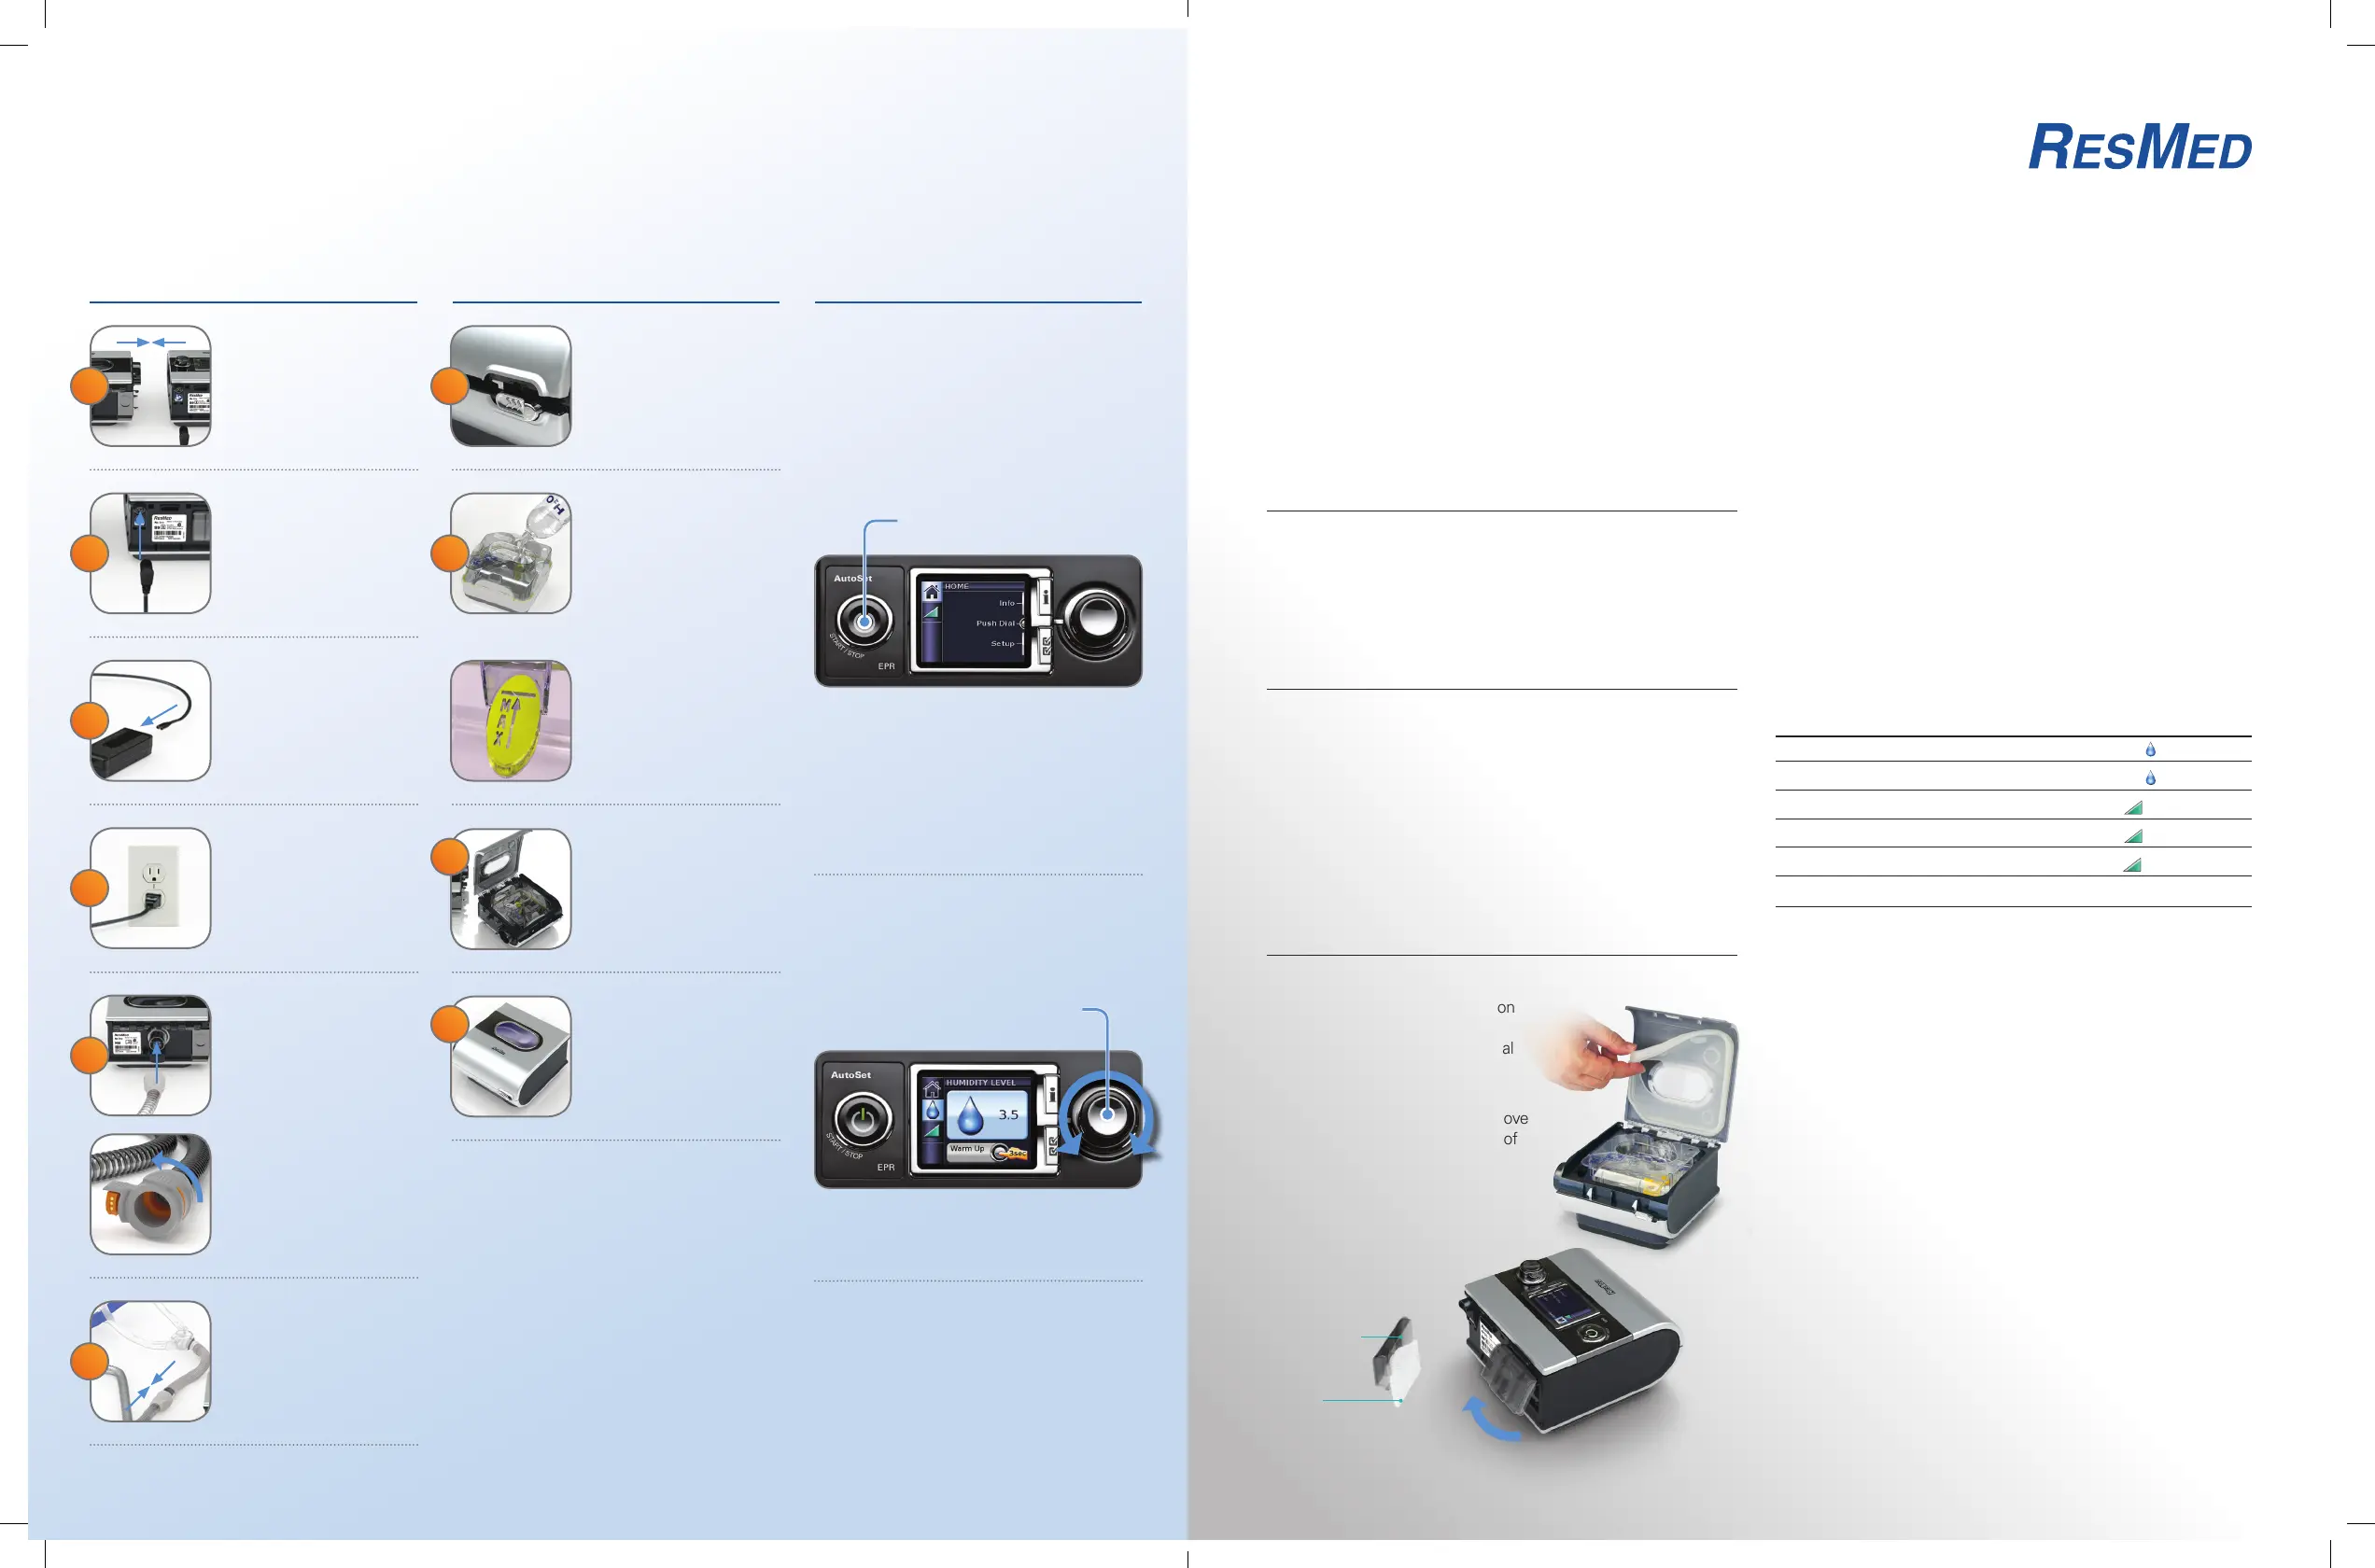
Filling
your H5i
™
water tub
Slide the silver latch on the
front of the device and lift
open the flip lid. Remove
the water tub.
Through the center hole,
fill the water tub with room
temperature (do not use
hot or cold) distilled water
up to the max water level
mark (380 mL).
Filling water tub while still in
humidifier may damage unit,
voiding warranty.
Overfilling the water tub may
result in water splashing
through the tubing.
Return the water tub
to the H5i.
Close the flip lid, ensuring
that it clicks into place.
Be sure water tub is
completely empty before
traveling with device.
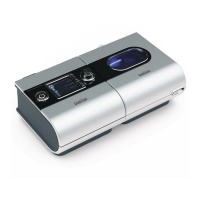
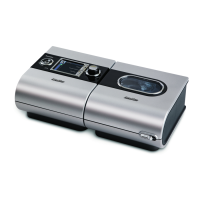
On a flat surface, align
the S9 device and the H5i
humidifier. Push them
together until they click.
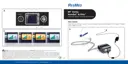
Connect the power cord
to the power supply unit.
Be sure to fully extend cord,
and place power brick in a
well-ventilated area away from
the device and humidifier.
Connect the plug of the
power supply unit to the
rear of the S9 device.
Plug the free end of
the power cord into
the wall outlet.
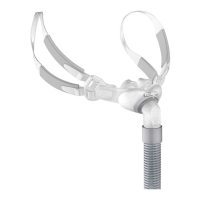
Connect one end of the
air tubing firmly onto the
S9 device’s air outlet.
If using ClimateLine
™
tubing,
remove black rubber cover
on the back of the device,
attach ClimateLine tube and
turn until it clicks into place.
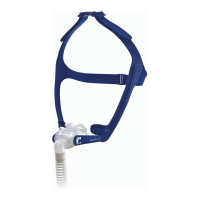
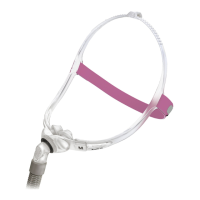
Connect the assembled
mask system to the free
end of the air tubing.
Your device will be
preset to the physician’s
prescribed pressure.
Adjust your humidifier setting by first turning
the dial, then press down on the dial to lock in
the desired setting. The screen will change from
orange to blue when your setting is locked in.
Once your comfort setting is locked in,
that is your new default setting.
Airflow may stop if there is a high leak from
your mask or tube. If this should happen, pull
the mask away from your face and check for a
secure fit. Make sure not to overtighten mask
as this can increase leak.
Note: SmartStart/Stop feature may not be
available on all S9 devices.
Taking care of your ResMed equipment
• Always use mild soap when cleaning equipment: plain liquid
soap or baby shampoo is recommended.
• Do not use solutions containing bleach, chlorine, alcohol,
aromatics, moisturizers, antibacterial agents or scented oils to
clean any part of the system or air tubing. These solutions may
cause damage and reduce the life of the product.
• Do not leave any part of the system, tubing or mask in direct
sunlight as it may deteriorate the product.
DAILY
Wash your mask with warm, soapy water. Rinse well
and allow to air dry away from direct sunlight.
Wash the H5i water tub in warm water using a mild detergent.
Rinse thoroughly in clean water and allow it to dry away from
direct sunlight.
WEEKLY
Mask and headgear – Separate and hand wash mask components
and headgear in warm water with mild soap. You can wash your
headgear without taking it apart. Rinse components well and allow
them to air dry away from direct sunlight.
The dye used in the headgear may run during the first wash.
Tubing – Remove the air tubing from the S9 device and the
mask. Wash it by submerging it in a sink of warm, soapy water
and agitating the water back and forth inside the tube. Rinse
thoroughly and hang to dry away from direct sunlight.
MONTHLY
S9 device – Wipe the exterior with a damp cloth and mild soap.
Humidifier – Slide the silver tab on
the front to open the lid. Peel the
seal from the flip lid. Wash the seal
with warm water and mild soap.
Air filter – Check for holes and
blockage from dirt or dust. To remove
the filter cover, go to the left side of
the back of the device. Lift up the
small lever on the bottom of
the filter cover to remove it.
Press the Start/Stop button to start and
stop your treatment. After a few seconds,
the menu will automatically open to your
humidifier setting.
If SmartStart
™
/Stop feature is enabled, simply
breathe into the mask to start the flow of air.
Airflow will shut off after a few seconds when
the mask is removed.
Operating
your S9 Series system
Starts/stops treatment
My CPAP Starter Guide
1 1
2
3
4
2
3
4
5
6
Air filter
Lift from bottom.
Air filter cover
Overcome symptoms with settings
If you are experiencing any of the following symptoms,
your S9 device may have a comfort feature that can help.
Features may not be available on all devices.
Symptom Setting
Dry throat, sneezing Humidity
Congestion, runny nose Humidity
Can’t fall asleep with pressure so high Ramp
Slightly bloated feeling (from swallowing air) Ramp
Feeling of suffocation
Ramp
and/or EPR
™
*
Unable to breathe out against pressure EPR
*
*EPR may need to be set by your provider.
About comfort features
• Humidity setting controls the amount of moisture delivered
to your mask to help eliminate dryness and congestion.
• Ramp setting gradually increases to your prescribed
pressure over a period of up to 45 minutes, so you can
fall asleep more comfortably.
• EPR setting reduces the pressure slightly when you exhale,
allowing you to exhale more comfortably.
If you have any questions about changing settings on your device,
please contact your device provider.
Important notes about CPAP treatment
Continue using treatment even if it seems awkward at first. It
takes most patients 1 to 2 weeks to adjust to the air pressure.
You should notice an immediate improvement once you start
using the device. Do not stop your CPAP treatment without
the approval of your physician.
Always consult your physician if you experience:
• Headache, middle ear or sinus discomfort, upper
respiratory infection or chest pain
• Significant weight gain or loss (your pressure may
need to be adjusted)
• An upcoming situation in which you cannot use
your device for more than a few days
1015175r3 Co-brandable Patient Setup Brochure.indd 3-4 1/2/13 1:11 PM
 Loading...