33
General
INSTALLATION INSTRUCTIONS
Mounting the Water Heater
CAUTION: Reinforcement of the wall is
required in case the wall is not strong enough to
hold the water heater. Failure to do so could result in
personal injury and/or product damage.
The mounting location for the water heater should
allow for easy access and operation.
The water heater is designed to be installed either
inside the wall cavity between the wall studs or
outside the wall cavity. Either installation requires the
water heater to be supported with a wooden support
brace between the wall studs, or a piece of wood
that is equal in size to the water heater and securely
attached to the wall studs before the water heater is
attached to it. This piece of wood can be installed
inside or outside of the wall. Use wood screws to
secure brackets to wall. If mounting to a concrete
wall, use lag bolts designed for concrete.
Make sure the proper electrical outlet or supply
(120 VAC/60 Hz) is available and located near the
unit. Direct-vent models come with a 6-ft. (1.8-m)
power cord, while the outdoor models require hard-
wiring or the addition of a plug.
Position the upper mounting bracket and partially
install the center mounting screw. The clearance
between the screw head and the wall should be
about 1/8 in. (0.3 cm). Hang the upper bracket on
the screw.
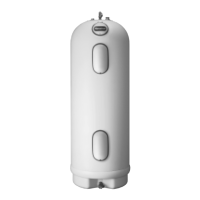
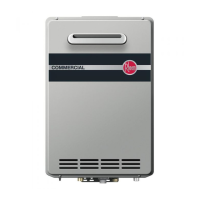
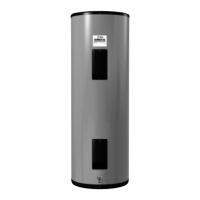
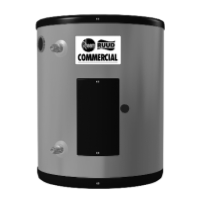
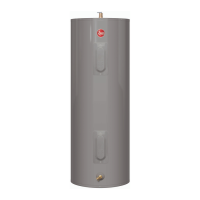
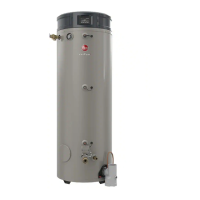
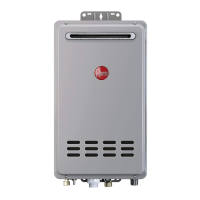
NOTICE: The image above may differ
in appearance from your water heater.
Using two mounting screws and washers, secure the
lower mounting bracket to the wall. Then, secure
the upper mounting bracket to the wall with two
mounting screws and washers.
3
1
4
2
 Loading...