24
10. The Water Heater Mounting Bracket features a wiring
slot on the top flange and an opening for the wire.
Pass the thermostat wire though the Water Heater
Mounting Bracket opening.
11. Clean any dust or dirt from water heater jacket to
allow proper tape adhesion.
12. Remove tape backing and carefully attach to the heater
jacket above the Rheem logo. Allow the thermostat
wire to be positioned in the wire slot located on the
bracket top flange.
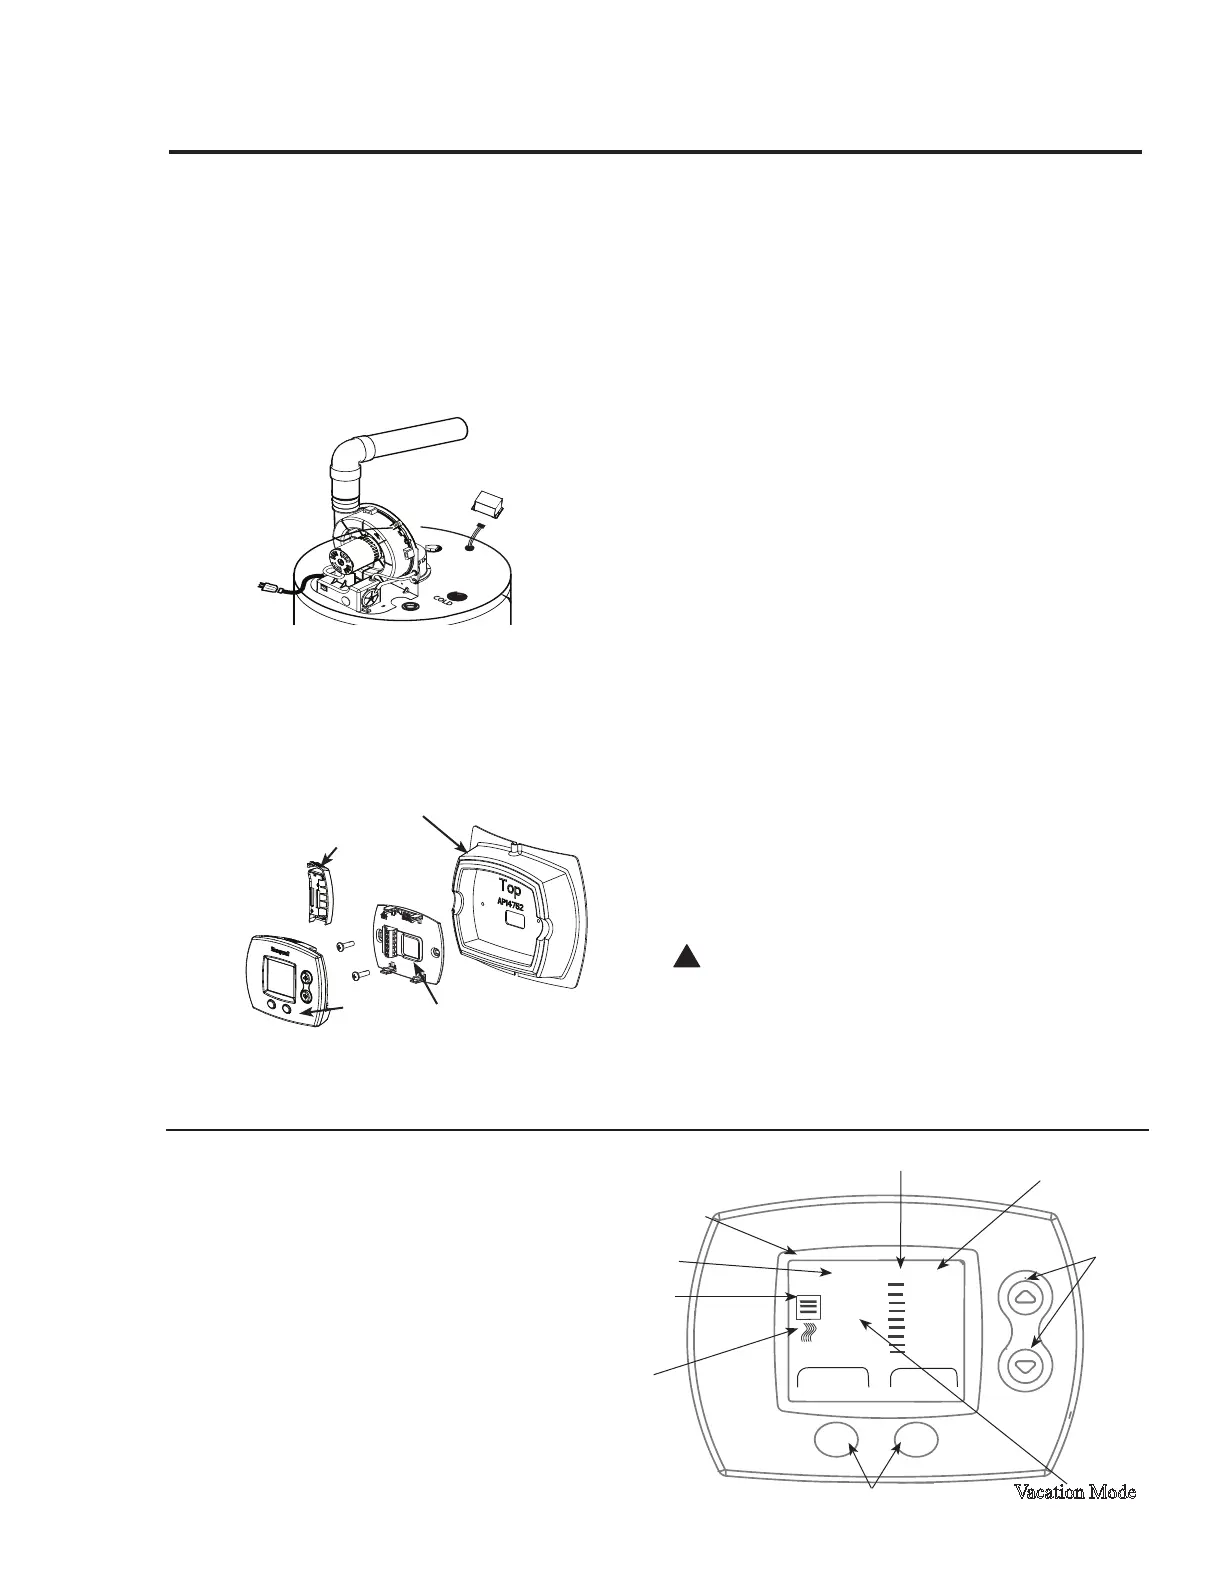
13. The User Display will be mounted to the plastic Water
Heater Mounting Bracket.
14. Separate wall plate from the User Display by
removing battery cover and carefully pull wall plate
from display.
NOTICE: The battery backup option is not available
on this model.
15. Replace battery cover.
16. Attach display wall plate to heater bracket using the
two #6 x ½” Type A screws provided in User Display
Mounting Kit. Wire should pass through display wall
plate opening.
17. GO TO STEP 26.
18. Remote mounting will not require the Display to
Heater Bracket or Display Mounting Tape. The bracket
may be kept for future use or recycled.
19. Choose mounting location and route thermostat wire
to this location.
20. Separate wall plate from the User Display by
removing battery cover and carefully pull wall plate
from display.
21. Replace battery cover.
22. Pass thermostat wire through wire hole in wall plate.
23. Use mounting holes on wall plate to mark wall hole
locations.
24. Drill 3/16” holes and install wall anchors if required.
25. Use two #6 x 1” Type A screws provided in the User
Display box to attach wall plate to surface.
26. Connect thermostat wire to wall plate as follows:
• Top Terminal - GREEN - Data Communication
• Middle Terminal - RED - Power
• Bottom Terminal - WHITE - Common
27. Attach Thermostat Display to wall plate.
ATTENTION: Leave peel off screen protector on
the User Display for customer to review and remove.
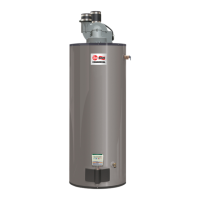
28. Connect power to water heater
29. Turn on water heater and allow to heat.
30. Check thermostat display for proper display and
function.
Installing the Optional User Display
User
Display
Battery
Cover
User Display
Mounting Bracket
Water Heater
Mounting Bracket
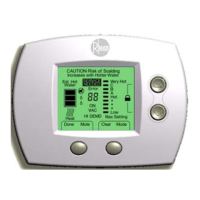
Your water heater includes a user display for easy
local or remote water heater programming. The
user display features:
• Water heater temperature setpoint control
• Large, clear, backlit display is easy to read-
even in the dark
• Displays relative available hot water
• Service needed indicator.
User Display Features
Caution: Risk of Scalding
Increases with Hotter Water
Est. Hot SERVICE
Water NEEDED
Very Hot
C
B
A
Hot
•
•
•
Low
Max Setting
Clear ModeDone Mute
Error
88
ON
VAC
Heat
Up/Down
Keys
Vacation Mode
Left/Right Keys
Heat
Indication
Hot Water
Availability
Error
Code
Scald
Warning
Setpoint Temperature
Max Setpoint
Temperature

 Loading...