Do you have a question about the Ricoh Praesepe-PJ1ewu and is the answer not in the manual?
This document provides service training for the Ricoh Praesepe-PJ1 series of projectors, covering product overview, installation, basic service points, and firmware updates.
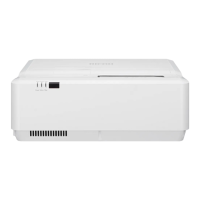
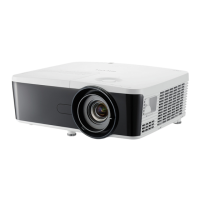
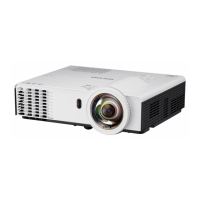
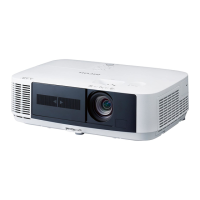
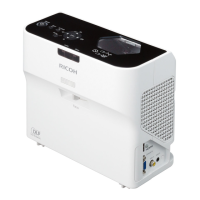
The Ricoh Praesepe-PJ1 series projectors are designed for a variety of projection needs, offering different resolutions and brightness levels across its models. These projectors are primarily intended for user installation, with specific guidelines provided to ensure proper setup and operation. The design emphasizes ease of use and a maintenance-free experience for the end-user.
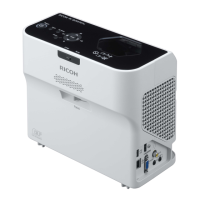
The projector offers multiple connection ports for various devices, including video input, computer inputs (Computer1 In, Computer2 In), HDMI inputs (HDMI1 In, HDMI2/MHL In), LAN, USB (PC), and standard USB. Audio inputs (Audio 1 In, Audio 2 In) and outputs (Audio Out, Monitor Out) are also available, allowing for flexible audio routing. When Audio Out is connected, the built-in speaker is automatically disabled. For computer connections, it is crucial to ensure that the display mode timing is compatible with the projector, and users are advised to use the cables provided with the projector, including a serial crossover cable if needed. For video devices, the connection process is straightforward, utilizing the dedicated video input and audio connections.
The control panel on the projector provides essential buttons for operation. The "Power" button is used to turn the projector on and off. Directional select keys (up, down, left, right) are available for navigating menus and making adjustments. The "Input" button allows users to select the desired input source. An "Enter" button confirms settings, while the "Menu" button launches the on-screen display (OSD) or returns to the previous menu. An "AV Mute" button is included to pause both audio and video.
Indicator lights on the projector provide visual feedback on its status. The "Power indicator" shows the projector's power status, while the "Status indicator" indicates the overall status of the projector. A "Filter indicator" alerts users when the filter needs cleaning.
To power on the projector, first ensure that the power cord and signal cables are securely connected. The Power indicator will turn red. Then, press the "Power" button on either the control panel or the remote control. The Power indicator will flash green during startup and then turn solid green once the projector is fully operational. If it's the first time using the projector, users will be prompted to select a language. The projector automatically detects the input source, provided "Auto Source" is set to "On."
Important cautions for operation include avoiding looking directly into the lens when the light source is on, as the strong light can damage eyesight. It is also critical not to block the air intake or exhaust vents to prevent internal overheating and potential fire hazards. Users should also avoid placing hands, face, or other objects near the air exhaust, lamp cover, or the bottom of the unit to prevent injury or damage. When connecting multiple sources, the "Input" button is used to switch between them. It is recommended to turn on the projector first, followed by the signal sources.
To power off the projector, press the "Power" button on the control panel or remote control. A dialog box will appear, prompting for confirmation. Press the "Power" button again to confirm, and the projector will begin its shutdown sequence. During cooling, the power indicator flashes red. Once the light source has cooled down and the power indicator glows red steadily, the projector can be turned on again. Finally, unplug the power cord from the socket and projector connector.
The Praesepe-PJ1 series is designed to be maintenance-free, simplifying ownership for users. However, the device incorporates features to assist with troubleshooting and service when necessary.
The LED indicator system is a key feature for diagnosing machine status and symptoms. Different colors and blinking patterns of the Power, Status, and Filter LEDs provide specific information:
A dedicated service mode is available for technicians to perform adjustments and diagnostics. To access service mode, press the "Menu" and "Down" arrow buttons simultaneously for more than 3 seconds. This will display the service mode menu, showing Group NO., Item NO., and Value. Within this mode, technicians can adjust various data points by pressing the "Menu" button to navigate items and the "Up" or "Down" arrow buttons to change values. A detailed service adjustment data table is referenced for specific descriptions of groups, items, and values. To exit service mode, press the "Power" button.
When replacing optical or electrical components, specific adjustments are required to ensure optimal performance. These adjustments are categorized by the component replaced:
When adjusting the EEPROM data transmission after replacing a board, certain data—such as service adjustment data (fan voltage regulator/flicker frequency adjustment), uneven color correction data, and gamma correction data—will be transferred from the original data to the new board.
Firmware updates are performed using a dedicated "FlashUpgrader.exe" tool. The process involves:
This comprehensive approach to serviceability ensures that while the projector is designed for user installation and minimal maintenance, technicians have the necessary tools and information to address more complex issues and perform essential adjustments or updates.
| Brightness | 3000 lumens |
|---|---|
| Native Resolution | WXGA (1280 x 800) |
| Display Technology | DLP |
| Keystone Correction | ±40° vertical |
| Input Terminals | HDMI, VGA, Composite Video, Audio In |
| Output Terminals | VGA Out, Audio Out |
| Lamp Life | 6000 hours (Normal Mode), 10000 hours (Eco Mode) |