3
3
Printed in Indonesia R01BAL13
54789
Selecting a Playback Mode
4
4
Playing Back Images
Taking Pictures
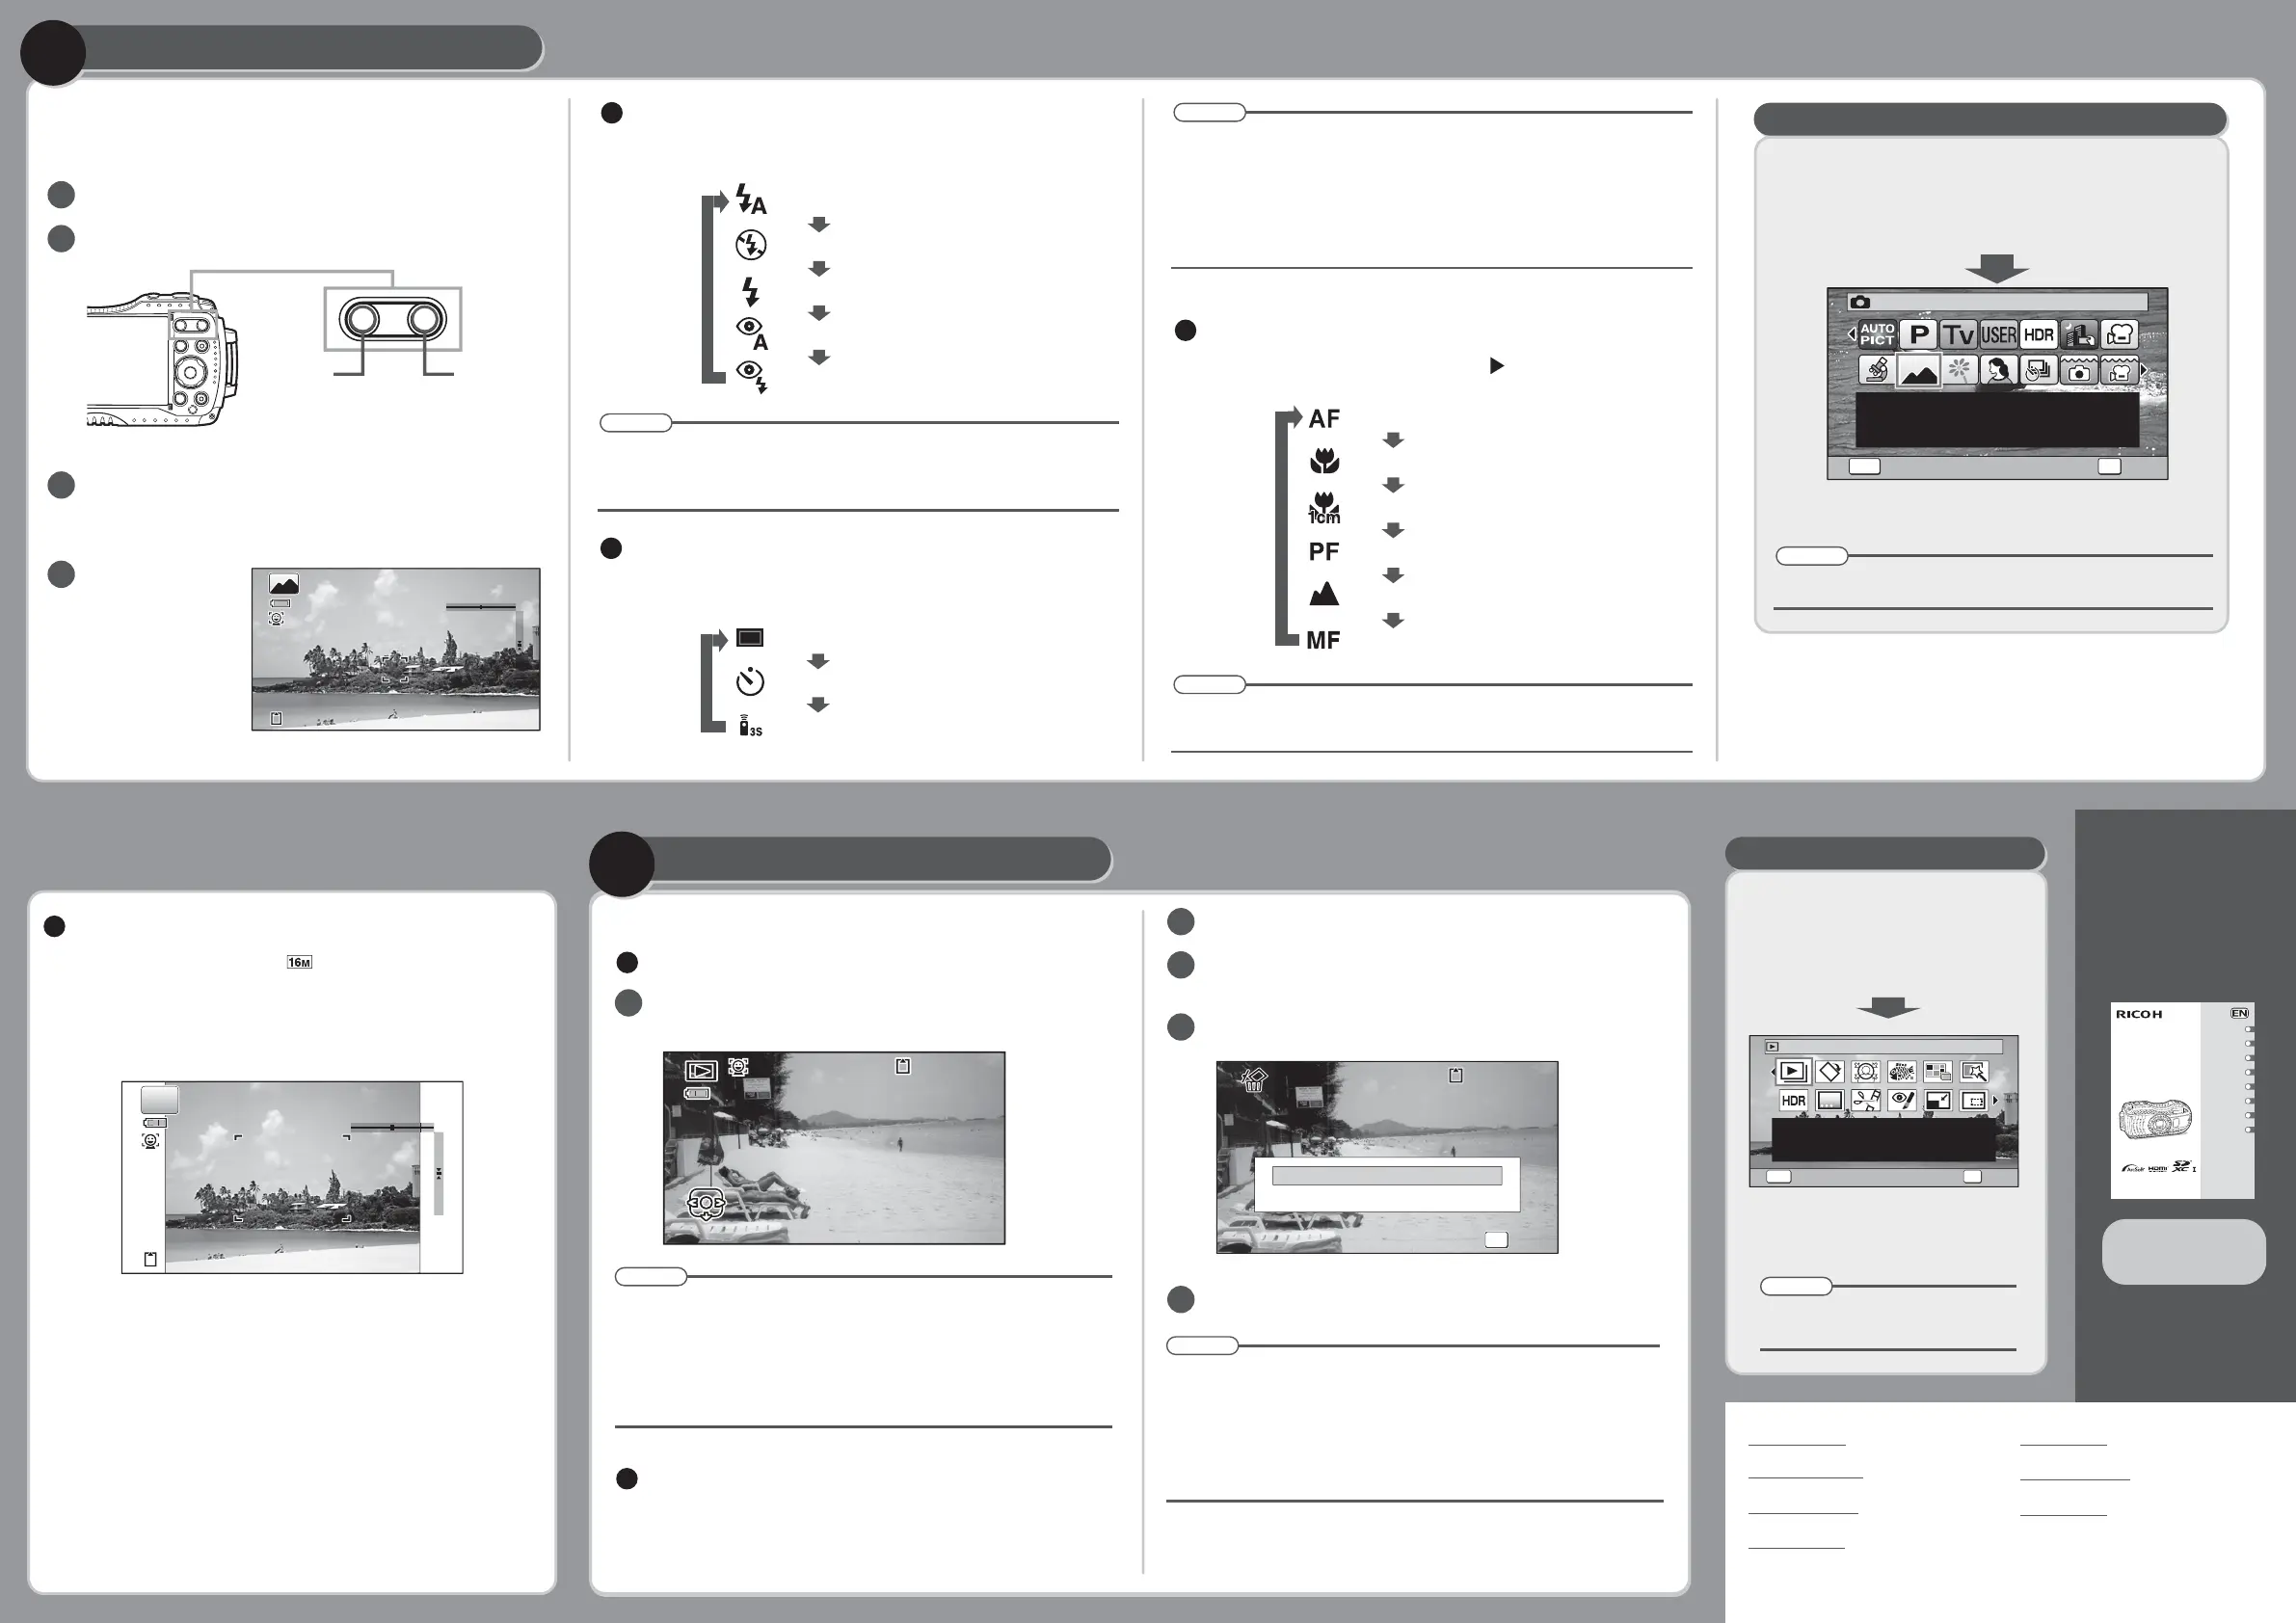
Selecting the Flash Mode
Each time you press the four-way controller (
4
), the flash mode switches
between the following modes.
Auto
Flash Off
Flash On
Auto + Red-eye
Flash On + Red-eye
Selecting the Drive Mode
Each time you press the four-way controller (
2
), the drive mode switches
between the following modes.
Standard (single-frame)
Self-timer (10 sec.)
Remote Control (3 sec.)
Press the shutter release button halfway.
The focus frame on the display turns green when the
subject is in focus.
The picture is taken.
Aim the camera at the subject, then press the shut-
ter release button. The flash discharges automati-
cally depending on the brightness.
Frame the subject using the focus frame on the display.
Press the W
/
T button to change the captured area.
You can choose the playback mode
you want to use from the Playback
Mode Palette.
For details about how
to use the RICOH
WG-4 GPS / RICOH
WG-4 or instructions
on connecting the
camera to a computer,
refer to the manual
below.
Selecting a Shooting Mode
An explanation appears when you select a shooting mode.
Use the four-way controller (
2345
)
to choose a shooting mode, then
press the 4 button.
You can choose the optimal shooting mode for your
particular situation from the Capture Mode Palette.
Press the four-way controller (
3
).
Use the four-way controller (
2345
)
to choose a playback mode, then
press the 4 button.
3
2
1
4
Memo
Memo
Memo
Memo
Memo
Selecting the Focus Mode
Each time you press the four-way controller ( ), the focus mode switches
between the following modes.
Standard
Macro
1cm Macro
Pan Focus
Infinity
Manual Focus
The available modes differ depending on the selected shooting mode.
You can select
Z
(2-sec. Self-timer) by pressing the four-way
controller (
3
) and then (
5
) after selecting
g
.
You can select
h
(0-sec Remote Control) by pressing the four-way
controller (
3
) and then (
5
) after selecting
i
.
For details, refer to the Operating Manual (p.77 - 81).
The available modes differ depending on the selected shooting mode,
focus mode and drive mode.
For details, refer to the Operating Manual (p.83).
Press the four-way controller (
3
) while
an image is displayed in playback mode.
An explanation appears when you
select a playback mode.
Widens the area
that is captured
by the camera.
Enlarges
the subject.
Press the shutter
release button fully.
RICOH WG-4 GPS/
RICOH WG-4
Operating Manual
The monitor display in 4:3 aspect ratio
When [Recorded Pixels] is set to /6/f/h/l/m in [A
Rec. Mode], the aspect ratio of the image is 4:3 and the monitor
display for image capture and playback is as shown below.
For details on how to select the number of recorded pixels, refer to
the Operating Manual (p.89).
The available modes differ depending on the selected shooting mode.
For details, refer to the Operating Manual (p.84).
RICOH IMAGING COMPANY, LTD.
http://www.ricoh-imaging.co.jp
RICOH IMAGING DEUTSCHLAND GmbH
http://www.ricoh-imaging.de
RICOH IMAGING UK LTD.
http://www.ricoh-imaging.co.uk
RICOH IMAGING CANADA INC.
http://www.ricoh-imaging.ca
RICOH IMAGING CHINA CO., LTD.
http://www.ricoh-imaging.com.cn
RICOH IMAGING AMERICAS CORPORATION
http://www.us.ricoh-imaging.com
RICOH IMAGING EUROPE S.A.S
http://www.ricoh-imaging.fr
10
003
100
-
0038
Edit
Edit
14:25
04/04/2014
14:2504/04/2014
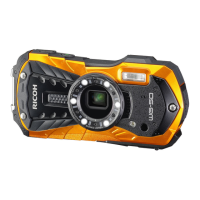
Digital Camera
Operating Manual
RICOH WG-4 GPS
RICOH WG-4
Getting Started
Appendix
Connecting to a
Computer
Settings
Editing and Printing
Taking Pictures
Common Operations
1
3
2
6
7
8
5
4
Playing Back and
Deleting Images
To ensure the best performance from your
camera, please read the Operating Manual
before using the camera.
OKMENU
1/2
For continuously playing
back images. Screen or
sound effects can be set
OKCancel
Slideshow
38
P
The confirmation screen appears.
Play back the image you want to delete.
Press the
i
button.
2
1
Use the four-way controller (
2
) to select [Delete].
3
Press the 4 button.
4
Memo
You can delete multiple images selected from the 6- or 12-image
display. For details, refer to the Operating Manual (p.137).
You can delete all images at once. For details, refer to the
Operating Manual (p.138).
You can protect stored images from being accidentally deleted.
For details, refer to the Operating Manual (p.139).
You can play back the captured images on the display.
Playing Back Images
The image appears on the display.
Press the
Q
button after shooting.
Deleting a Single Image
You can delete a single image currently displayed on the display.
Deleting Images
1
To play back the previous or next image, press the four-way
controller (
45
).
Pressing f button during playback displays 6 thumbnail images.
Pressing f again in 6-image display switches to 12-image
display. Pressing f yet again switches to folder or calendar
display. For details, refer to the Operating Manual (p.127).
Memo
10
001
100
-
0017
OK
Delete
Cancel
OK
OK
WT
F4.
F4.6
1/25
1/250
38
Landscape
For capturing landscape
views. Enhances colors
of sky and foliage
OK
OK
MENU
Cancel
1/2
 Loading...