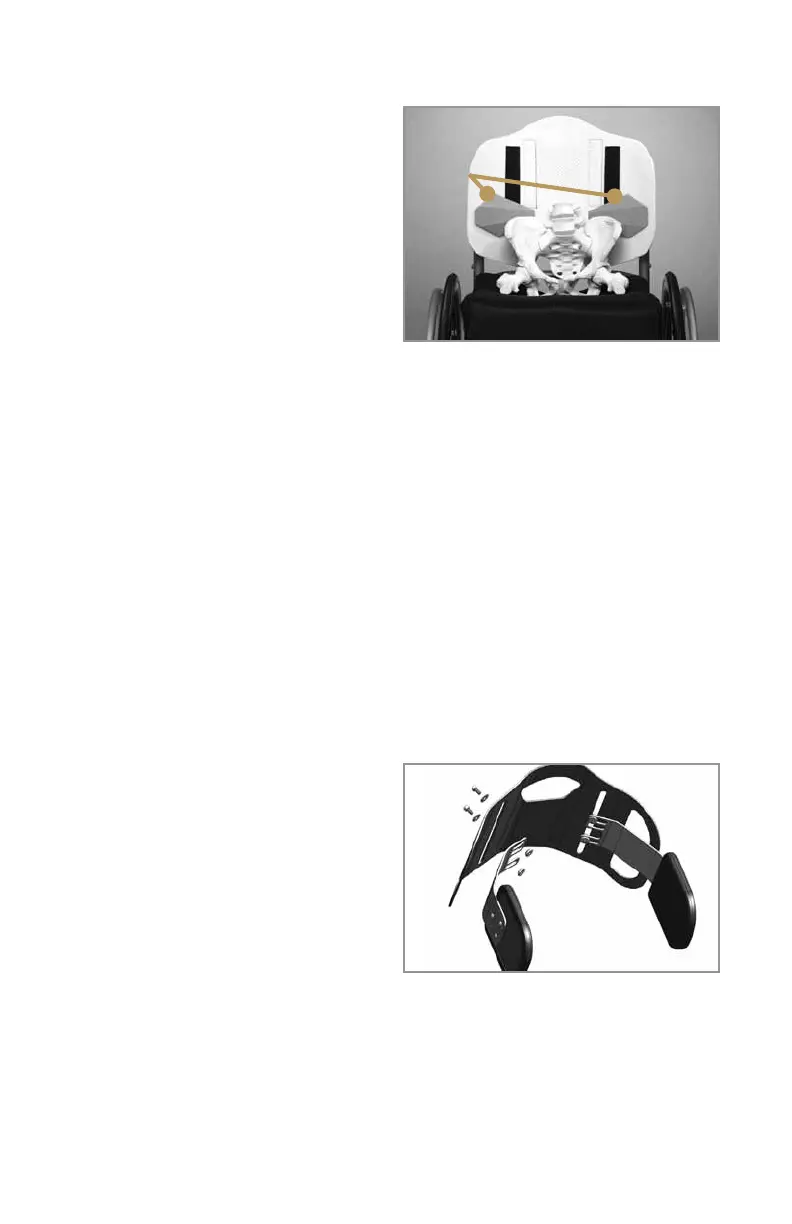
VIII. Installing the Pelvic Wedges
NOTE: If you determine that further
posterior lateral pelvic support is
necessary, use the pelvic wedges to
provide greater control at the posterior
lateral iliac crests. See Figure 12 for
suggested orientation of pelvic wedges.
1. For evaluation, have the user lean
forward enough for you to position the
pelvic wedges on the front of the foam
insert cover to establish where they
should be installed.
2. Have the user lean back, and fine-tune the height and distance from the center
for each pelvic wedge.
3. Have the user lean forward or transfer from the chair, and remove the foam
insert and cover from the back shell.
4. Open the cover and attach the pelvic wedges to the front surface of the
Flexa-just platform, behind the foam pad, at the height and width you determined
during assessment. Press the hook and loop fasteners together firmly to hold the
pelvic wedges in place.
5.Closethecoverandreinstallthefoaminsertandcoveronthechair.
6. The user can now transfer back into the wheelchair.
7. Check the position of the pelvic supports and verify that the user has
appropriate balance and control.
IX. Installing the Optional Lateral Trunk Supports
NOTE: If you are not installing the
optional lateral trunk supports, go to
Section X.
1. With the user in the chair and
the foam insert and cover installed,
estimate where the lateral trunk
supports will be installed by slipping
them between the back shell and the
foam insert and cover (Figure 13).
2. Once you have established the approximate position of the lateral trunk
supports, transfer the user from the wheelchair.
3. Remove the foam insert and cover from the back shell.
4. Attach each lateral support using the mounting hardware supplied with them.
With the lateral trunk support positioned on the front of the back shell, insert the
7
Figure 12
Figure 13
Pelvic
Wedges
A
B
C