D
David MuellerAug 12, 2025
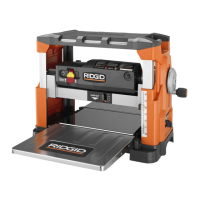
What to do if my RIDGID R4850 will not start?
- CclarkmeaganAug 12, 2025
If your RIDGID Planer won't start, first check if it is properly plugged into a power source. If it is plugged in, check for a blown fuse or a tripped breaker and replace the fuse or reset the breaker. For motor failure, loose wire, on/off switch not working, or motor overload, contact a local authorized Service Center.