Do you have a question about the RIDGID R7000 and is the answer not in the manual?
Keep area clean/lit, avoid explosive atmospheres, and understand electrical safety.
Stay alert, dress properly, secure workpiece, and use correct tools.
Handle tool by grips, use correct extension cords, and protect from dust exposure.
Know your tool, wear safety glasses, protect hearing, inspect cords, and check parts.
Do not expose the tool to rain or use in damp locations.
User must read and understand the manual to reduce injury risk.
Always wear safety goggles/glasses with side shields and a face shield.
Explains meanings of Danger, Warning, and Caution for hazard levels.
Tool service must be performed by qualified technicians.
Explains double insulation and correct electrical connection requirements.
Guidelines for using extension cords safely and correctly.
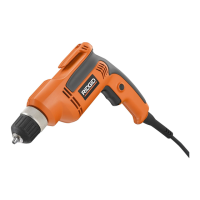
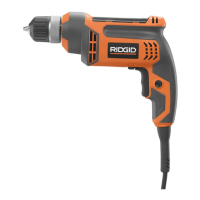
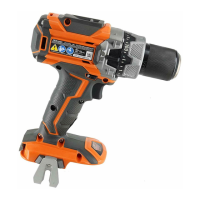
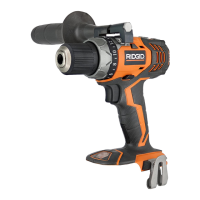
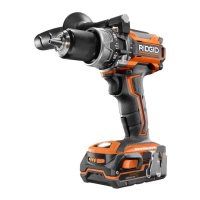
Chuck capacity, input voltage/current, no load speed, and net weight.
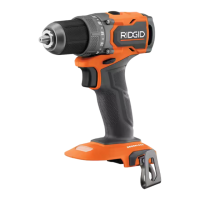
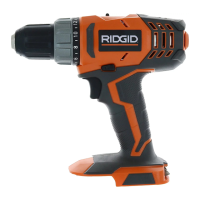
Features a recessed level for drilling accuracy and a molded belt clip.
Helps easily identify live tools.
Carefully remove tool, check packing list, inspect for damage, and keep packing material.
Do not operate if parts are missing; contact customer service.
Lists drill applications and explains switch trigger and lock-on features.
Hand-tighten or release drill bits by rotating the chuck collar and body.
Do not use drill power to tighten chuck; could cause hand injury or slip.
Control rotation direction (forward/reverse) with a lever above the switch trigger.
Adjust speed/torque by trigger pressure; avoid low speeds for extended periods.
Open chuck, insert bit fully, tighten jaws by hand.
Do not overtighten or insert bit improperly; can cause injury or damage.
Unplug, loosen chuck jaws by hand, remove bit.
Depress trigger, check direction, secure material, apply light pressure.
Be prepared for drill grabbing or kicking back when bit binds or breaks through.
Use the built-in level to keep drill bits level during horizontal/vertical drilling.
Clean with damp cloths; avoid solvents and specific chemicals that damage plastic.
Avoid brake fluids, gasoline, etc., as they can damage plastic parts.
Avoid extended use on abrasive materials like fiberglass or plaster to prevent accelerated wear.
Steps to tighten chuck jaws and chuck screw using a hex key and mallet.
Steps to loosen the chuck screw and then loosen the chuck from the spindle.
Unplug the drill before removing the chuck to prevent accidental starting.
Covers defects in workmanship/materials for three years; proof of purchase required.
Allows return for refund or exchange within 90 days of purchase.
Details on obtaining service and what is covered under the warranty.
Lists warranty exclusions, disclaimers, and legal limitations.
Contact nearest authorized service center or visit website for parts and service.
Record Model No. R7000 and Serial No. for ordering parts.