COMMISSIONING
41
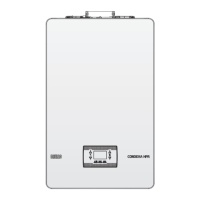
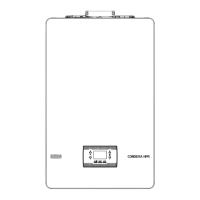
CONDEXA HPR 35-45
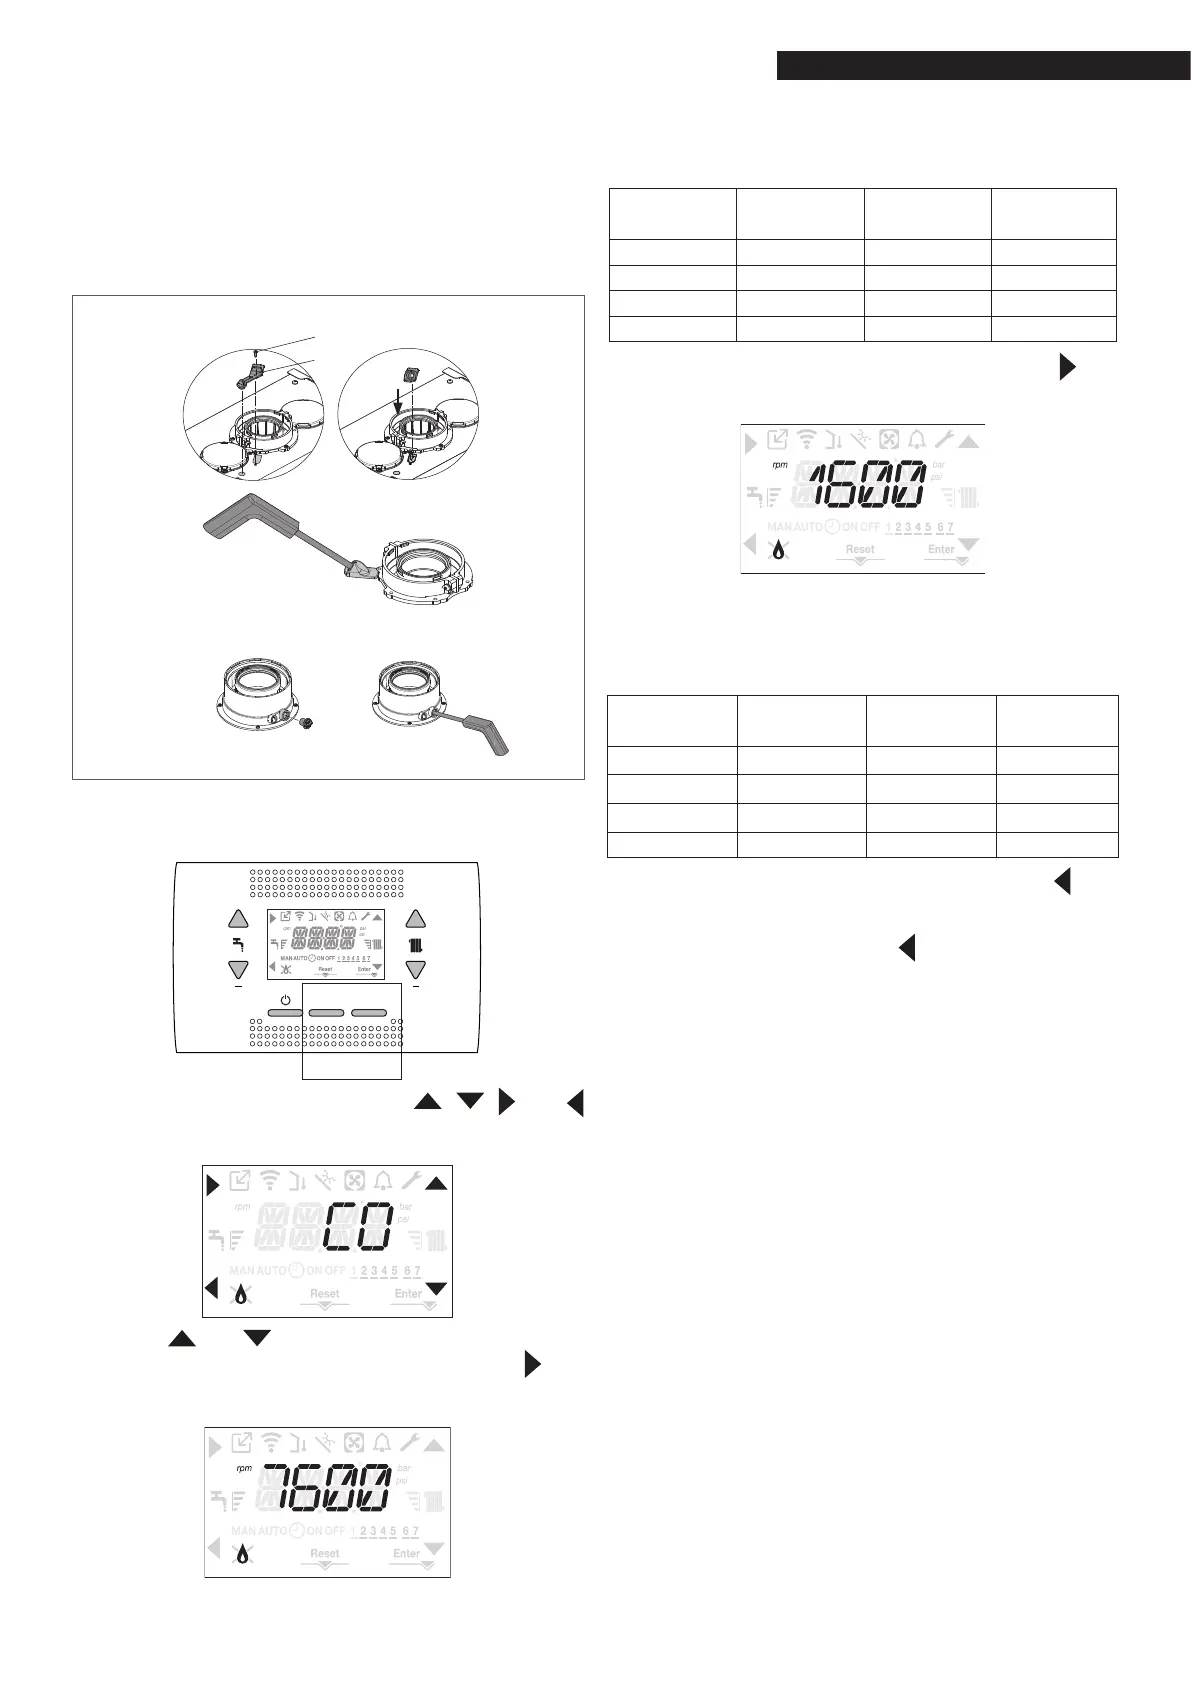
Rem
ove the screw and cover on the upper wall (A
-B
).
Insert the analysis probe adaptor (
D
) (included in the
documentation bag) in the combustion analysis hole.
Inse
rt the flue gas analysis probe in the adaptor.
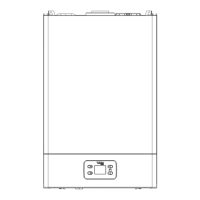
CONDEXA HPR 55-70
Remove the screw A.
Inse
rt the flue gas analysis probe in the hole.
CONDEXA HPR 35-45
CONDEXA HPR 55-70
D
A
B
A
Activate the combustion control function by pressing but-
tons 2+3 for at least 2 seconds.
2 3
+ +
RESET
MENU
The display will show CO and the , , and
icons will light up. The boiler operates at the maxi-
mum heating output.
Use the and buttons to modify the fan speed.
Set the maximum value, then
confirm by press
ing . The
display will show the defined rpm for 10 sec, along
with the rpm icon.
The boiler will work at the maximum output.
Check the max CO2 value shown on the analyser com-
plies with the indications in the table. If it doesn’t,
calibrate the gas valve - see paragraph
“3.17 Gas valve
calibration”.
Max. CO2
METHANE GAS
(G20)
LIQUID GAS
(G31)
35 9,0 10,0 %
45 9,0 10,0 %
55 9,0 10,0 %
70 9,0 10,0 %
Set the minimum value, then
confirm by press
ing . The
display will show the defined rpm for 10 sec, along
with the rpm icon.
The boiler will work at the minimum output.
Check the min CO2 value shown on the analyser com-
plies with the indications in the table. If it doesn’t,
calibrate the gas valve - see paragraph
“3.17 Gas valve
calibration”.
Min. CO2
METHANE GAS
(G20)
LIQUID GAS
(G31)
35 9,0 10,0 %
45 9,0 10,0 %
55 9,0 10,0 %
70 9,0 10,0 %
The function can be interrupted by pressing the but-
ton.
When the check has ended:
quit the function by pressing
remove the analyser probe and close the combustion
analysis outlet with the relative plugs and screw
put the analysis probe adapter (supplied with the
boiler) in the documentation bag
set the boiler to the required operating mode, de-
pending on the season
regulate the requested temperature values according
to needs.
9
When the combustion analysis function is active,
all heat requests are inhibited and the sliding mes-
sage “CO” appears on the display.
IMPORTANT
The combustion analysis function is active for max. 15
minutes. The burner shuts down if an outlet temper-
ature of 95°C is reached; it will ignite again when the
temperature falls below 75°C.
9
With the OT+ device connected, the combustion
control function cannot be activated. To make a
flue gas analysis, detach the OT+ connection wires
then wait 4 minutes, or disconnect the electricity
supply and then repower the boiler.
9
The combustion analysis function is usually activat-
ed with the 3-way valve positioned on heating, but
IT is possible to switch the valve to DHW by gener-
ating a DHW request at maximum output while the
function is active. In this case, the DHW temperature
is limited to a maximum value of 65°C. Wait for the
burner to fire.
 Loading...