Do you have a question about the Rietschle Pico VLT 25 and is the answer not in the manual?
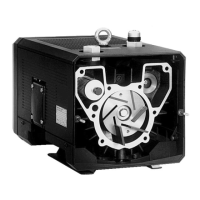
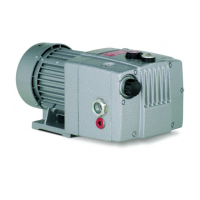
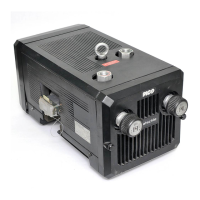
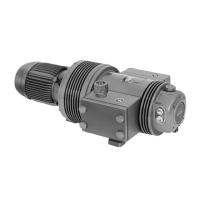
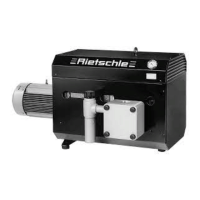
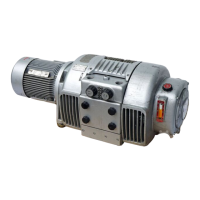
All models have a vacuum connection, exhaust silencer, and built-in micro-fine filter.
Units are suitable for industrial use, evacuation of closed systems, or permanent vacuum.
Covers handling of explosive gases, temperature limits, and noise emission.
Avoid touching hot surfaces and ensure 30cm clearance for servicing and 10cm for cooling air.
Install horizontally, follow standards, connect electrically via qualified electrician.
Do not connect suction pipework on initial start to prevent pressure buildup and damage.
Vacuum can be adjusted using the regulating valve (C) according to symbols.
Bearings are pre-greased. Clean or exchange air filter cartridge every six months.
Check blades for wear based on hours; replace if minimum height is reached. Replace in sets.
Troubleshoot tripping due to voltage, connections, starter settings, or back pressure.
Address issues with inlet filter, pipework, leaks, or damaged blades.
Resolve problems with reaching ultimate vacuum, high operating temperature, or noise emission.
Follow safety for site repair, use eye bolt for lifting, and consult service agents.
Store in dry conditions; dispose of wearing parts according to regulations.
| Model | Pico VLT 25 |
|---|---|
| Frequency | 50/60 Hz |
| Material | Cast Iron |
| Noise Level | 65 dB(A) |
| Manufacturer | Rietschle |
| Nominal pumping speed | 25 m³/h |
| Voltage | 230/400 V |