To Suit Water Heater Models -
INFINITY 32
REU-VRM3237WG
INFINITY 26 REU- VRM2626WG
INFINITY 26i REU-VRM2632FFUG
INFINITY 20 REU-VRM2024WG
INFINITY 16 REU-VRM1620WG
INFINITY ENVIRO 32 REU-KM3237WD
INFINITY ENVIRO 26 REU-KM2635WD
B16 REU-VR1620WB
B20 REU-VR2024WB
B26 REU-VR2626WB
HD250e REU-VRM3237WC
HD200e REU-VRM2632WC
HD200i REU-VRM2632FFUC
HDC211e REU-KM3237WDC
HDC211i REU-KM3237FFUDC
Operation / Installation
Manual
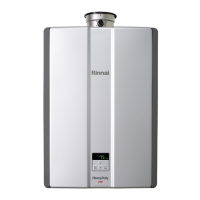
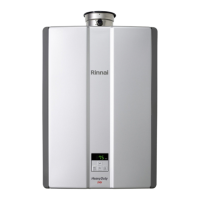
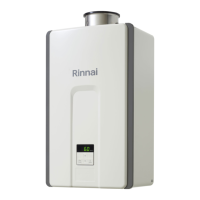
Rinnai Continuous Flow Water Heaters
This appliance shall be installed in accordance with:
• Manufacturer’s Installation Instructions
• Current AS/NZS 3000, AS/NZS 3500 & AS/NZS 5601
• Local Regulations and Municipal Building Codes including local OH&S requirements
This appliance must be installed, maintained and removed by an Authorised Person.
For continued safety of this appliance it must be installed operated and maintained
in accordance with the manufacturers instructions.
This Appliance complies
with AS 3498:2009
SAI GLOBAL LIC. W208