24 | Neo RIB2312 installation guide: 12148-A 01-17
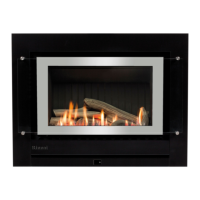
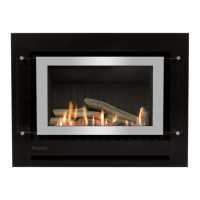
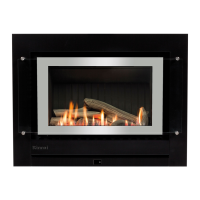
Inner frame and control panel
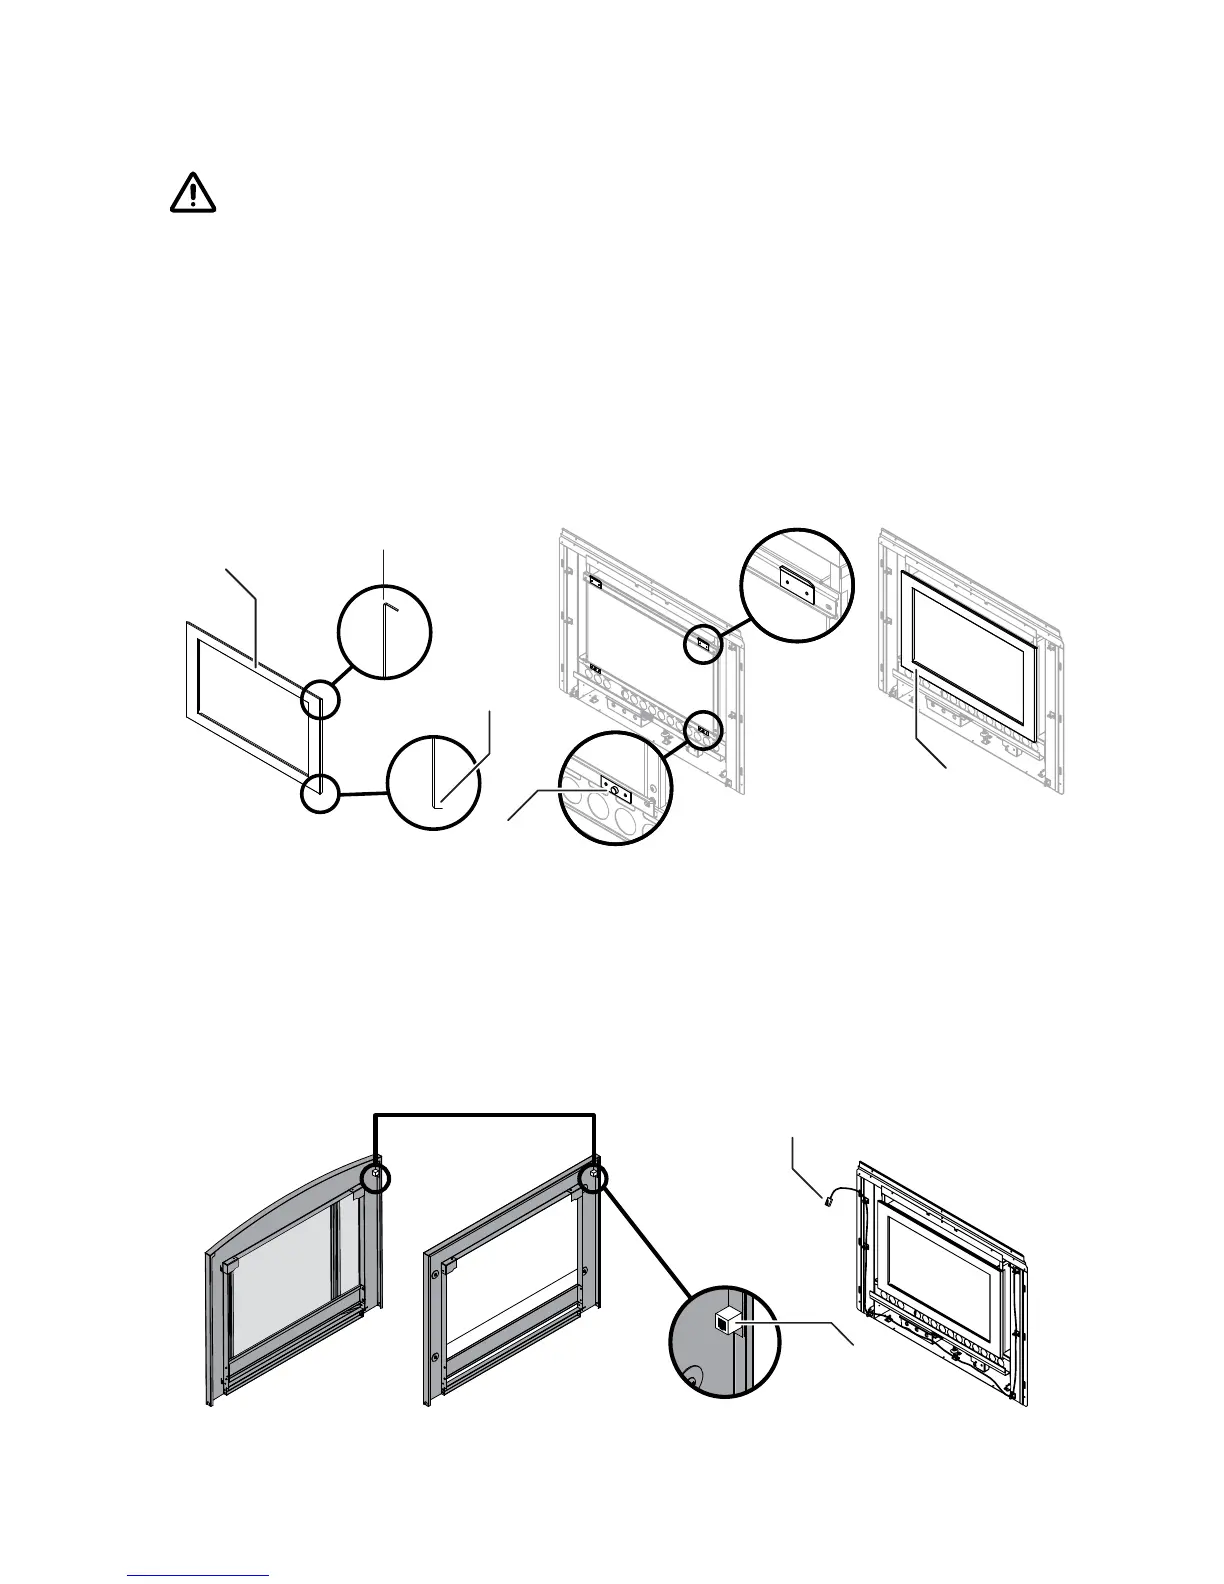
Before fitting the frame assembly ensure that it is not scratched or damaged.
When placing the assembly down ensure it is placed on its lower edge or flat.
If it is placed on its left or right edge the glass may slide out off the stand-off
posts. If this should occur ensure that the silicon mounts are not dislodged
when sliding the glass back into position.
WARNING
Fit the inner frame
The inner frame (packed with the outer frame) is held in position by the return tabs on the top
edge and by magnets on the bottom edge. Fit the inner frame to the heater engine by locating
the over-folded edge over the two return tabs, then gently swing down the bottom edge onto
the magnets.
Inner frame
Return tabs
Bottom edge
Magnets
Inner frame
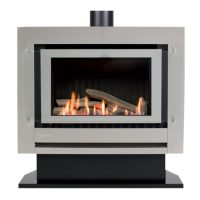
Connect the control panel
Position the outer frame close to the heater engine and connect the RJ45 plug into the socket
located on the back of the frame on the top left hand cornerthis connects the push button
control panel via a communication cable to the heater engine control box.
Standard frame
Classic frame
(inbuilt models only)
RJ45 plug
Socket
 Loading...