
T
Tanner CastroAug 1, 2025
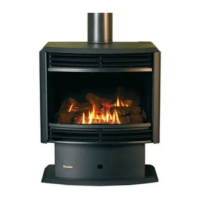
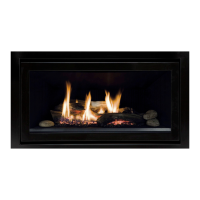
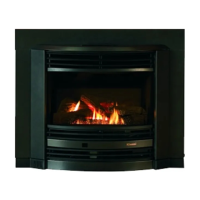
What to do if my Rinnai Indoor Fireplace burner will not light?
- JJon CordovaAug 1, 2025
If the burner of your Rinnai Indoor Fireplace won't light, here are a few things to check: * Ensure the power cord is properly plugged in and turned on. * Make sure the gas supply is also turned on. * If there was a recent power outage, try to re-ignite the fireplace after power has been restored. * If these steps don't work, there might be air in the gas pipe, which an installer needs to purge. Also, you can repeat the lighting procedure.