Do you have a question about the Rinnai SPECTRUM 28 REH281 EB and is the answer not in the manual?
Appliance installation must comply with standards and be done by an authorized person.
Victorian consumers must use a licensed person for installation and obtain a Compliance Certificate.
The dress guard is essential for safety; it must not be removed, and children/infirm need supervision.
Crucial safety guidelines for installation, operation, and maintenance to prevent hazards.
Prohibits unsafe practices during operation, including child supervision and avoiding flammable materials.
Describes built-in safety features like overheat protection, fuses, and flame failure sensing.
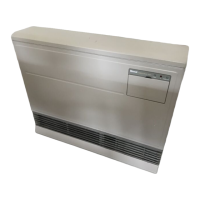
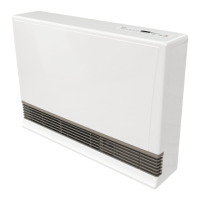
Lists all components included in the carton for the REH281 EC Console model.
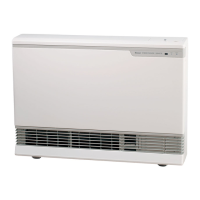
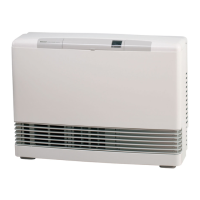
Lists all components included in the carton for the REH281 EC Inbuilt model.
Guidelines for installing the heater on carpeted floors to prevent discolouration.
Information on heat distribution and potential carpet discolouration from heat and air flow.
Details Rinnai's service network and recommends annual servicing for optimal performance.
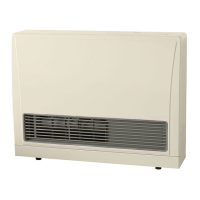
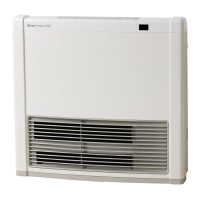
Highlights the main features of the Rinnai Spectrum 28 heater.
Specifies that installation must be performed by an authorised person following regulations and manual instructions.
Confirms appliance approval by authorities and prohibits modifications.
Step-by-step guide to igniting the heater using the control buttons.
Instructions for increasing the heat output by pressing control buttons sequentially.
Explains how the fan starts automatically and adjusts speed based on heat settings.
Simple method to decrease heat by releasing control buttons from right to left.
Procedure for turning the heater off by releasing all control buttons to the 'OFF' position.
A guide to identify and troubleshoot common issues with the heater.
States the appliance requires authorized service and recommends biennial checks.
Explains the function of overheat switches, flame failure device, and automatic fan delay.
Instructions for locating, removing, cleaning, and replacing the fan filter.
Guidance on cleaning the outer casing of the heater.
Directs the user to page 30 for detailed product specifications.
Guides the user through the installation process for the console model.
Provides instructions on how to safely unpack the heater and check for damage.
Refers the user to pages 9 and 10 for a list of carton contents.
Instruction to remove and discard all packing materials before installation.
General guidelines for installation, including clearances, ventilation, and power outlet requirements.
Specifies required dimensions for the fireplace where the unit will be installed.
Instructions for checking and preparing the flueway and ensuring a sealed base.
Details the use of foam strips for sealing the unit within the fireplace.
Describes the combined inlet union/copper elbow provided for gas connection.
Step-by-step guide to remove the inlet union from the unit for installation.
Details the position and dimensions for the gas connection on the unit.
Guidelines for running the gas supply pipe, connecting it, and purging the system.
Instructions for sliding the heater into the fireplace opening and securing it.
Describes methods for checking gas leaks using a manometer or soapy water.
Explains the function of the gas supply cover for sealing and preventing debris.
Refers the user to page 26 for testing the unit's operation.
Specifies the requirements for installing an approved flue cowl on the chimney.
Details requirements for flue terminal location according to AS/NZS 5601 and flue system assembly.
Instructions for installing into a 75mm cavity wall using twin skin flue, including stud spacing.
Specifies the dimensions for cutting the opening in the wall for the unit.
Details how to run the gas supply pipe and connect the elbow/union.
Instructions for preparing the wall structure by cutting away top plates and noggins.
Guides on assembling the twin skin flue into the housing unit.
Instructions for installing the top plate flue support.
Details how to fit the sealing plate to ensure proper flue positioning.
Instructions for fitting the adapter, cowl, and ensuring minimum roof clearance.
Guidance on positioning and adjusting the elbow within the housing.
Steps for removing the front cover and inlet union.
Attaching the elbow/union to the gas supply and positioning the heater securely.
Instructions for sealing the fireplace with fireproof material and preparing the flue.
Advises removing any damper plates or baffles from the chimney.
Steps for preparing the fireplace, ensuring a firm base and sealing all openings.
Directs the user to page 23 for fitting the back cover and wall clips.
Details installation using twin skin flue and insulated box for timber frames, including kit and clearances.
Outlines the procedure for testing the unit after installation, including gas leaks and flame appearance.
Instructions on how to check burner pressure using a manometer and adjust the regulator if needed.
Emphasizes instructing the customer on the unit's operation and care.
Lists key topics to explain to the customer, such as ignition and fan operation.
Describes the process for testing the downdraught diverter and checking for spillage.
A checklist for certified installers to ensure proper installation and commissioning.
Section for recording installation details, company information, and installer credentials.
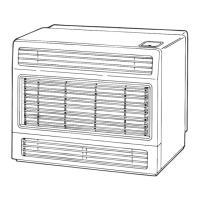
Provides a general description of the Rinnai Spectrum 28 heater.
Details the gas control type used in the appliance.
Specifies the type of burner used in the heater.
Describes the gas inlet connection type and size.
Details the type of flue system compatible with the heater.
Specifies requirements for flue termination, including cowl size.
States the type of ignition system used by the heater.
Details the power supply voltage, frequency, and lead requirements.
Provides information about the fan's speed and rating.
Indicates the location of the appliance's data plate.
Provides an electrical wiring diagram for the heater.
Detailed dimensions for the console model of the heater.
Detailed dimensions for the inbuilt model of the heater.