6
5. Align the router table fence flush with the the bit’s bearing
and secure it in place.
6. Position the test stock for routing by pressing it up against
the Fixed Fence (3) and the router table fence.
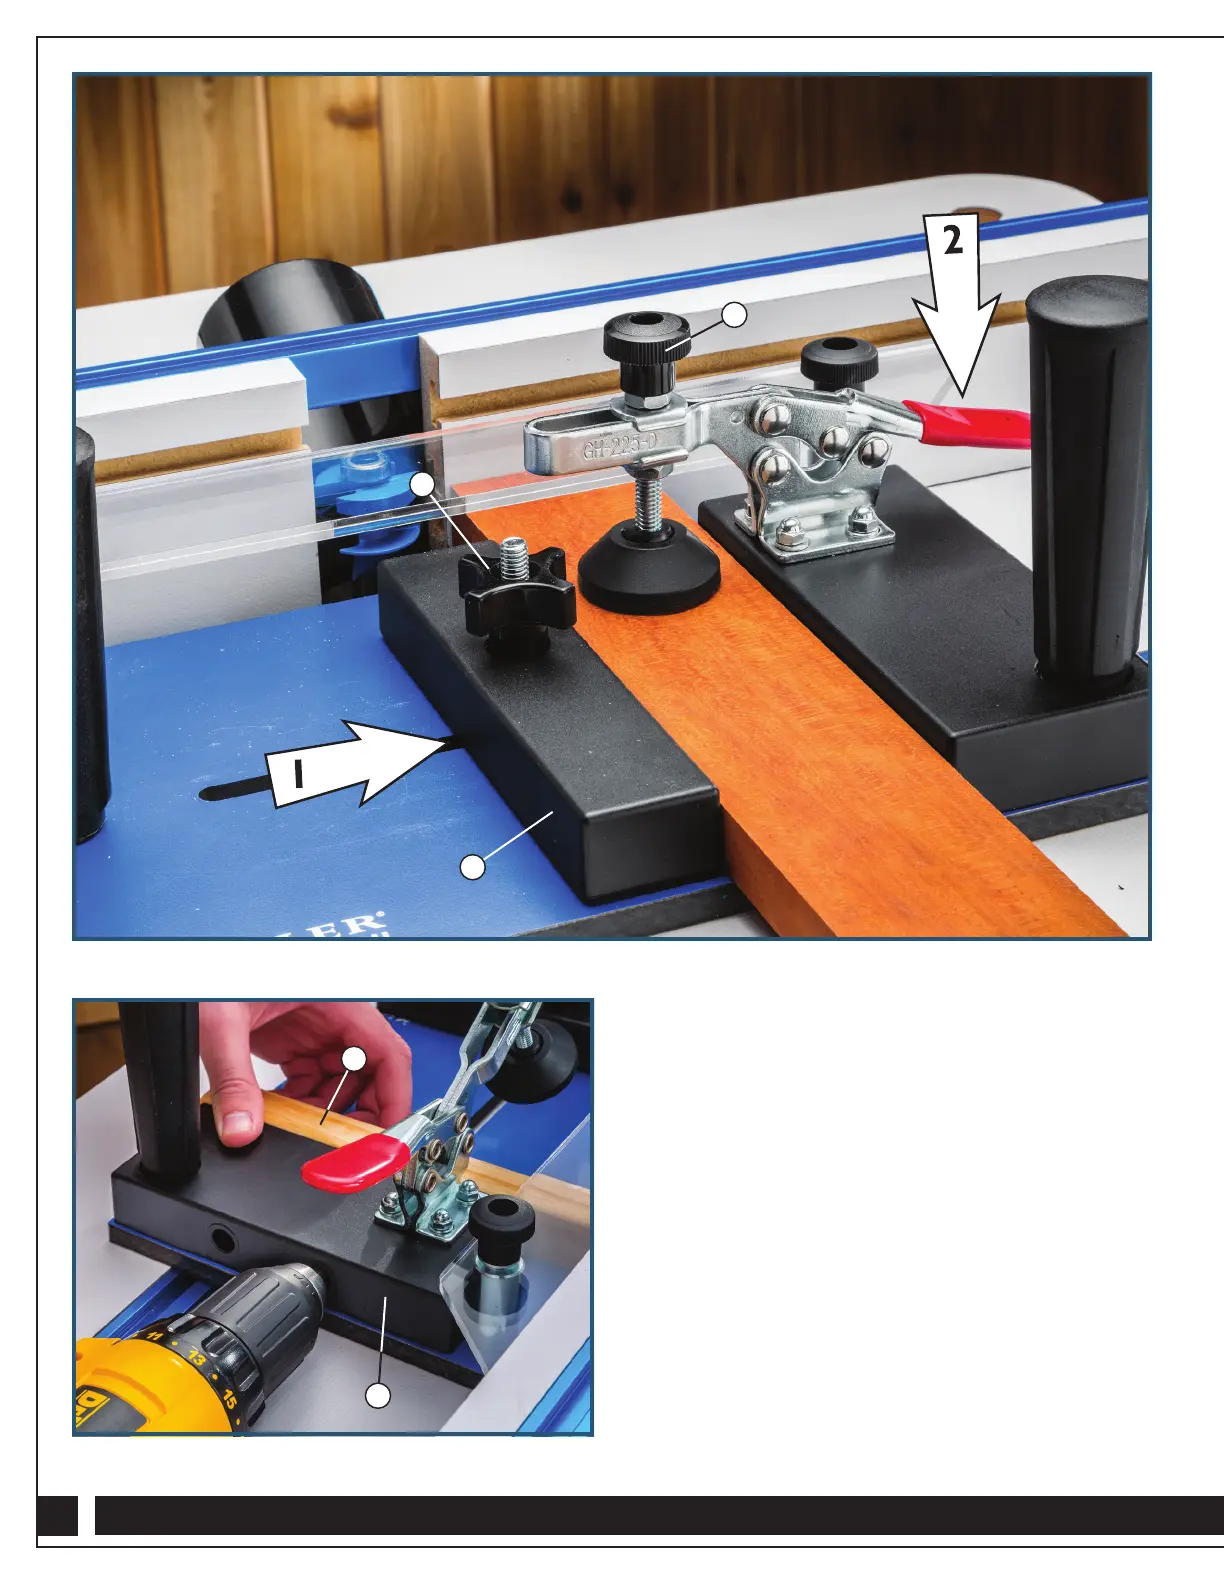
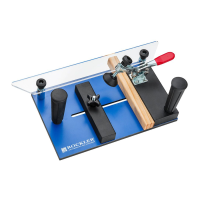
7. Slide the Adjustable Fence (4) tight against the stock and
tighten the 4-Star Knob (10). Fig. 4 - Arrow 1.
8. Use the knob on the Lever Clamp (5) to adjust the clamp foot
so it will apply sufficient pressure, then engage the clamp to
fully secure the stock. Fig. 4 - Arrow 2.
9. Make a test cut. Fine-tune the bit height and repeat test cuts
until the joint is flush.
10. Return the sled to the router table, with the Fence Guide (1)
up against the fence. Place the Sacrificial Piece (6), square
corners down, on the Sled Base (2) up against the Fixed
Fence (3) and slide it toward the router table fence until it
Fig. 4
Fig. 5
4
10
5
6
3


 To Next Page