Do you have a question about the Rockwell 34-580 and is the answer not in the manual?
Understand tool operation, keep guards in place, ground tools, maintain a clean and safe work area, keep bystanders away.
Use the right tool, wear proper apparel and safety glasses, avoid overreaching, maintain tools, disconnect for service, avoid accidental starts, and do not use under influence of substances.
Specific safety guidelines for circular saws, including using guards, push sticks, and proper feed direction.
Carefully unpack the saw and all loose items from the carton, referring to Figure 2 for illustration.
Lists essential hand tools and provides step-by-step guide for saw blade installation and table insert.
Ensure saw is disconnected from power and remove existing rails if necessary for accessory installation.
Attach both the front and rear guide rails to the table, ensuring proper alignment and flushness.
Secure the solid extension wings to the guide rails and the table using screws, lockwashers, and nuts.
Instructions on assembling the mounting bracket, splitter, and guard assembly, ensuring proper alignment for safety.
Guide for placing the tilting handwheel on the shaft and applying the decal.
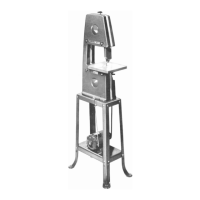
Assemble the stand's panels, braces, and rubber feet using provided hardware.
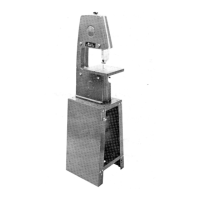
Instructions for mounting the saw cabinet onto the stand using screws, flat washers, and lockwashers.
Instructions for fastening the saw to a wood stand or bench, and securing the stand to the floor.
Details electrical requirements, circuit protection, and extension cord usage for safe power connection.
Explains the importance of grounding the tool for operator protection and how to connect the grounding wire.
Describes how to operate the saw's ON/OFF switch and how to lock it in the OFF position for safety.
Explains the function of the overload relay and how to reset it if the motor shuts off due to overload.
Instructions for assembling, aligning, and operating the rip fence to prevent kickback, ensuring parallelism to the miter gage slot.
Details on how to operate and accurately adjust the miter gage for precise cuts.
Instructions for adjusting the saw blade's height using the handwheel and tilting for bevel cuts using the lock handle.
Overview of basic sawing operations like ripping and cross-cutting, emphasizing safety precautions.
Guide on using the miter gage for positioning and guiding work during cross-cutting operations.
Instructions for using the rip fence to guide work for lengthwise cuts, including safety measures like using guards and push sticks.
Instructions on attaching a wood facing to the rip fence to prevent thin material from catching.
Guide to installing and using the moulding cutterhead, including safety warnings and operational tips.
Explains the components of a dado head set and how to use them for cutting grooves and rabbets.
Instructions for assembling the dado head set to the saw arbor and using the appropriate table insert.
Details on attaching the sanding disc accessory and performing sanding operations.
Lists available saw blades, dado sets, moulding cutterheads, and related table inserts.
Lists available stands, casters, sanding disc attachments, and table inserts for sanding.
Troubleshooting steps for when the saw fails to start or the overload relay trips frequently.
Solutions for problems like inaccurate angles, material pinching the blade, or material binding on the splitter.
Addresses issues such as unsatisfactory cut quality, excessive vibration, and rip fence binding.
Troubleshooting steps for material kickback and inaccurate 45°/90° crosscuts.
A directory of Rockwell International service centers across various regions in the US and Canada.
Instructions on how to order replacement parts, including necessary information to provide.