ROCPRO™ T32 / User Manual page 5 - 8
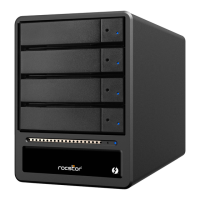
4. Hardware Installation
Please follow the instructions below to complete the hardware installation:
If you have purchased The Rocpro T32 with HDD/SSD storage capacity, please skip to Step 5.
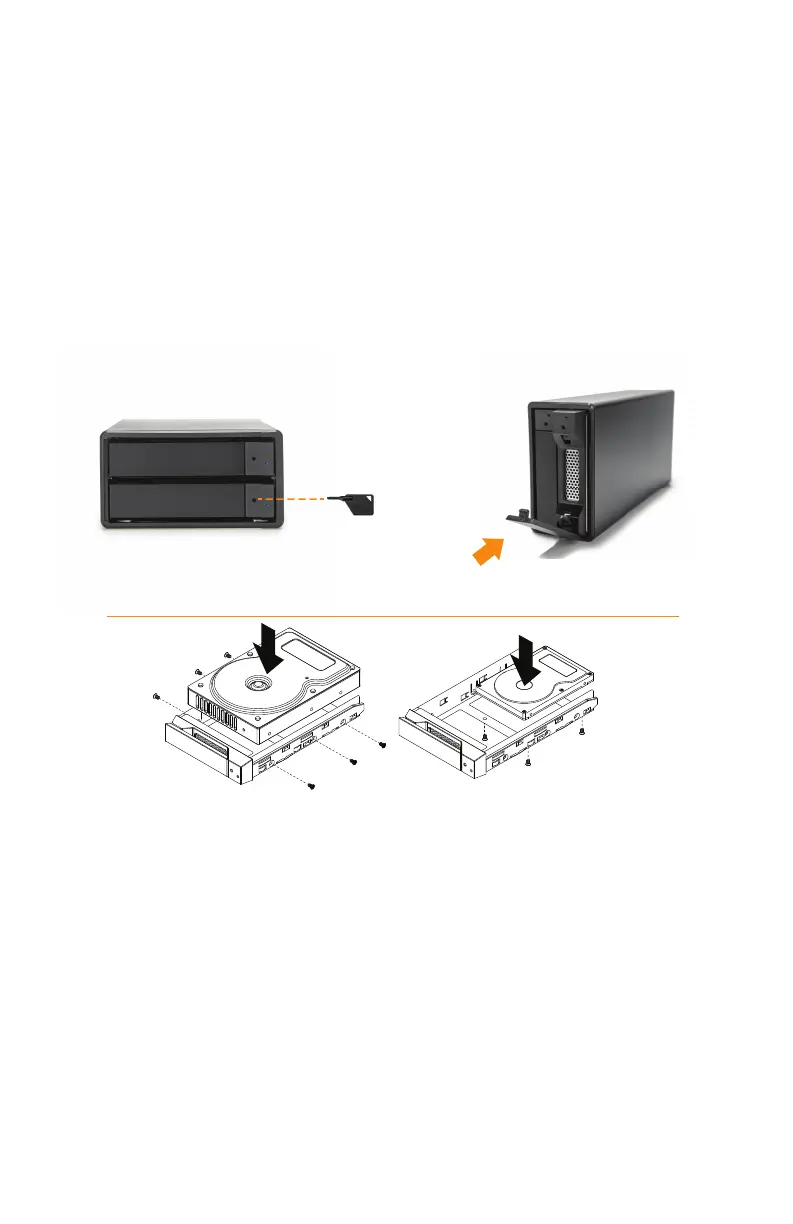
Step 1:
Use the provided key in the Accessories Kit and inserted it into the Key Access Opening to
eject the Removable Drive Tray Latch and extract the Removable Drive Tray.
Step 2:
Mount your hard drives onto the removable drive tray and secure it with the screws included
in the accessory kit to avoid any damage to the hard drive due to accidental movements.
Step 3:
After installing two HDDs into Trays, please insert them into T32 enclosure, and then
latch the handle.
Step 4:
Please switch RAID Dip-switch to JBOD mode at back-plate.
Step 5:
Connect the Thunderbolt™ Cable, and then connect AC/DC Adapter to the product and turn on power.
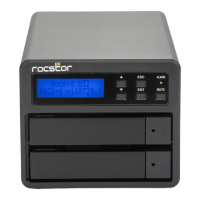
Step 6:
a. After turning on power, the HDD/SSD Indicator will be changed with the following
sequence, Red > O > Blue, and then, Rocpro T32 is ready for use.
b. In case if the HDD/SSD Indicator shows Red > O > Blue Flashing, please use a pin to
press the RESET Button for 3 seconds, and wait until the HDD/SSD Indicator is changed
to Blue from Blue Flashing, your Rocpro T32 is ready for use.
Step:7
While your Rocpro T32 is ready for use, please follow the instruction of "F". The
Standard Procedure to Switch RAID Setting" in Chapter 5 and set the RAID to your
desired mode. You could then start using your Rocpro T32 now.
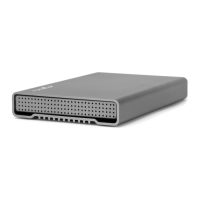
2.5” or 3.5”HDD Screws
1.Push the key
2.Realese the Tray
3.Take Out The Tray.