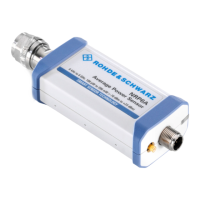
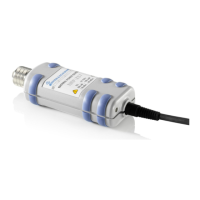
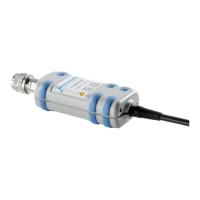
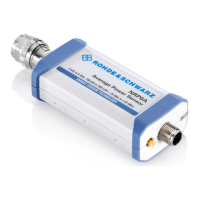
Preparing for Use
R&S
®
NRP Series
21Getting Started 1419.0170.02 ─ 12
5 = PoE injector
6 = AC supply
8 = Controlling host
1. Connect the RF connector of the sensor to the DUT.
See Chapter 4.4, "Connecting to a DUT", on page 12.
2. NOTICE! Risk of sensor damage. Use only PoE power sourcing equipment
(PSE) according to IEEE standards 802.3af or IEEE 802.3at.
Otherwise your power sensor can get damaged.
Connect the RJ-45 Ethernet connector of the sensor to the output of the PoE
injector.
3. Connect the PoE injector to a power supply.
4. Connect the controlling host to the input of the PoE injector.
5. Establish a network connection between the power sensor and the controlling
host.
4.6.3.2 Establishing a Connection to the Network
There are two methods to establish a network connection:
●
Power sensor and controlling host are connected to a common network
(infrastructure network).
●
Power sensor and controlling host are connected only over the switch
(peer-to-peer network).
In both cases, you can address the LAN power sensor as follows:
●
Chapter 4.6.3.3, "Using Hostnames", on page 22
●
Chapter 4.6.3.4, "Assigning the IP Address", on page 24
To set up a network Ethernet connection
1. Connect the power sensor as described in Chapter 4.6.3.1, "Connecting a
LAN Power Sensor to the LAN", on page 18.
By default, the power sensor is configured to use dynamic TCP/IP configura-
tion (DHCP) and to obtain the address information automatically.
If both LAN status LEDs are illuminated in green color, the power sensor is
correctly connected to the network.
Note: Establishing a connection can take up to 2 minutes per device.
Connecting to a Controlling Host
 Loading...