7
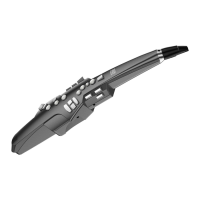
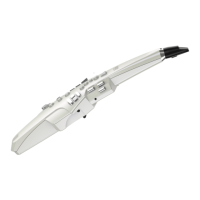
Holding the Aerophone GO
1. Attach the neck strap
to the strap ring of the
Aerophone GO, and hold it
as shown in the illustration.
2. Place your left thumb on the thumb rest, and place
your right thumb under the thumb hook.
Support the instrument at three points: your right thumb, your
upper teeth, and the strap.
Left thumb
Right thumb
Thumb hook
Thumb rest
Embouchure (Reed-style)
tongue
upper teeth
lower teeth
lower lip
Hold the mouthpiece lightly
between your upper teeth and
lower lip, and blow into it.
¹ By using tonguing (using your
tongue to control your breath)
and legato you can control the
sound more expressively.
¹ You can control the pitch by the
strength with which you bite
the reed.
* If saliva runs down during performance, use a dry cloth to wipe it
o diligently.
Using the Thumb
Octave keys
Switch the octave. You can raise or lower
the pitch by one octave. Operate them
using the left-hand thumb.
Thumb button
Bends up (raises the pitch) or bends down
(lowers the pitch).
* Whether the thumb button bends up
or bends down is specied for each tone, and this cannot be
changed.
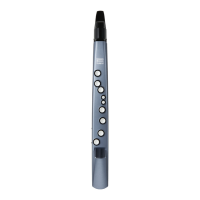
Pressing the Performance Keys
These are the performance keys. You can perform using the same
ngering as on a saxophone.
Ø For details on ngering, refer to “Fingering Chart” at the end of
this manual.
Right index nger
Left index nger
P
2
3
G
´
1
C2
C4
B
C
´
B
³
4
5
Tf
6
C
C3
Tc
Ta
C1
X
E
³
C5
* Use the inside of your hand to press the side keys (C1–C4, Tc, Ta).
thumb button
-1
+1
Performing
How to Make Sound
To begin, let’s try playing C D E F G A B C using sax ngering.
Take a deep breath, and blow as through you’re lling the entire instrument.
C D E F G A B C
Right index
nger
Left index
nger
Ø For details on ngering, refer to “Fingering Chart” (p. 16) at the end of this manual.

 Loading...