16
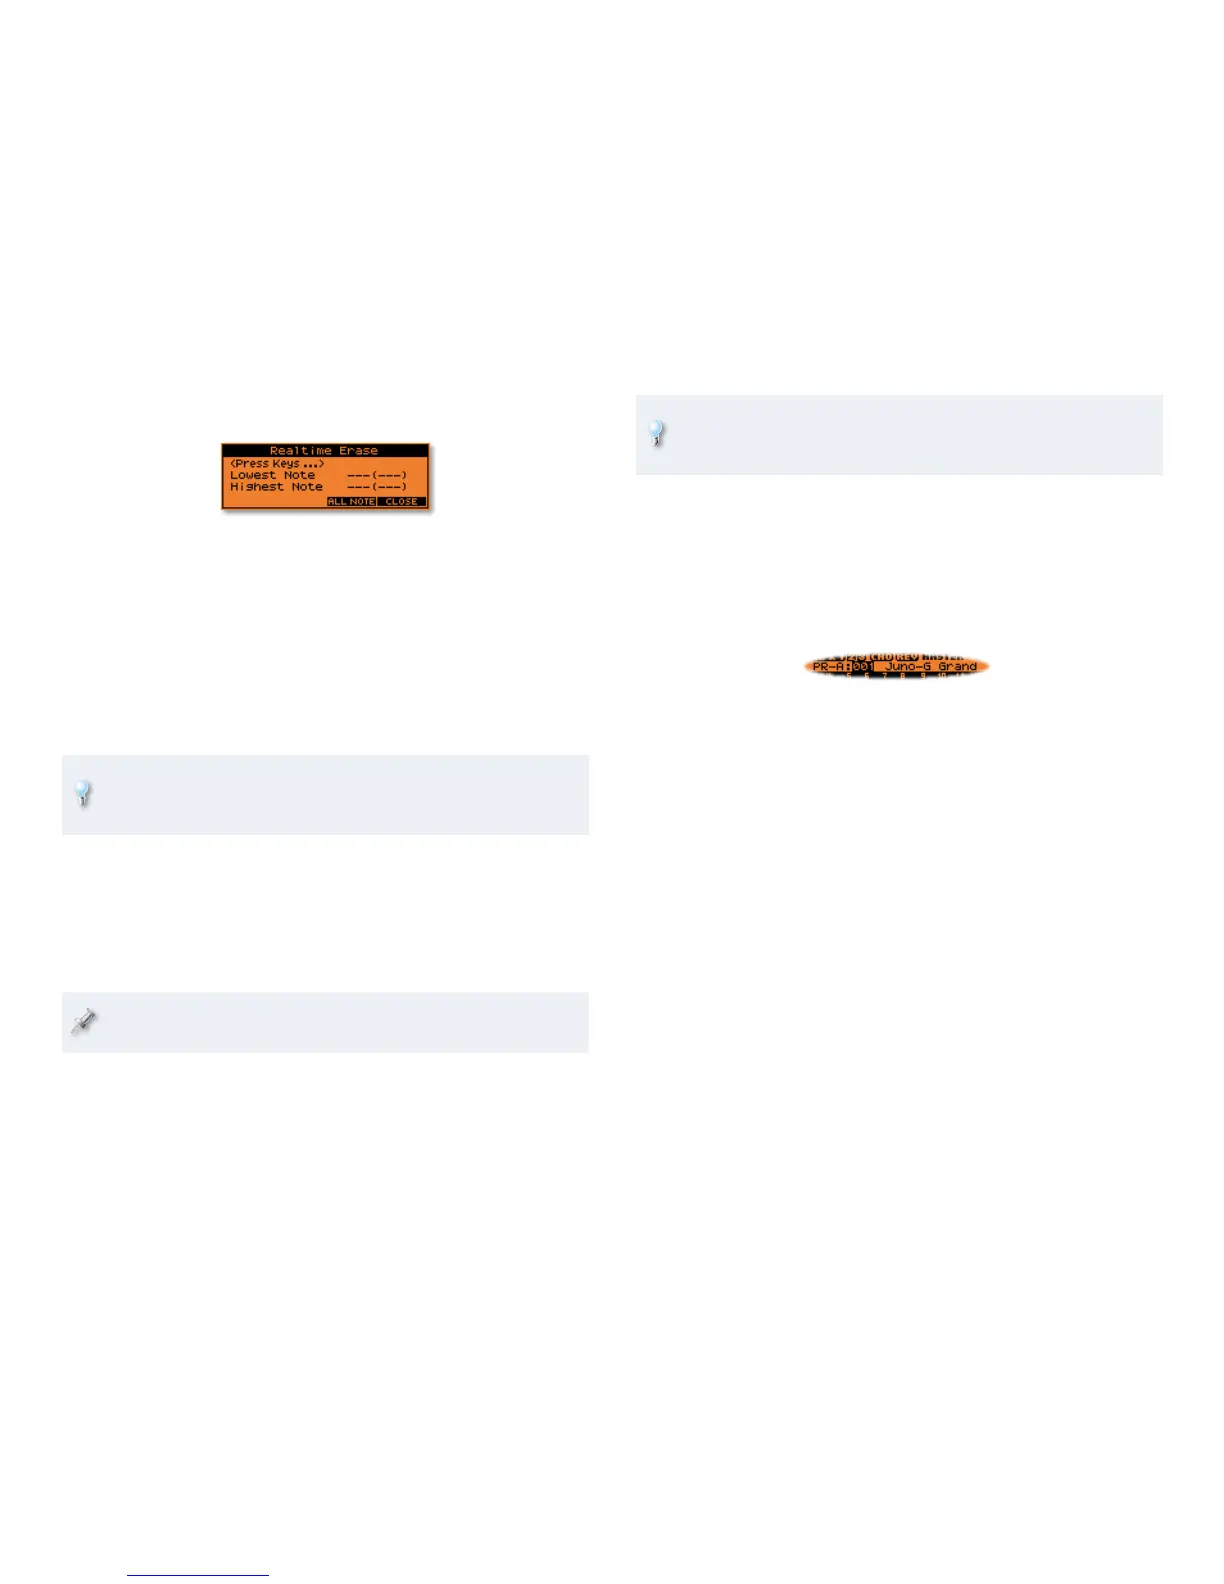
If you play a wrong note, press F4 (ERASE)—the Realtime Erase 11
window opens.
If you want to erase:
a particular note—• press the unwanted note on the keyboard
wherever it occurs as the song loops around.
all notes—
• press F5 (ALL NOTE) wherever the unwanted notes
occur.
a range of notes—
• hold down the lowest and highest notes you
don’t want wherever they occur.
When you’re done erasing notes, press F6 (CLOSE) to close the
12
Realtime Erase window.
When you’ve been erasing, it’s easy to wind up not knowing where
you are in your song. Find your place using the Realtime Rec Control
window’s counter. The top of your song’s going to be at 0001:01.
Here’s another cool thing you can do when you’re sequencing with
looping turned on.
We’re sequencing using the MIX Rec (“Recording”) Mode. In MIX
mode, any new note you play is added to the track on top of notes
you’ve already sequenced, allowing you to build up a performance a
bit more each time the loop goes around.
When you want new notes to replace already-sequenced notes, you set
Rec Mode to REPLACE.
Try adding additional notes each time the song loops around. You 13
can, of course, always take them out again using F4 (ERASE).
When you’re done sequencing your track, hit STOP.
14
Return to the top of the song and hit PLAY to hear what you’ve 15
sequenced.
If you’d like to adjust the level balance between the piano and the
beat, hit the PART MIXER button, select the Level fader for Part 1 (the
piano) or Part 10 (the beat) and make the adjustment you want.
Changing a MIDI Track’s Sound
If you’re not already on the PART MIXER screen, press the PART MIXER 1
button to go there now.
Remember how we said way back on Page 11 that a MIDI track’s data
is separate from the sound it plays? Let’s see why this is so useful.
Select Part 1’s Patch/Rhythm Set number parameter, as shown here.
2
Press the ENTER button to open up the CATEGORY screen.3
If the song’s not already playing, go back to the top of the song and 4
hit PLAY.
Select some other sound for your sequenced track—you can hear
5
what it sounds like immediately. Feel free to snoop around for the
sound you like best.
When you’re done, press the ENTER button to lock in your choice.
6
Sequencing Another MIDI Track and Changing Its Sound
Press PART MIXER if you’re not already on that screen, and select an 1
unused part.
Select that part’s Patch/Rhythm Set number parameter, and press
2
ENTER.
Select the sound you want for the part and its track.
3
If the song’s currently playing, hit the STOP button.4
Repeat Steps 4-15 from “Sequencing MIDI Tracks” on Page 15 to 5
sequence your new MIDI track.
Turn off looping before proceeding to the next section by pressing
6
the LOOP button so it’s unlit.

 Loading...


