19
An expanded JUNO-G’s sample memory can hold more, and longer,
samples. See Page 176 in the Owner’s Manual.
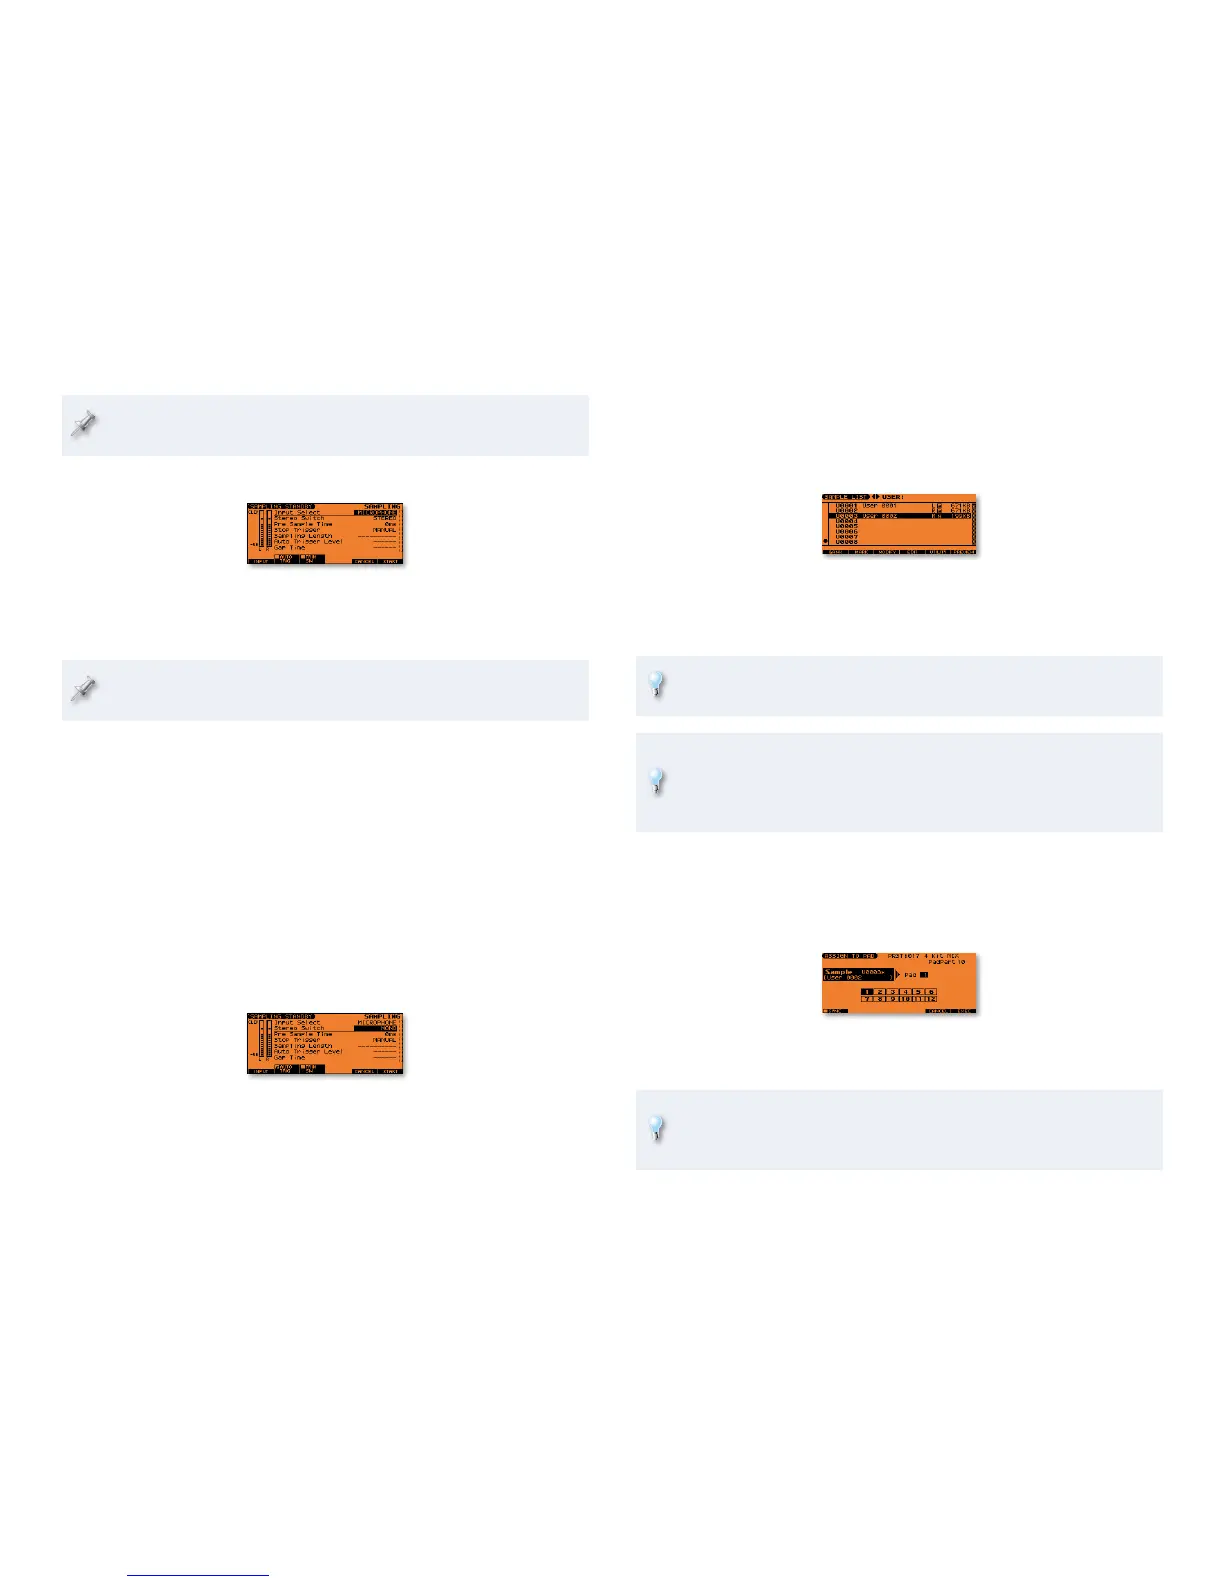
Press F1 (SAMPLING) to display the SAMPLING STANDBY screen.3
While the SAMPLING STANDBY screen has a variety of parameters
for customizing your sampling session, for now we’ll just do a few
things here.
For more information on the parameters in the SAMPLING STANDBY
screen, see the JUNO-G Version 2 Supplementary Manual.
Make sure that the Input Select parameter is set to the type of input 4
signal you have. If you’re using a mic, or electric guitar or bass, you
want MICROPHONE. (If you were sampling from a CD player or
personal music player, you’d want LINE IN L/R.)
Since we’re sampling a mono audio signal, set the Stereo Switch
5
parameter to MONO to save sample memory.
Let’s turn on auto-triggering so sampling automatically starts when
the sound you’re capturing begins.
Press F2 (AUTO TRIG) so its box is checkmarked, and then don’t sing
6
or play unless you’re ready to sample it.
When you’re done (quietly) getting ready, the SAMPLING STANDBY
screen should look like this:
Sing into your mic or play your instrument to start sampling.7
When you’re done, press F5 (STOP)—the JUNO-G shows your new 8
sample on the SAMPLE EDIT screen where you can do lots of things to
it, as described in the JUNO-G Version 2 Supplementary Manual.
Assigning a Sample to a Pad
On the SAMPLE EDIT screen, press F4 (LIST) to display the sample list. 1
This list shows you all the samples currently loaded in your JUNO-G’s
sample memory.
The mono sample we just made is User 0002.
The stereo sample played by the audio track we
recorded earlier is User 001. You may have more
samples in your JUNO-G than we do here.
You can also get to the sample list at any time by pressing the AUDIO
button, and then F4 (LIST).
Samples are organized in three banks: Factory samples are in the
Preset bank, and your samples are in the User and Card (if you’ve got
a memory card installed) banks. To navigate between them, repeatedly
press F1 (BANK).
Select the sample we just made. In the illustration above, that’s User 2
0002.
While holding down SHIFT, press F6 (To PAD) to show the ASSIGN TO
3
PAD screen.
You can use the Value dial or DEC/INC buttons to select the desired 4
pad, from 1-12. Pad 1, the default, is fine for now.
Samples can be locked in time to songs just like audio tracks. This
allows the sample’s tempo to change along with the song’s. To enable
this feature, you can press F1 (SYNC) so its box is checkmarked.

 Loading...


