15
Names of Things and What They Do
fig.RearPanel-01.eps
MIDI In/Out connectors
You can connect these to external MIDI devices to transfer
performance data (p. 47).
Input jacks (L/Mono, R)
Here you can connect an audio player or another electronic musical
instrument, and listen to the connected device through the RP201’s
speakers (p. 46).
Output jacks (L/Mono, R)
You can connect an external powered speakers here to reproduce
the RP201’s sound (p. 46).
Ground terminal
For added safety, you can connect this screw to a grounding rod or a
grounded earth wire (p. 16).
DC In jack (DC Inlet)
Connect the supplied AC adaptor here (p. 16).
Pedal connector
Connect the pedal cord of the dedicated stand to this connector (p.
16).
fig.BottomPanel-01.eps
Headphone jacks
Here you can connect headphones. The RP201 lets you use two sets
of headphones simultaneously (p. 20).
Headphone hook
Whenever you are not using the headphones, you can hang them
on the headphone hook (p. 20).
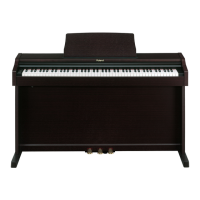
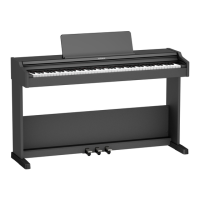
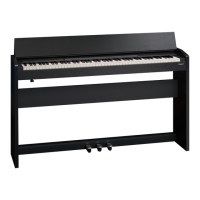
Rear Panel
Disabling the panel buttons
By using the Panel Lock function you can disable all of the buttons. This allows you to prevent unintended changes in the settings during a
performance (p. 45).
To activate the Panel Lock function, hold down the [ ] (Rec) button for several seconds. To deactivate it, once again hold down the [ ] (Rec)
button for several seconds.
14 15 16
17
18
19
Bottom Panel (Front Left)
20
21
RP-201_e.book 15 ページ 2009年12月8日 火曜日 午後6時31分
 Loading...