RCP-QE User Guide (v02) Installation • 3–1
Installation
Unpacking the Equipment
On receiving your RCP-QE, check the contents against the packing list. Before you start installing the RCP-QE into
your system, ensure that all equipment itemized on the packing list is present and that there are no signs of damage.
If anything is missing or damaged, contact your Ross Video office immediately to obtain the correct warranty
service procedures. This ensures prompt assistance, minimal turnaround time, and avoids any freight issues.
We recommend that the equipment is installed to any relevant standards and approvals by qualified and experienced
personnel.
General
These installation guidelines assume the following:
• The relevant NK Series equipment has been installed into a ventilated rack frame. The relative humidity in the
environment of the equipment should be < 70% (non-condensing).
• The routing switcher system has been well planned and designed. Consideration must be given to inputs and
outputs across multiple router levels and typical operating scenarios for breakaways.
• Where required, correct IP addresses have been assigned to the equipment.
• The routing switchers are connected to physical inputs and outputs and have appropriate power supplies.
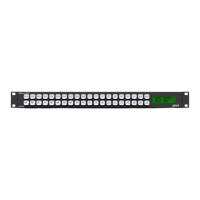
Installing the RCP-QE
The RCP-QE is powered using the 5 V 2 A power supply provided. This power supply connects directly to the AC
mains supply.
Warning — Ensure that the AC mains supply complies with the PSU specification
before making the connection.
Warning — An earthed neutral mains supply and residual current device is
recommended for safe operation.
 Loading...