Page 8
07/04
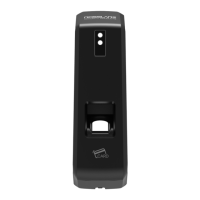
AC-S43
Installation
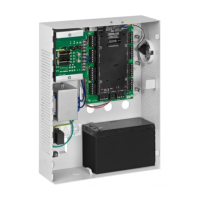
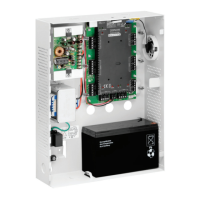
Mounting the AC-S43 Controller
1) Before starting, select the location to mount the AC-S43
controller.
2) Drill holes into the back of the metal according to how you want
to mount the AC-S43. For US Gang Box installation there are two
holes on the back cover aligned for the US Gang Box. (Shown
marked as "A" in diagram below).
3) Screw the AC-S43 back cover to its mounting location.
4) Wire the controller according the wiring instructions of the
following page.
5) Mount the AC-S43 to the back cover.
6) Secure the AC-S43 by using the supplied security screw in the
Installation Kit. An L-Shaped tool is provided for use when
tightening the security screw.
Page 9
07/04
Wiring the AC-S43
The controller is supplied with a 22" (60cm) pigtail, having a 10
conductor cable. To wire the Controller, perform the following
steps.
1) Prepare the controller cable to the required length.
2) Splice the controller pigtail wires to the corresponding devices
and cover each connection. Refer to the wire color guide
provided below and to the wiring diagrams provided on the
following pages.
Wire Color Guide
3) Trim and cover all conductors that are not used.
A few of the typical wiring diagrams are shown on the next three
pages; for other wiring diagram examples refer to the support
section of the Rosslare Web Site.
http://www.rosslaresecurity.com
AC-S43
RED
BLACK
GREEN
WHITE
BROWN
BLUE
YELLOW
ORANGE
PURPLE
GRAY
V INPUT
GROUND
REX / BL
IN / MONITOR
N.C.
LOCK: COM
N.O.
AUX: COM
N.O.
N.C.
LOCK:
LOCK:
AUX:
AUX:
COLOR DESCRIPTION
CAUTION!
DO NOT DRILL
This is the Tamper Lens
A
A

 Loading...