5
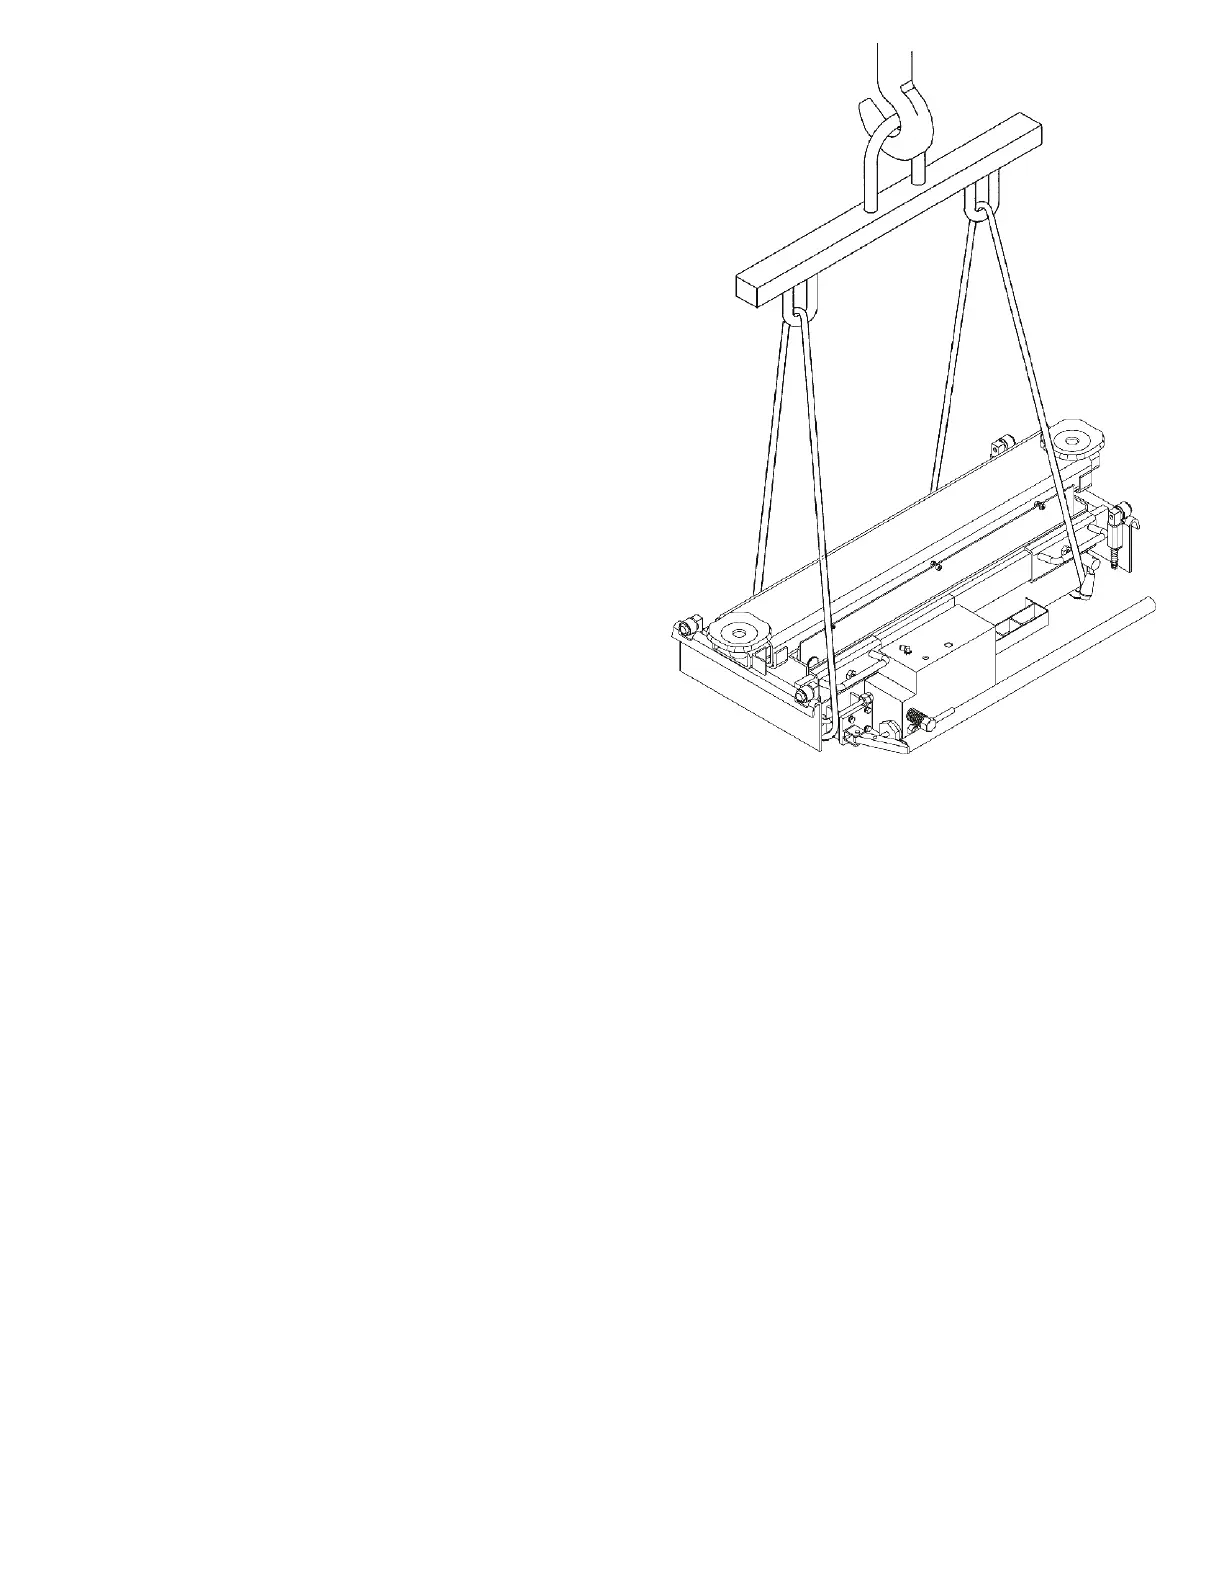
Fig. 2
2. AFTER UNPACKING
2.1 Moving to site
To move the machine to the area chosen for instal-
lation (or to move it to another location), proceed as
follows:
- Lift the machine using a fork-lift truck (crane), posi-
tioning the forks as shown in Fig. 2.
- Wear protective clothing (gloves and safety shoes);
- The lifting means must be of a type and resistance
suitable for supporting the lifted load.
2.2 Disposal of the packaging
Remove the components of the packaging and place
them in areas without access for unauthorised people,
children and animals.
3. INSTALLATION
3.1 Checking that all the parts are present
Before starting installation, check that you have
received all the parts for assembling and installing the
machine properly (check with the spare parts table).
3.2 Checking the minimum requirements for the place
of installation
Check that the area in which the machine is to be
installed has the following characteristics:
- Enough light (without strong or dazzling lighting).
- The area is not exposed to bad weather.
- An unpolluted environment.
The manufacturer cannot accept liability for any dam-
age resulting from installation made on inspection pits
and lifts that are inadequate for free wheel jack mount-
ing.
3.3 Pneumatic connection
The air supply pressure must not exceed 10 bar; it is
best to use filtered and lubricated air.
 Loading...