3 x Installation
24
FA ROTEX Solaris RPS3 25M - 03/2010
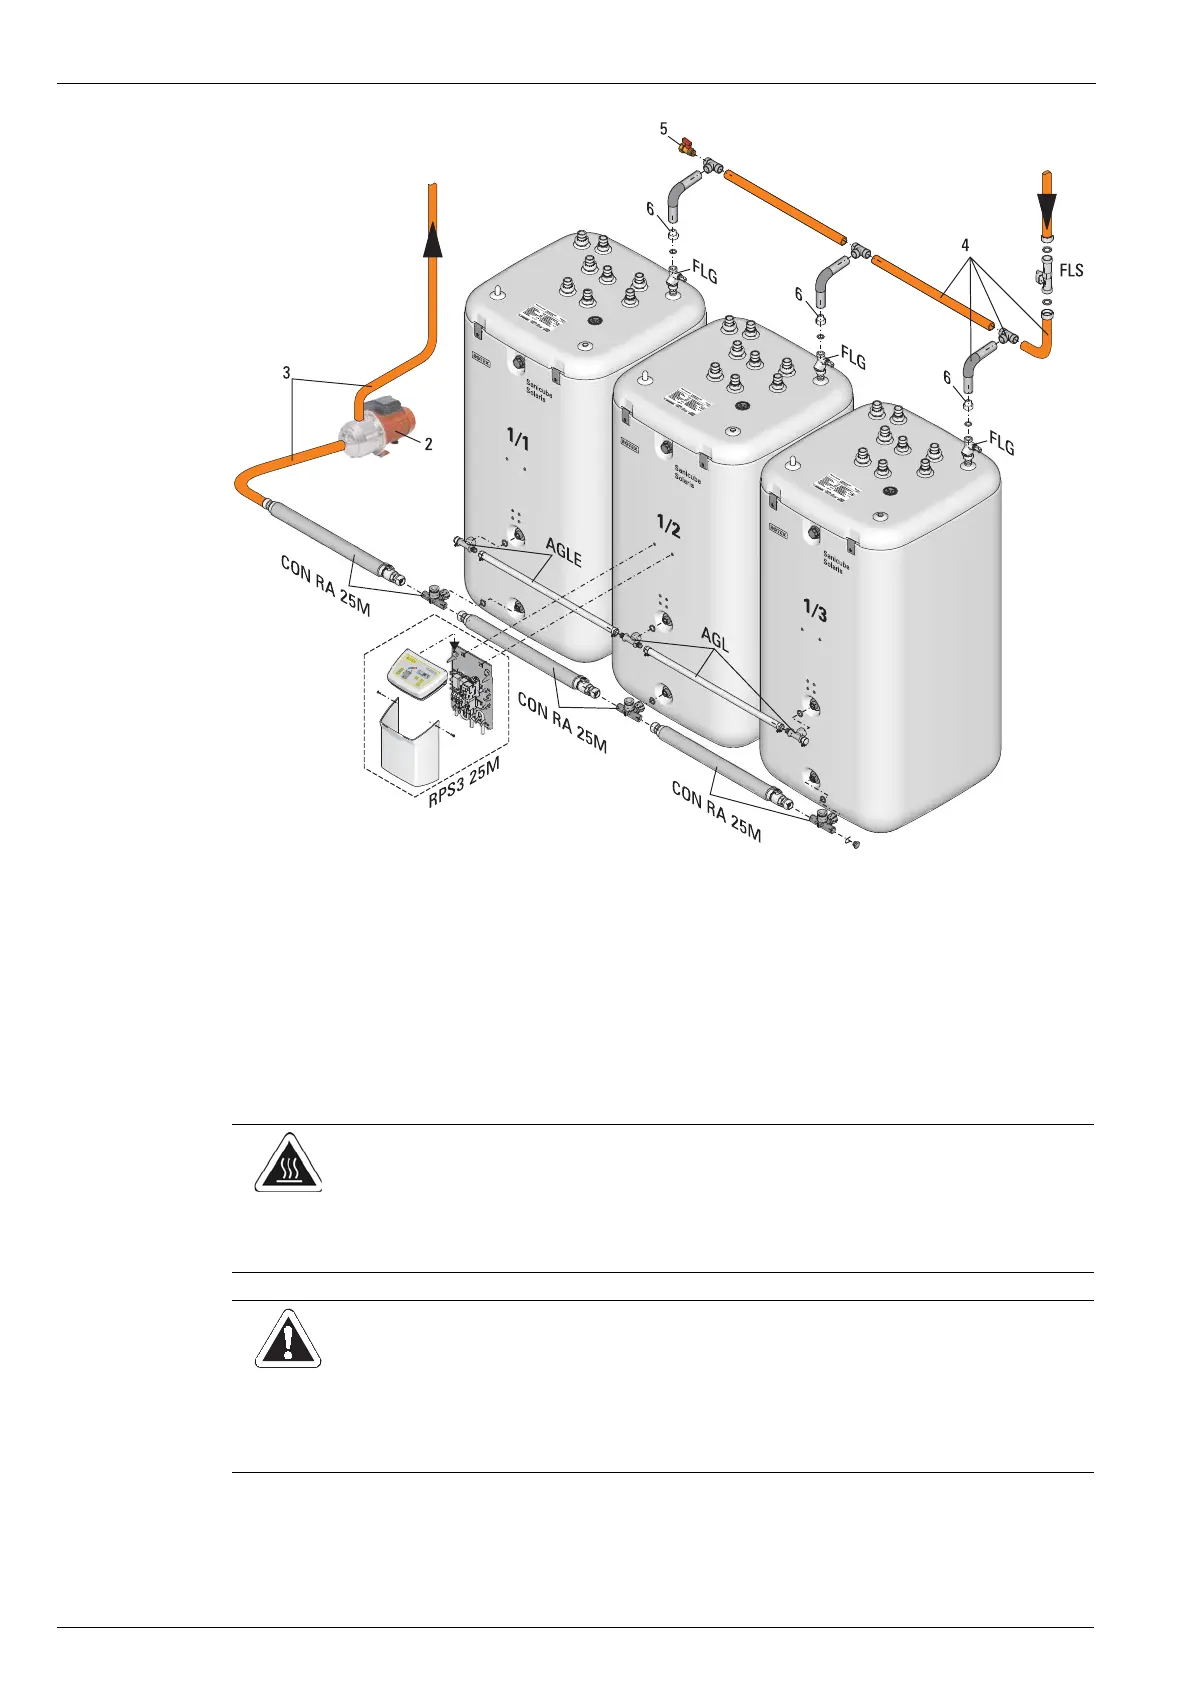
Installation of the storage tank extension kits CON SX and CON SXE
1. Unscrew the caps of the Solaris return connections (see chapter 2.1, Image 2-1, Pos. 17) from the hot water storage tanks.
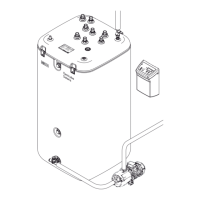
1 DHW storage tank
2 Circulation pump (bottom) and optional booster pump (top)
3 Solaris return line (on-site)
4 Solaris flow manifold (on-site)
5 Filling and draining cock
6 Push-in fitting flow connection Ø 15 mm from CON VA 25M,
RCAP, RCRP, RCIP or RCFP
AGL equalising pipe
AGLE Equalising pipe extension kit
CON RA 25M
connection set (return)
FLS FlowSensor
FLG FlowGuard
RPS3 25M Control unit
Illustration 3-33 Connecting several hot water storage tanks with flow manifold provided on-site
WARNING!
Danger of scalding after disconnecting the connection pipes from the hot water storage tank or when working
on the pipes of the Control unit (e. g. when replacing a pump).
• Drain the hot water storage tank (non-pressurised area) before starting work on the connecting pipe or
other pipework.
CAUTION!
Large amounts of water can escape from the DHW storage tank during installation.
• Fit the Solaris storage tank extension kit before filling the DHW storage tank (unpressurised zone) with
water.
• If the Solaris system is to be connected to a hot water storage tank which is already in operation, the
non-pressurised storage tank zone must first be drained.
 Loading...