4
C PREPARATION
1 Check for textile care symbols (i j k l).
2 Iron fabrics at low temperatures j first, then medium
temperatures k, and finish with high temperatures l.
C FILLING
3 You may use tap-water, but if you live in a hard water area, use
distilled water (not chemically descaled or softened water).
4 If you buy distilled water, check that it’s marketed as suitable for
use in irons.
5 Unplug the iron.
6 Set the steam control to S.
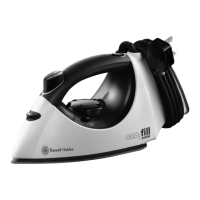
7 Press the V button, and hold it in – this opens the filling valve.
8 Pour water into the heel till it starts to back up.
9 Let the V button go, to close the valve and seal the reservoir.
10 Tip excess water out of the heel, into the sink or the filling jug.
11 Wipe up any spillage.
C SWITCH ON
12 Set the temperature control to •, set the steam control to S.
13 Sit the iron on its heel.
14 Put the plug into a power socket (switch the socket on).
15 Turn the temperature control to bring the setting you want next
to the 5 mark – the light will come on.
16 When the iron reaches the temperature you set, the light will go
off. It’ll then cycle on and off as the thermostat operates to
maintain the temperature.
C TEMPERATURE SETTING GUIDE
label marking dot setting
j cool – nylon, acrylics, polyester •
k warm – wool, polyester mixtures • •
l hot – cotton, linen/denim • • •/max
i do not iron
, If the instructions on the fabric label differ from this guide, follow
the instructions on the label.
 Loading...
