Do you have a question about the Ryobi 767r and is the answer not in the manual?
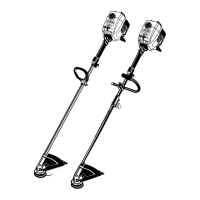
Lists the main unit included in the carton for verification.
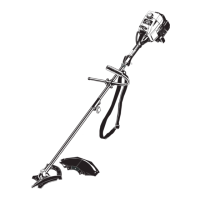
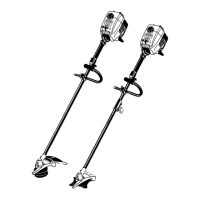
Includes the D-handle assembly and associated hardware for Model 767r.
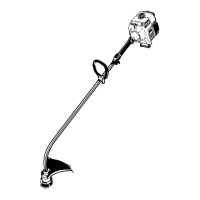
Includes the J-handle assembly and associated hardware for Model 775r.
The user manual detailing operation and maintenance procedures.
Crucial safety guidelines to be read and understood before operating the unit.
Guidelines for safe operation of the trimmer during use.
Explains safety symbols and pictographs used in the manual and on the product.
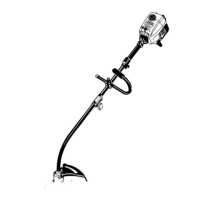
Identifies and explains the main parts and application of the trimmer.
Step-by-step guide to install and adjust the D-handle for the 767r model.
Step-by-step guide to install and adjust the J-handle for the 775r model.
Instructions for attaching the cutting attachment shield to the unit.
Details on how to correctly mix oil and gasoline for the 2-cycle engine.
Precautions and recommendations for using blended fuels.
Information on using fuel additives like STA-BIL for engine protection.
Step-by-step guide on how to safely start the trimmer engine.
Steps for safely shutting down the trimmer engine.
How to use the Click-Link system for attaching accessories on Model 775r.
Proper posture and hand placement for holding the trimmer during operation.
Method for extending the trimmer line using the Bump Head feature.
Advice on techniques for efficient and effective grass trimming.
A schedule outlining required maintenance tasks and their frequencies.
Instructions for installing new trimmer line into the SpeedSpool head.
Procedures for cleaning and maintaining the air filter for optimal performance.
Steps for removing, checking, and replacing the spark plug for engine ignition.
Identifies causes and actions for when the engine fails to start.
Identifies causes and actions for when the engine does not idle properly.
Identifies causes and actions for power loss or stalling during operation.
Identifies causes and actions for issues with line advancement.
Technical specifications related to the trimmer's engine.
Technical specifications for the drive shaft and string head components.
Details the emission control system warranty rights and obligations for California.
Outlines the general two-year limited warranty terms and conditions.
| Starting System | Recoil |
|---|---|
| Power Source | Gasoline |
| Shaft Type | Straight |
| Line Diameter | 0.095 in. |
| Engine Type | 2-Cycle |