Do you have a question about the Ryobi MS181 and is the answer not in the manual?
Indicates danger, warning, or caution. May be used in conjunction with other symbols or pictographs.
Failure to obey a safety warning will result in serious injury to yourself or to others.
Failure to obey a safety warning can result in serious injury to yourself or to others.
Failure to obey a safety warning may result in property damage or personal injury to yourself or to others.
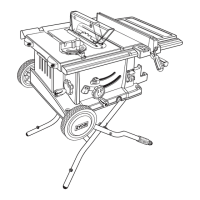
Detailed steps for installing the saw blade, including safety precautions and tool requirements.
Never use a blade that is too thick to allow outer blade washer to engage with the spindle flats.
Steps to safely remove the saw blade, including safety warnings.
Procedure to align the miter table with the fence using a framing square.
Procedure to align the saw blade perpendicular to the fence using a framing square.
Procedure to align the saw blade perpendicular to the miter table using a combination square.
Procedure to adjust the depth stop using wrenches and a hex key.
General instructions for cutting with the compound miter saw.
Procedure for making cuts using both miter and bevel angles simultaneously.
Step-by-step guide for performing a compound miter cut operation.
Chart for compound angle settings to aid in making correct settings for various numbers of sides.
Upon removal, cover the battery pack's terminals with heavy duty adhesive tape.
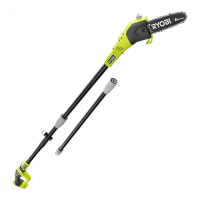
| Type | Chainsaw |
|---|---|
| Weight | 5.2 kg (11.5 lbs) |
| Power Source | Gasoline |
| Bar Length | 18 inches |
| Chain Gauge | 0.050 inches |