6
present, see a doctor immediately.
■ Clean up spilled petrol immediately.
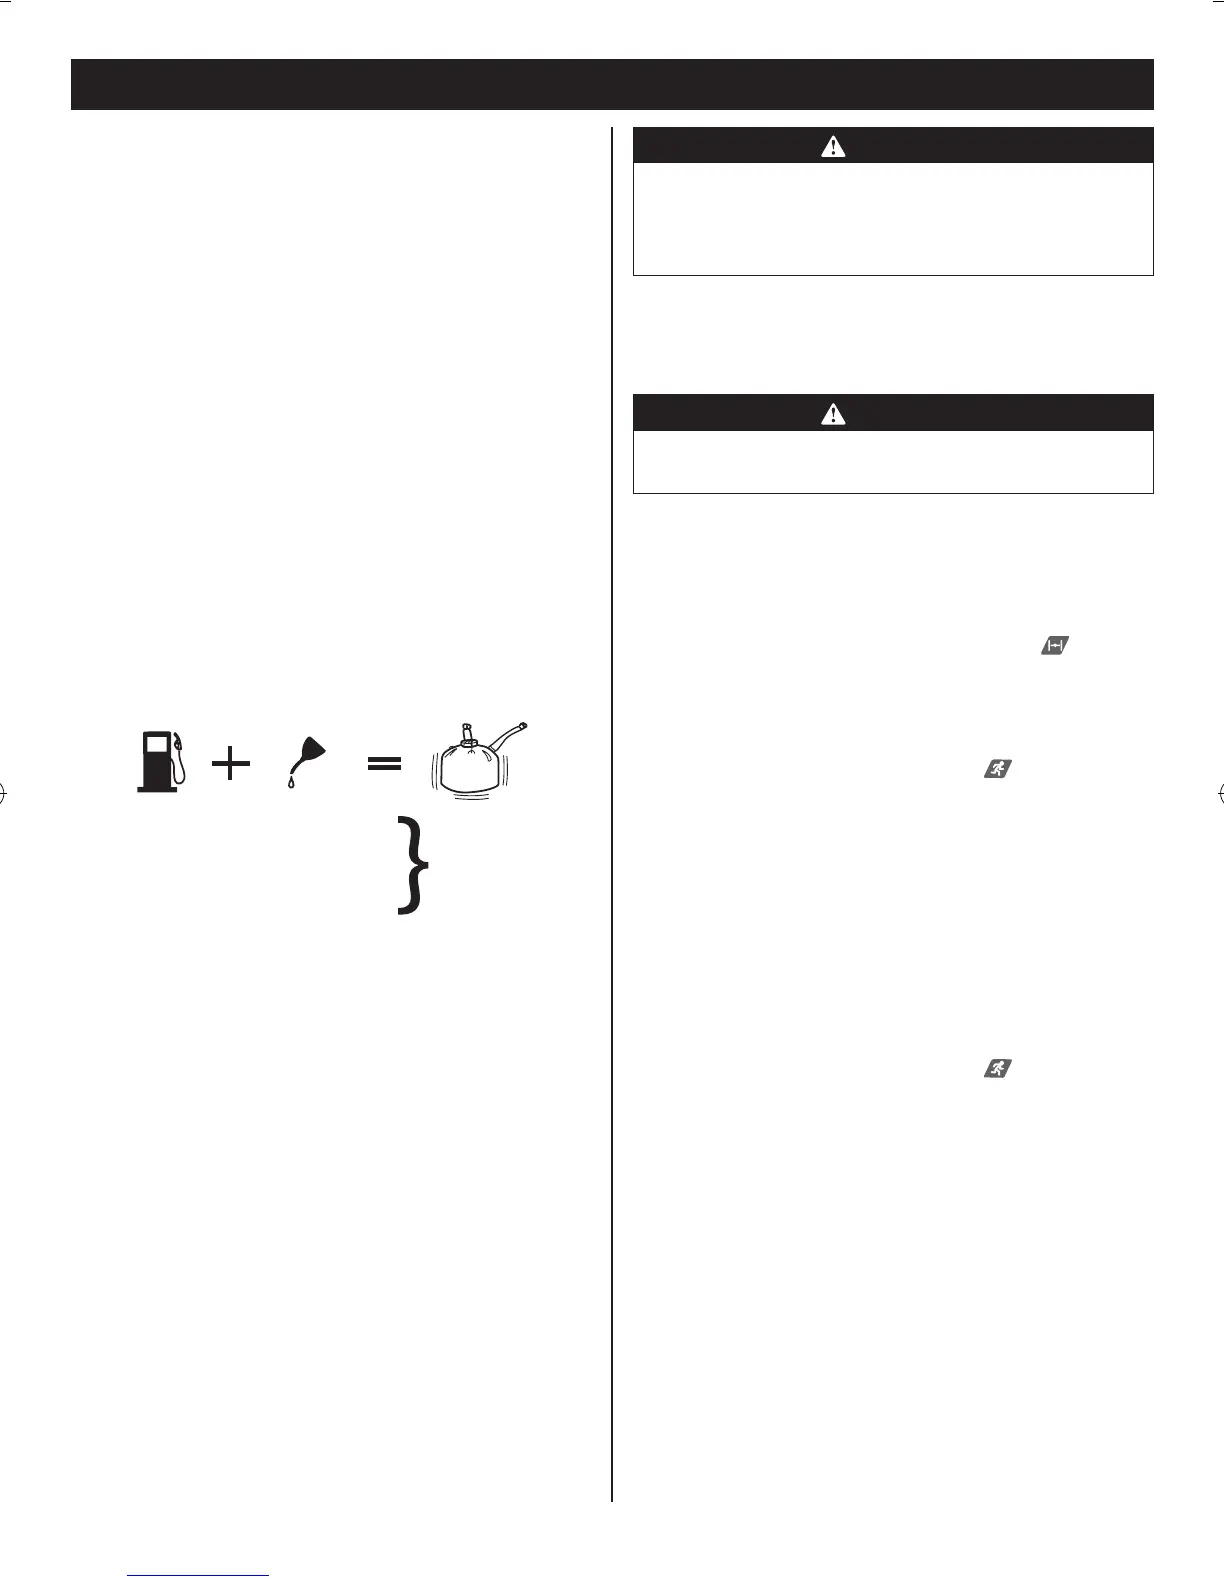
Mixing the fuel
■ This product is powered by a 2-stroke engine and
requires pre-mixing petrol and 2-stroke lubricant.
Premix unleaded petrol and 2-stroke engine lubricant
in a clean container approved for petrol.
■ This engine is certified to operate on unleaded petrol
intended for motor vehicle use with an octane rating of
91 ([R + M]/2) or higher.
■ Do not use any type of pre-mixed petrol/lubricant from
fuel service stations.
■ Use synthetic 2-stroke lubricant only. Do not use
automotive lubricant or 2-cycle outboard lubricant.
■ Mix 2% synthetic 2-stroke lubricant into the petrol.
This is a 50:1 ratio.
■ Mix the fuel thoroughly and also each time before
refuelling.
■ Mix in small quantities. Do not mix quantities larger
than usable in a 30-day period. A synthetic 2-stroke
lubricant containing a fuel stabiliser is recommended.
1 Litre + 20 ml =
2 Litres + 40 ml =
3 Litres + 60 ml = 50:1 (2%)
4 Litres + 80 ml =
5 Litres + 100 ml =
Filling the tank
■ Clean surface around fuel cap to prevent
contamination.
■ Loosen the fuel cap slowly to release pressure and to
keep fuel from escaping around the cap.
■ Carefully pour fuel mixture into the tank. Avoid
spillage.
■ Prior to replacing the fuel cap, clean and inspect the
gasket.
■ Immediately replace fuel cap and hand tighten. Wipe
up any fuel spillage. Move 9 m away from refuelling
site before starting engine.
NOTE: It is normal for smoke to be emitted from a new
engine during and after rst use.
WARNING
Always shut off engine before fuelling. Never add fuel
to a machine with a running or hot engine. Move at
least 9 m (30 ft) from refuelling site before starting the
engine. Do not smoke.
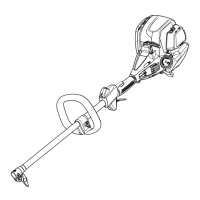
STARTING AND STOPPING
See Figures 8-11.
WARNING
Never start or run the engine inside a closed or poorly
ventilated area; breathing exhaust fumes can kill.
To start a cold engine
1. Lay the product on a at, bare surface.
2. Set the ignition switch to the "I" (ON) position.
3. Push the primer bulb approximately 10 times.
4. Set the choke lever to full choke position .
5. Hold the product tight with left hand and pull the starter
grip with right hand in a quick, rm and consistent
upward motion (no more than 6 pulls) until engine
attempts to start. Do not squeeze the throttle trigger.
6. Set the choke lever to run position .
7. Pull the starter grip with a quick rm and consistent
upward motion (no more than 4 pulls) until the engine
starts. Do not squeeze the throttle trigger.
8. When the engine starts, allow the engine to run for 10
seconds, then squeeze the throttle trigger.
NOTE: If engine does not start, return to step 4 and
repeat the steps.
To start a warm engine
1. Lay the product on a at, bare surface.
2. Set the ignition switch to the "I" (ON) position.
3. Set the choke lever to run position .
4. Hold the product tight with left hand and pull the starter
grip with right hand in a quick, rm and consistent
upward motion (no more than 4 pulls) until engine
starts. Do not squeeze the throttle trigger.
5. When the engine starts, allow the engine to run for 10
seconds, then squeeze the throttle trigger.
NOTE: If engine does not start, return to step 4 of "To
start a cold engine" and repeat the steps.
To stop the engine
1. Release the trigger.
2. Push the switch to the "O" (OFF) position.
CUTTING TIPS
See Figure 12.
■ Keep a firm grip with both hands while in operation.