English (Original instructions)
FUEL AND REFUELING
HANDLING THE FUEL SAFELY
Ŷ $OZD\VKDQGOHIXHOZLWKFDUH,WLVKLJKO\IODPPDEOH
Ŷ $OZD\VUHIXHORXWGRRUVZKHUHWKHUHDUHQRVSDUNVDQG
flames. Do not inhale fuel vapors.
Ŷ 'RQRWOHWSHWURORURLOFRPHLQFRQWDFWZLWK\RXUVNLQ
Ŷ .HHS SHWURO DQG RLO DZD\ IURP WKH H\HV ,I SHWURO
RU RLO FRPHV LQ FRQWDFW ZLWK WKH H\HV ZDVK WKHP
LPPHGLDWHO\ZLWKFOHDQZDWHU,ILUULWDWLRQLVVWLOOSUHVHQW
see a doctor immediately.
Ŷ Clean up spilled petrol immediately.
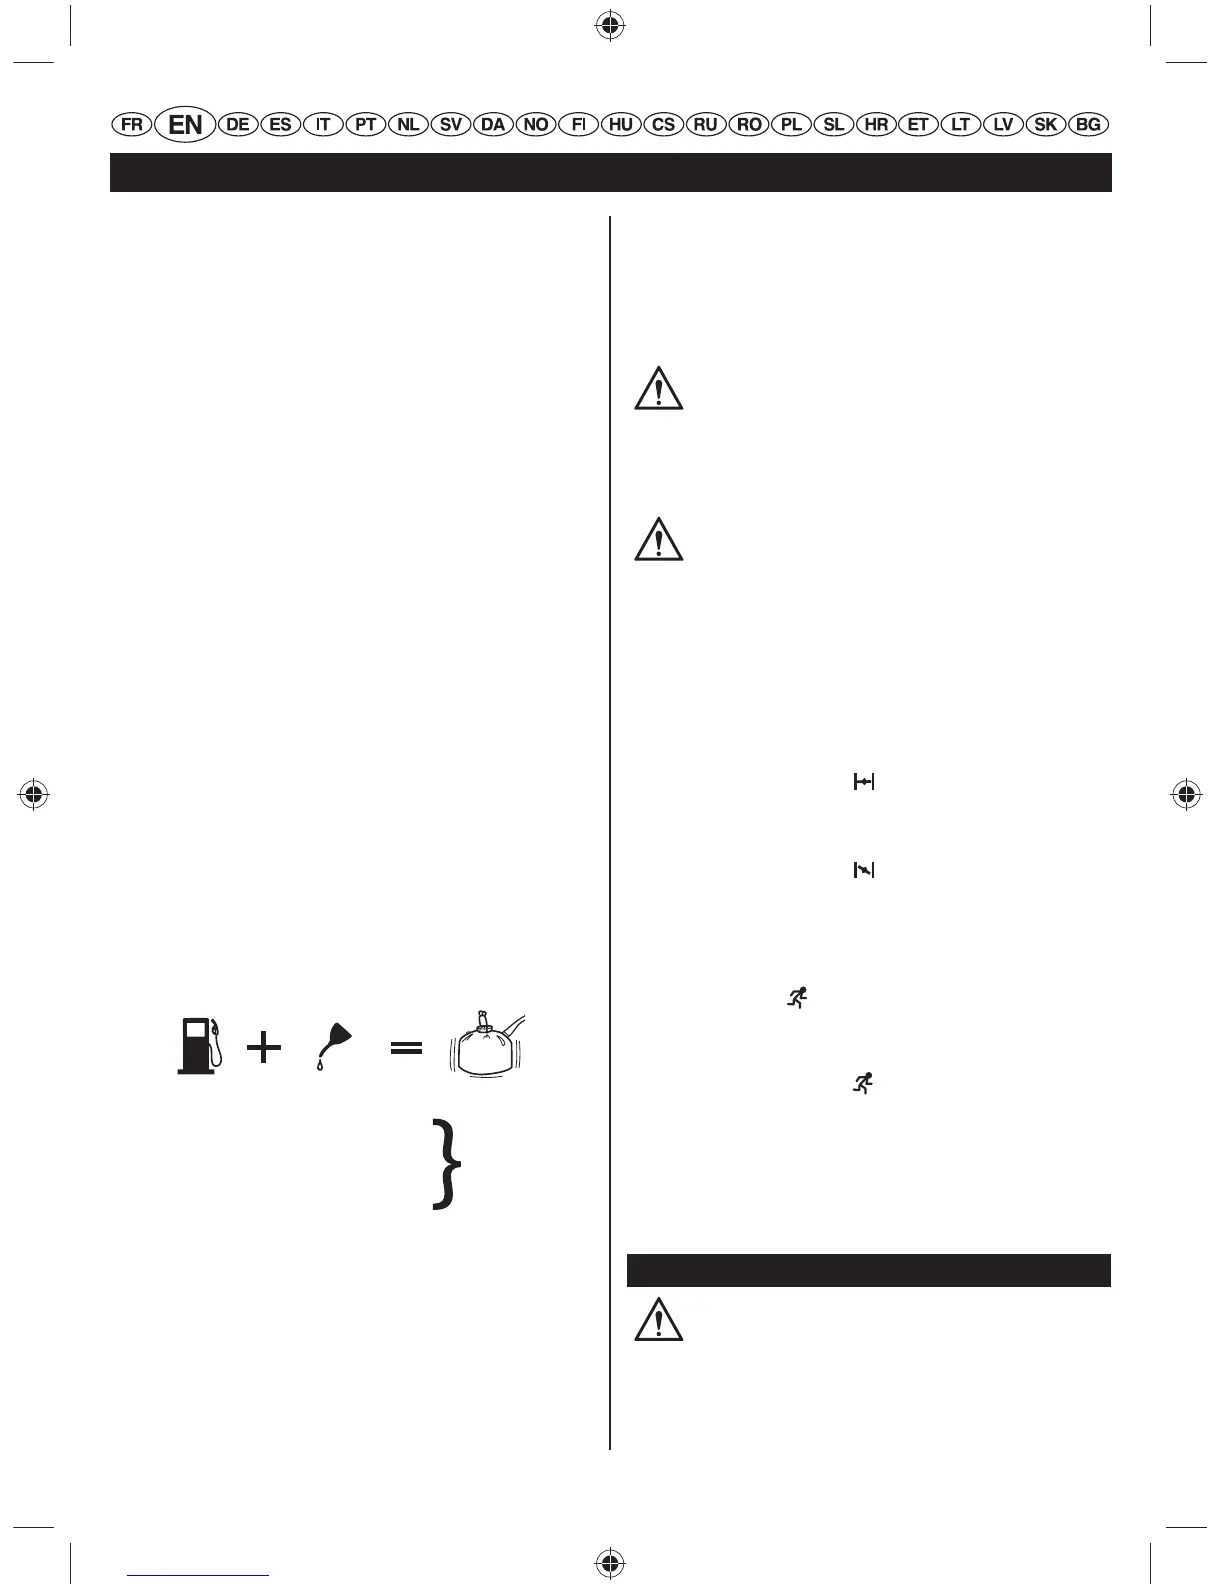
MIXING THE FUEL
(Fig. 3)
Ŷ 7KLV SURGXFW LV SRZHUHG E\ D VWURNH HQJLQH DQG
requires pre-mixing petrol and 2-stroke oil. Pre-mix
unleaded petrol and 2-stroke engine oil in a clean
container approved for petrol.
Ŷ This engine is certified to operate on unleaded petrol
LQWHQGHG IRU DXWRPRWLYH XVH ZLWK DQ RFWDQH UDWLQJ
of 91 ([R + M] / 2) or higher.
Ŷ Do not use any type of pre-mixed petrol / oil from fuel
service stations, this includes the pre-mixed petrol / oil
intended for use in mopeds, motorcycles, etc.
Ŷ Use synthetic 2-stroke oil only. Do not use automotive
oil or 2-stroke outboard oil.
Ŷ Mix 2% synthetic 2-stroke oil into the petrol. This is
a 50:1 ratio.
Ŷ Mix the fuel thoroughly and also each time before
fueling.
Ŷ Mix in small quantities. Do not mix quantities larger
WKDQXVDEOHLQDGD\SHULRG6\QWKHWLFVWURNHRLO
containing a fuel stabilizer is recommended.
1 Litre + 20 ml =
2 Litres + 40 ml =
3 Litres + 60 ml = 50:1 (2%)
4 Litres + 80 ml =
5 Litres + 100 ml =
FILLING THE TANK
Ŷ Clean surface around the fuel cap to prevent
contamination.
Ŷ /RRVHQ IXHO FDS VORZO\ WR UHOHDVH SUHVVXUH DQG WR
keep fuel from escaping around the cap.
Ŷ Carefully pour fuel mixture into the tank. Avoid spillage.
Ŷ Prior to replacing the fuel cap, clean and inspect
the gasket.
Ŷ Immediately replace and tighten the fuel cap.
:LSHXS DQ\IXHOVSLOODJH0RYHPDZD\IURPWKH
fueling site before starting the engine.
NOTE:,WLVQRUPDOIRUVPRNHWREHHPLWWHGIURPDQHZ
engine during and after first use.
WARNING
$OZD\VVKXWRIIHQJLQHEHIRUHIXHOLQJ1HYHUDGG
IXHOWR D PDFKLQHZLWK D UXQQLQJRU KRW HQJLQH
Move at least 9 m from the refueling site before
starting the engine. Do not smoke.
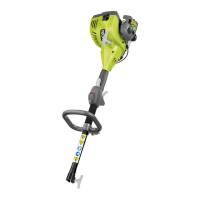
STARTING AND STOPPING (Fig. 4)
WARNING
Never start or run the engine inside a closed or
poorly ventilated area; breathing exhaust fumes
can kill.
Ŷ %H VXUH WR UHWXUQ WKH VWRS VZLWFK WR WKH I" (RUN)
position before trying to start unit.
To start a cold engine:
1. Press the primer bulb 10 times.
NOTE: After the 7th press, the fuel should be visible
in the primer bulb. If not, continue pressing until the
fuel is visible.
6HWWKHFKRNHOHYHUWR
choke position.
3. Keeping the throttle trigger squeezed completely and
pull the starter grip until the engine attempts to start.
Do not pull the starter grip more than 4 times.
6HWWKHFKRNHOHYHUWR
choke position.
5. Pull the starter grip until the engine starts. Do not pull
the starter grip more than 6 times.
NOTE: If the engine does not start, repeat the
procedure from step 2.
$OORZWKHHQJLQHWRUXQIRUVHFRQGVWKHQVHWWKH
choke lever to
position.
To start a warm engine:
1. Press the primer bulb 10 times.
6HWWKHFKRNHOHYHUWR
position.
6TXHH]HWKH WKURWWOH WULJJHUFRPSOHWHO\ DQG SXOOWKH
starter grip until the engine starts.
To stop the engine:
3UHVVDQGKROGWKHVZLWFKLQWKHVWRS³O ” position until
the engine stops.
MAINTENANCE
WARNING
Use only original manufacturer's replacement
parts, accessories and attachments. Failure
to do so can cause possible injury, poor
SHUIRUPDQFHDQGPD\YRLG\RXUZDUUDQW\
Ŷ The cutting attachment must not rotate in idle mode.
14
 Loading...