10
FILLING THE TANK
■ Clean surface around fuel cap to prevent
contamination.
■ Loosen fuel cap slowly to release pressure and to
keep fuel from escaping around the cap.
■ Carefully pour fuel mixture into the tank. Avoid spillage.
■ Prior to replacing the fuel cap, clean and inspect the
gasket.
■ Immediately replace fuel cap and hand tighten. Wipe
up any fuel spillage. Move 9 m away from refuelling
site before starting engine.
NOTE: It is normal for smoke to be emitted from a new
engine during and after rst use.
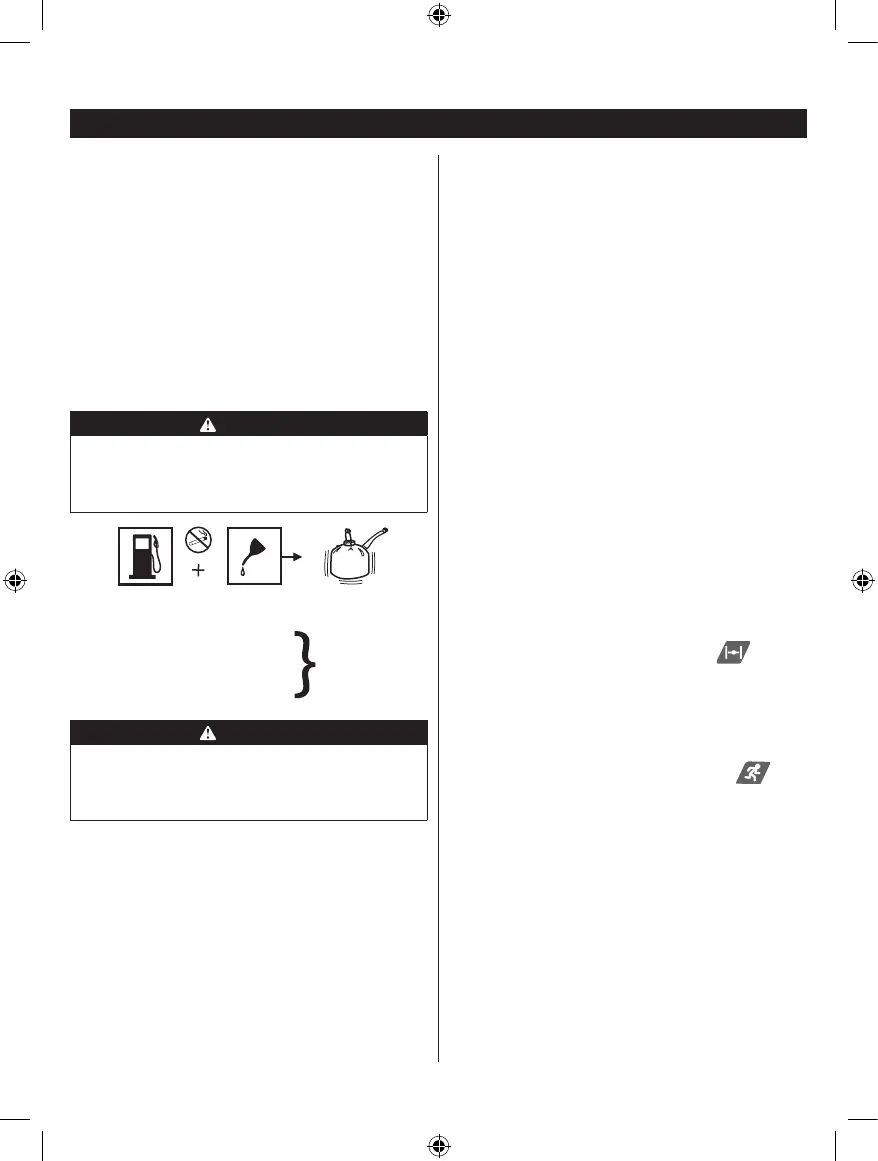
WARNING
Always shut off engine before fueling. Never add fuel to
a machine with a running or hot engine. Move at least
9 m from refuelling site before starting engine. Do not
smoke!
50:1 Petrol to Oil Mixing Chart
1 litre + 20 ml =
2 litres + 40 ml =
3 litres + 60 ml = 50: 1 (2%)
4 litres + 80 ml =
5 litres + 100 ml =
WARNING
The product may throw objects during operation,
causing injury to the operator or to bystanders. Always
wear suitable eye protection, long heavy pants and
boots while operating the product.
PREPARATION FOR CUTTING
■ Wear non-slip gloves for maximum grip and protection.
■ Maintain a proper grip on the unit whenever the engine
is running. Use your right hand to firmly grip the rear
handle while your left hand has a firm grip on the front
handle.
■ Hold unit firmly with both hands. Always keep your left
hand on the front handle and your right hand on the
rear handle, so your body is to the left of the chain
line. Never use a left-handed (cross-handed) grip, or
any stance that places your body or arm across the
chain line.
■ Never stand directly under the limb you are cutting.
■ Always wear shoulder strap for increased safety and
to support the pruner.
■ Be certain the power head coupling knob and extension
shaft knobs are fully tightened and buttons are locked
into place in positioning holes before operating
equipment. Check it periodically for tightness during
use to avoid serious injury.
POSITION FOR STARTING
See gure 9.
Lay the pruner on the ground and ensure that no objects
or obstructions are in the immediate vicinity. Make sure
nothing can come in contact with the bar and chain.
Ensure that the bar and chain is not touching the ground.
STARTING AND STOPPING
See gures 10 - 12.
Starting the product differs depending on whether the
engine is cold or warm. Refer to the label on the air lter
cover.
To start a cold engine
Follow these steps to start a cold engine:
1. Lay the product on a at, bare surface.
2. Ensure the engine switch is in the I (ON) position (item
8).
3. Push the primer bulb approximately 10 times (item 10).
4. Set the choke lever to FULL position (item 33,
Choke closed)
5. Hold down the throttle lock-off button (item 32) and
squeeze the throttle trigger (item 11).
6. Pull the starter grip with a quick rm and consistent
upward motion until the engine attempts to start (No
more than 4 pulls).
7. Set the choke lever to the RUN position (item
34, choke open)
8. Hold down the throttle lock-off button and squeeze the
throttle trigger.
9. Pull the starter grip with a quick rm and consistent
upward motion until the engine starts (No more than
6 pulls).
NOTE: If engine does not start, return to step 4 and repeat
the steps.
NOTE: When the engine starts, let it run for 30 seconds
prior to operation.
To start a warm engine
Follow these steps to start a warm engine:
1. Lay the product on a at, bare surface.
2. Ensure the engine switch is in the I (ON) position (item
8).


 To Next Page