


W
William GreenSep 13, 2025
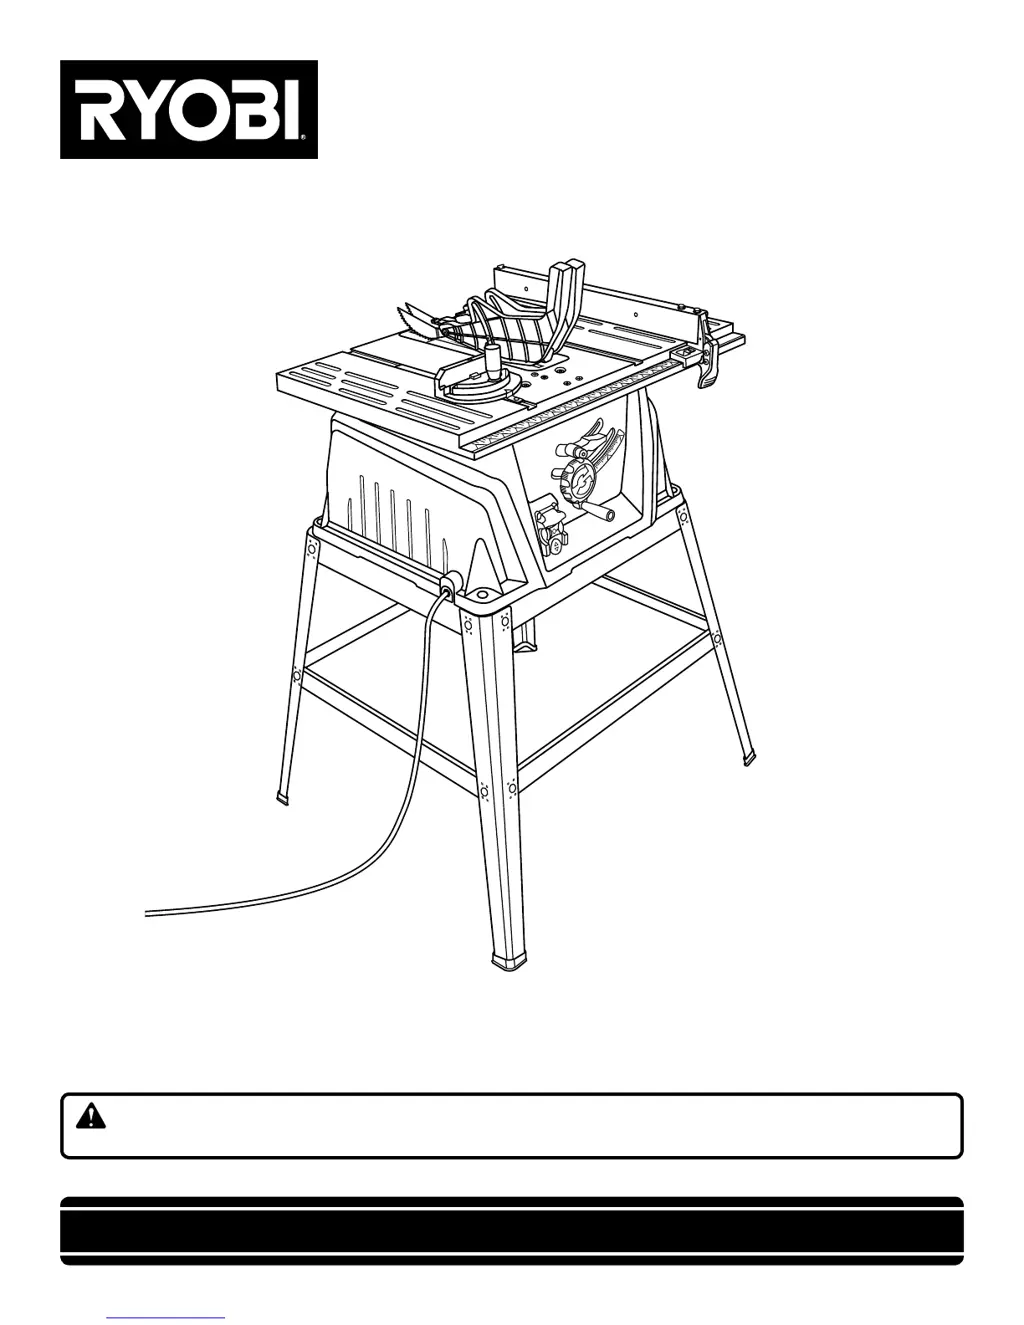
What to do if Ryobi RTS10 Saw rip fence does not lock at rear?
- ZzbaileySep 13, 2025
If the rip fence does not lock at the rear on your Ryobi Saw, the clamp screw is likely out of adjustment. Adjust the clamp screw clockwise to resolve this issue.