GB GB
87
86
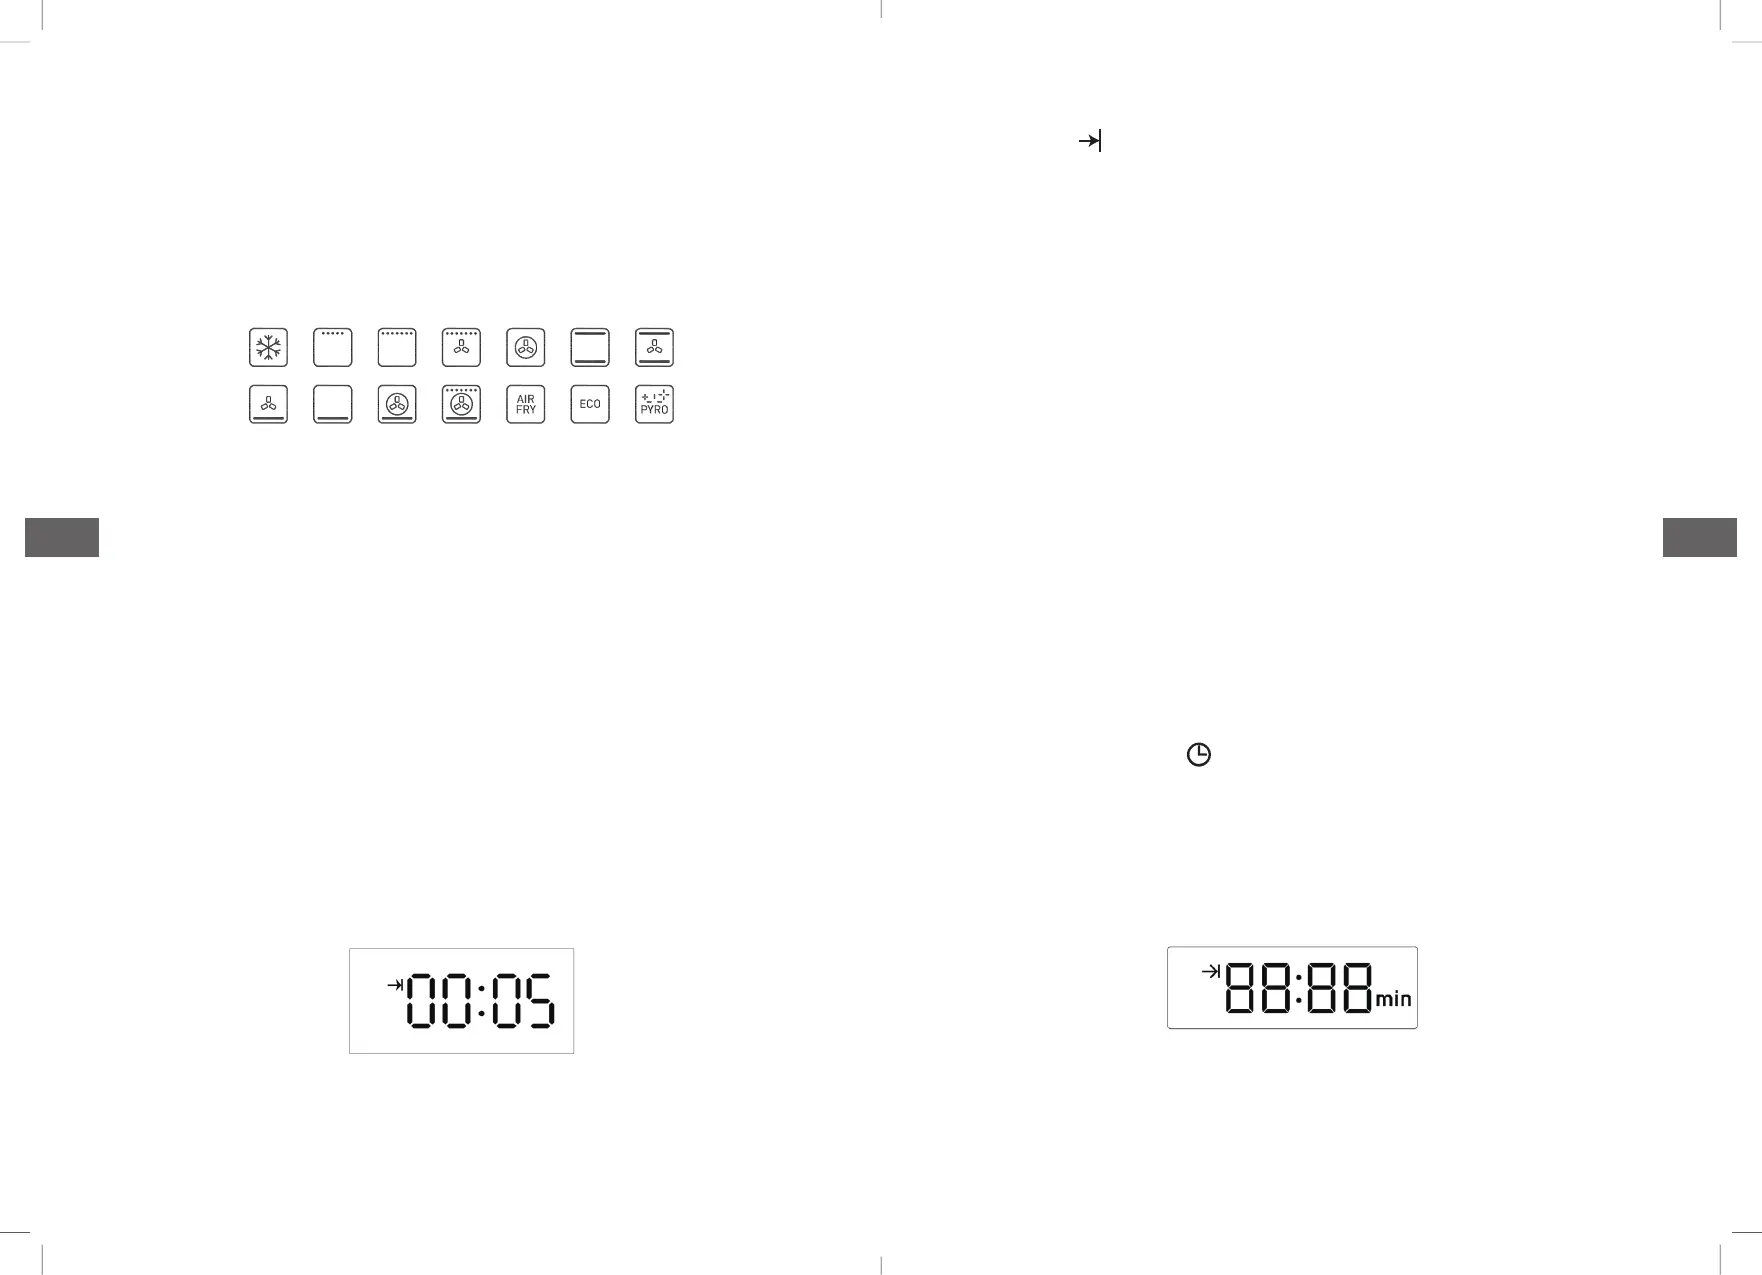
3. The choices offunction
• Under the standby status, switch different functions by rotating
the programming switch KB, refer to pic 6 for the corresponding
position icon(not recyclable,oven function will remember the last
operation).
• When selecting the function, the temperature position displays
the default temperature of the corresponding function. For the
temperature adjustable function mode, select the required
functional position, gently press the switch knob, temperature
place will display default temperature value of corresponding
function and flash. At this time, the cooking temperature can be
set by rotating the coding switch knob. After setting the cooking
temperature, then gently pressing the switchknob to start the
oven.If you don’t need to adjust the temperature, just press the
switch knob to start the oven, otherwise it will go to standby
mode after ten seconds.
• Under working status the oven displays as in Figure 6.
• The icon“ ” displays when working,the clock place will
display cooking countdown time, corresponding select function
icon willlight on continuouslly, temperature display the cavity
real-time temperature.
• Cooking note: when cavity temperature is close to set
temperature,buzz will sound 2 times. If cooking time countdown
to 0, oven will stop cooking(exhaust fan will continue to work),
and the system return to standby status automatically. Buzzer
rings for 5 minutes(1s/time), exhaust fan will stop working after
cavity temperature is below 100C
• Temperature display range: not lower than 30C,display LoC
when lower than 30C.
4. Cooking time setting
• When the oven does not set the cooking time, the default oven
working time is 10 hours, and the cooking time can be set
according to the actual needs:
• After touching the “ ” 3 times, the timer enters the following
icon and flashes, then setting the cooking time through the “+”
and “-” keys as needed.
Pic 5:Function mode diagram
Pic 6: working status display effect