8
English
6 - INSTALLATION
fig. 9
fig. 8
Danger
The presence of strong magnetic fields or the vicinity of elec-
tric machines generating strong disturbances might cause mal-
functioning of the vending machine electronic control.
- Install the vending machine in a protected environment with
temperatures varying between 10°C and 40°C.
- Make sure that no tampering occurred during transportation,
checking that original packaging is intact and closed with straps.
- Move the closed box near the installation area (refer to “3 Han-
dling and storage”), cut the straps and lift the carton.
- Verify the state and the model of the vending machine con-
tained in the carton.
- Check the contents of the accessory envelope attached to the
vending machine (refer to “6.2 List of accessory equipment).
- Remove the vending machine from the original packaging. It is
advisable to keep the latter for later transportation or moving.
- Free the vending machine from residual packaging.
Important
Possible packaging element disposal shall be performed in
compliance with the laws in force in the country while re-
specting the environment.
- Place the vending machine on a horizontal plane surface hav-
ing adequate size and capable of standing its weight.
The bearing surface shall not exceed an inclination of 2°.
Important
To ensure proper vending machine ventilation, the machine’s
rear panel should be at least 8 cm away from walls, parti-
tions, etc.
Do not cover the vending machine with cloths or other things.
6.1 List of accessory equipment
• Micro operation key for safety system deactivation
• 4 screws and nuts for coiner fixing
• Series of stickers with prices and accepted coins
• Series of stickers with instructions and dispensed products
• 1 coupling for water pipe to tank (only for pre-set version with
tank)
• 1 wrench for mix fan fitting
• 1 Operation and Maintenance booklet
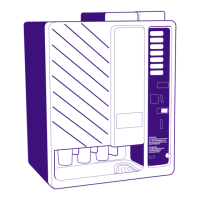
6.2 Water connection
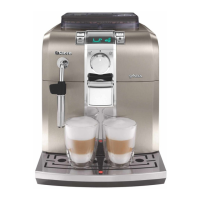
Machine with tank into the floor cabinet
- Fit the special water connection.
- Insert the water aspiration tube in the special connection under
the dispenser (fig. 8).
- Insert the tube in the can.
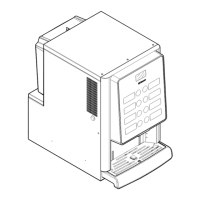
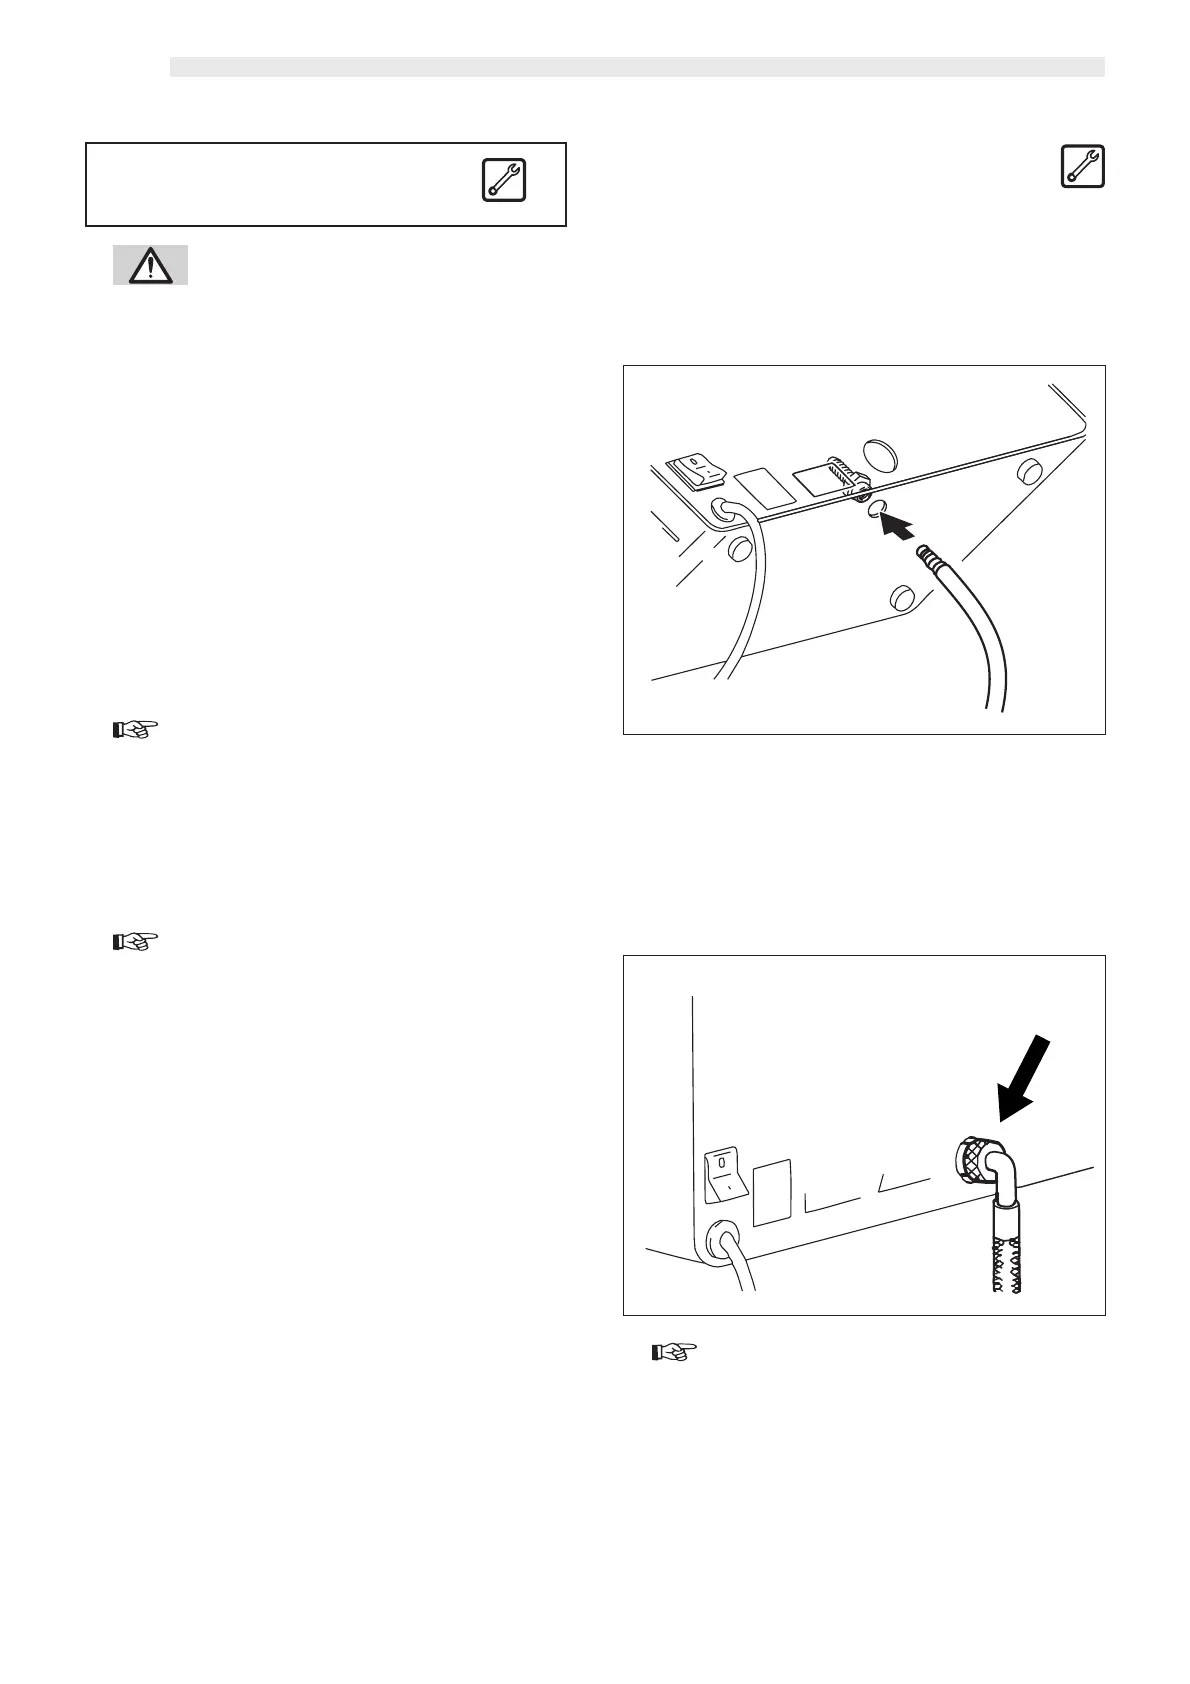
Machine with direct waterworks connection
(Type D.A. 3P R.I. e D.A. 5P R.I.)
- Connect the vending machine to a drinking water distribution
conduit having a pressure between 1,5 and 8 bar.
To do this use a loading tube with adequate characteristics
and connect it to the G3/4” coupling located on the vending
machine back panel (fig. 9).
Important
It is advisable to feed the vending machine with treated water
by means of a decalcifying device, especially when the water
has high calcium and magnesium salts content (hard water).
 Loading...